| View previous topic :: View next topic |
| Author |
Message |
jonc
Joined: 21 Sep 2010
Posts: 584
Location: Cheshire, UK
|
 Posted: Wed May 13, 2015 10:20 am Post subject: 13008 Posted: Wed May 13, 2015 10:20 am Post subject: 13008 |
 |
|
So, this one really is a restoration.
First job - where should the work be done? It's not something I would want to undertake myself this time. In fact, that was one of Helen's conditions.
In the end we chose the best, most experienced Lagonda restorer / experts in the World. The work on this historic car has to be of the highest standard, and done with respect to what remains of the originality of the car. I am confident we made the right choice.
There are many decisions to be made along the way. The car is currently in a non-original body colour, with the interior retrimmed in black. According to records, the car was originally Storm Red with Beige nuella 701. The dash is now analogue and the binnacles have been modified. There is a modern stereo.
Plenty of time to think about these things though. |
|
| Back to top |
|
 |
jonc
Joined: 21 Sep 2010
Posts: 584
Location: Cheshire, UK
|
 Posted: Wed May 13, 2015 10:26 am Post subject: Posted: Wed May 13, 2015 10:26 am Post subject: |
 |
|
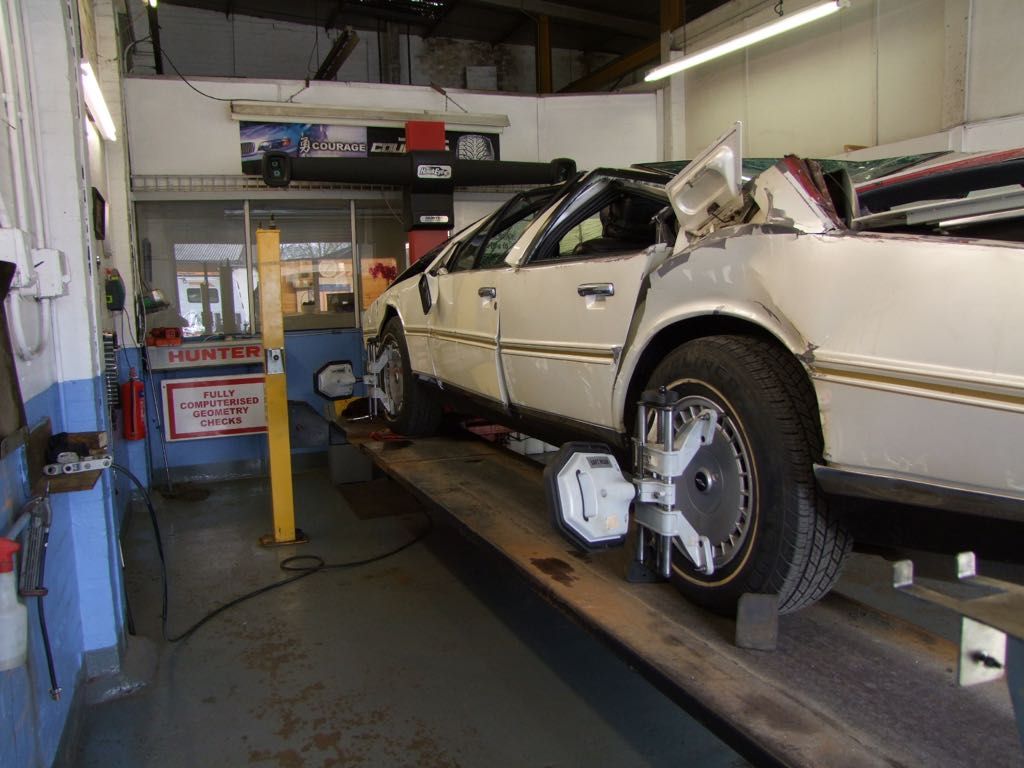
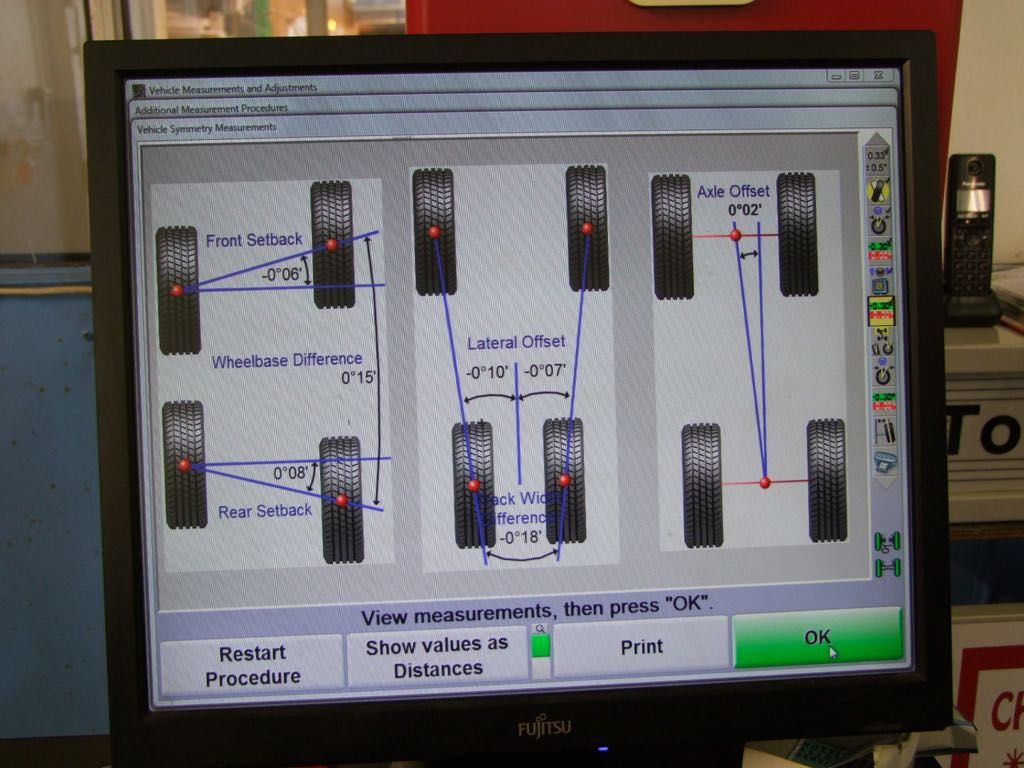
First thing to do on the car - assess the state of the chassis. The car was damaged whilst being transported rather than driven. This should hopefully be good for the shape of the chassis. Off to check..
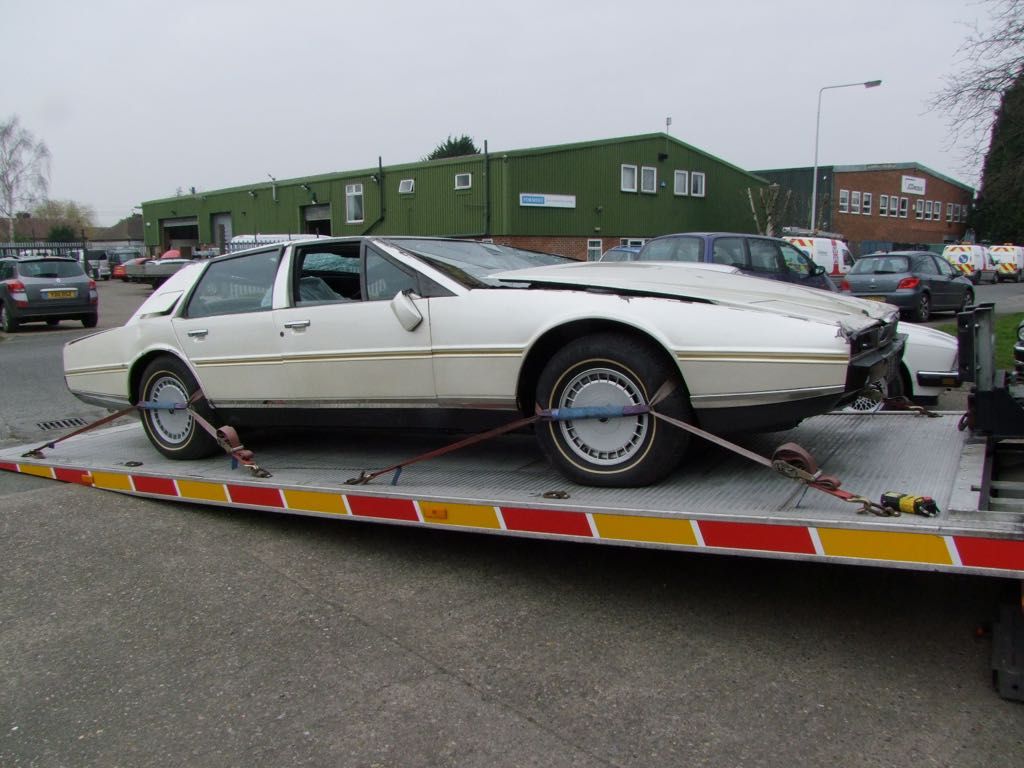
The car is set up for laser alignment checks.
And the results? The chassis looks good - most likely within manufacturing tolerances.
When you look at the panel damage - to every exterior panel on the car - it shows what a strong chassis there is underneath, and also says something for its overall condition. (ie not full of rust!)
Last edited by jonc on Wed May 13, 2015 10:34 am; edited 1 time in total |
|
| Back to top |
|
 |
Lagondanet
Administrator

Joined: 03 Jan 2007
Posts: 3110
Location: UK
|
 Posted: Wed May 13, 2015 10:27 am Post subject: Posted: Wed May 13, 2015 10:27 am Post subject: |
 |
|
This is going to be an exciting & interesting project. Not least finding any early history on the car.
It is in good hands.
Good luck! |
|
| Back to top |
|
 |
Mitrovic

Joined: 19 Nov 2007
Posts: 628
|
 Posted: Wed May 13, 2015 3:08 pm Post subject: Posted: Wed May 13, 2015 3:08 pm Post subject: |
 |
|
| When was it damaged during transport? |
|
| Back to top |
|
 |
jonc
Joined: 21 Sep 2010
Posts: 584
Location: Cheshire, UK
|
 Posted: Wed May 27, 2015 10:55 am Post subject: Posted: Wed May 27, 2015 10:55 am Post subject: |
 |
|
Thanks for the comments. I have been in touch with the previous owner (of 30 years) and have some of the history which will be useful for unpicking some the modifications. I don't know the early history yet. I also don't have the complete story of how it came to be like this so I will leave that for another day.
Before the un-squashing can begin, the interior needs to be removed. Because of the non-production nature of some bits, there is a lot of recording to do along the way.
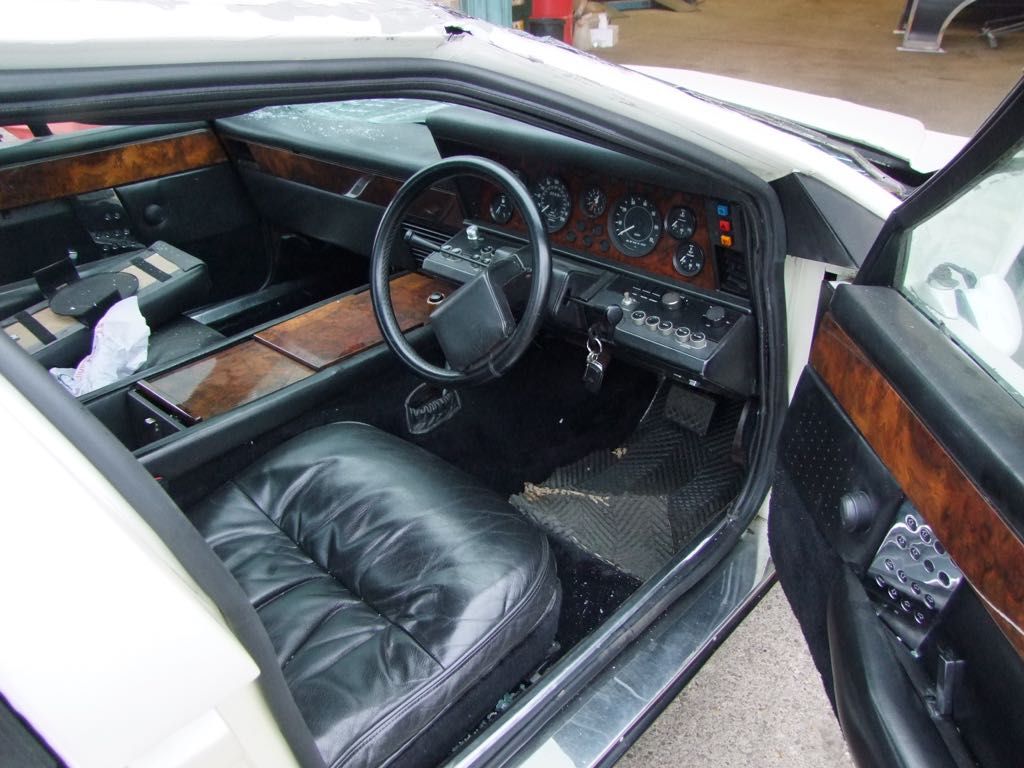
For example, here is one of the door pulls:
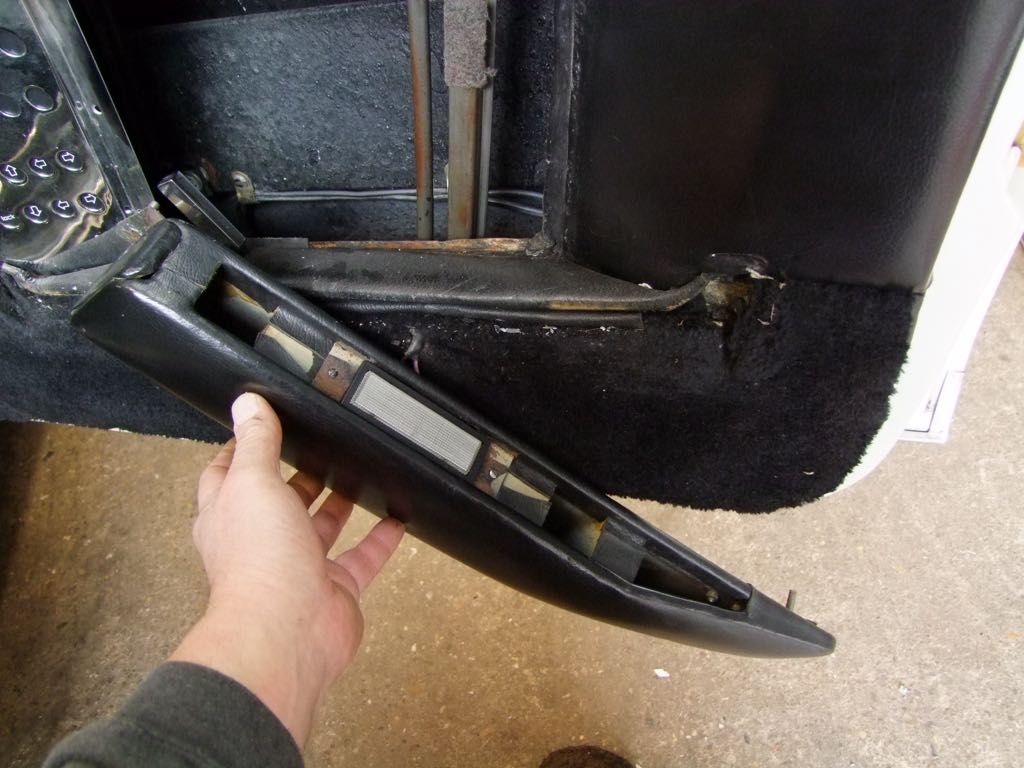
It is made of wood instead of the aluminium of the production spec. and also has a puddle lamp which moved to the bottom of the door.
As I said before, the car has been retrimmed in black leather. There are clues as to where this was done. It is to a very high standard.
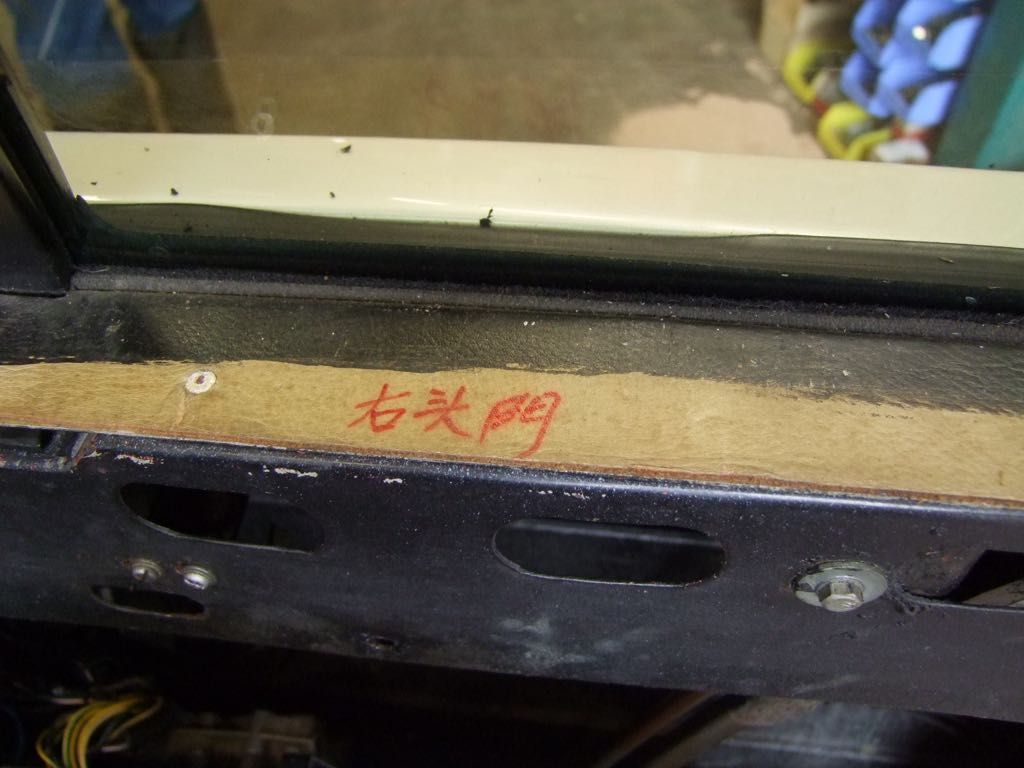
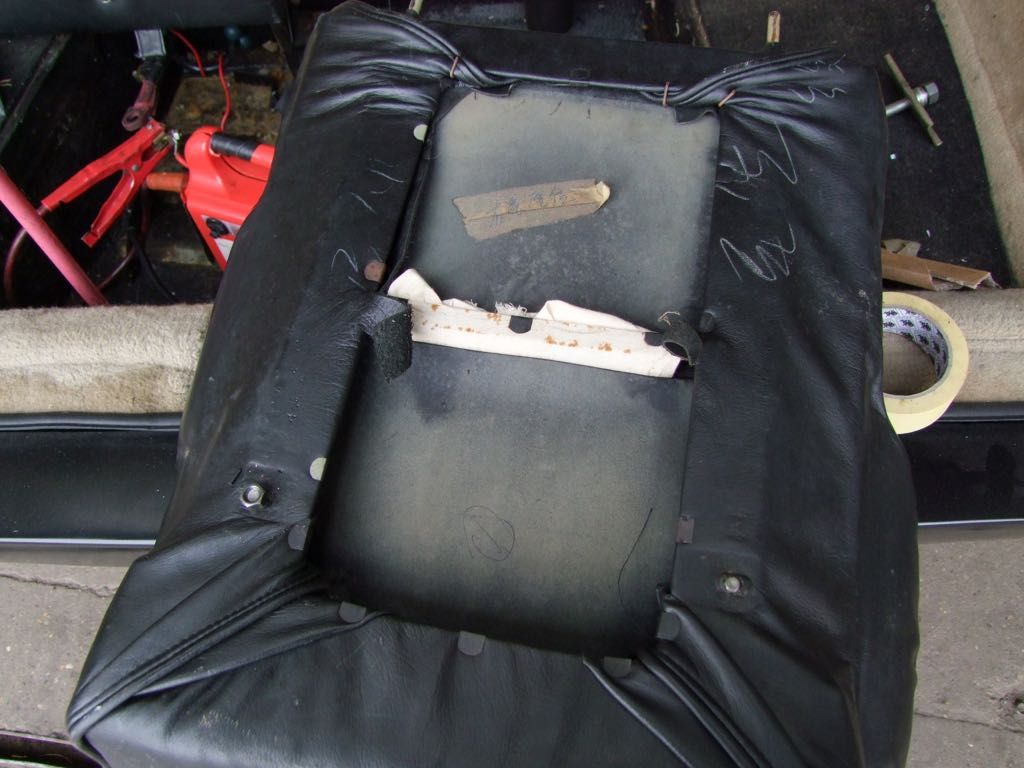
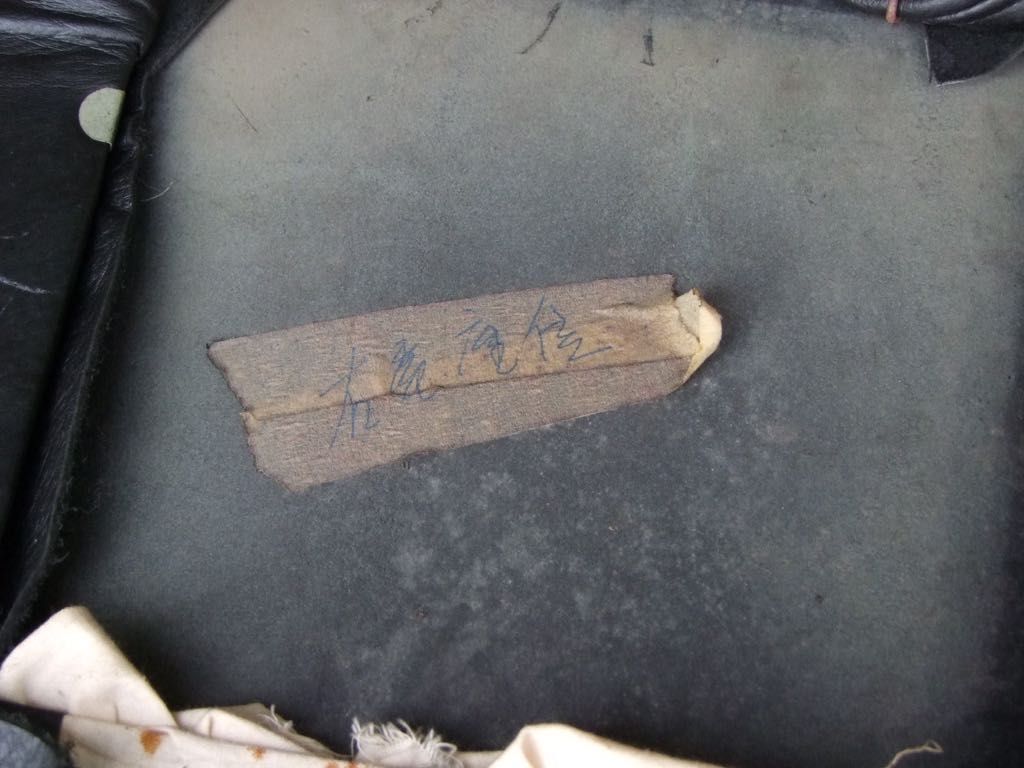
The metalwork construction of the chassis is different as well under the back seats. Instead of it being open, it is boxed in with a removable cover:
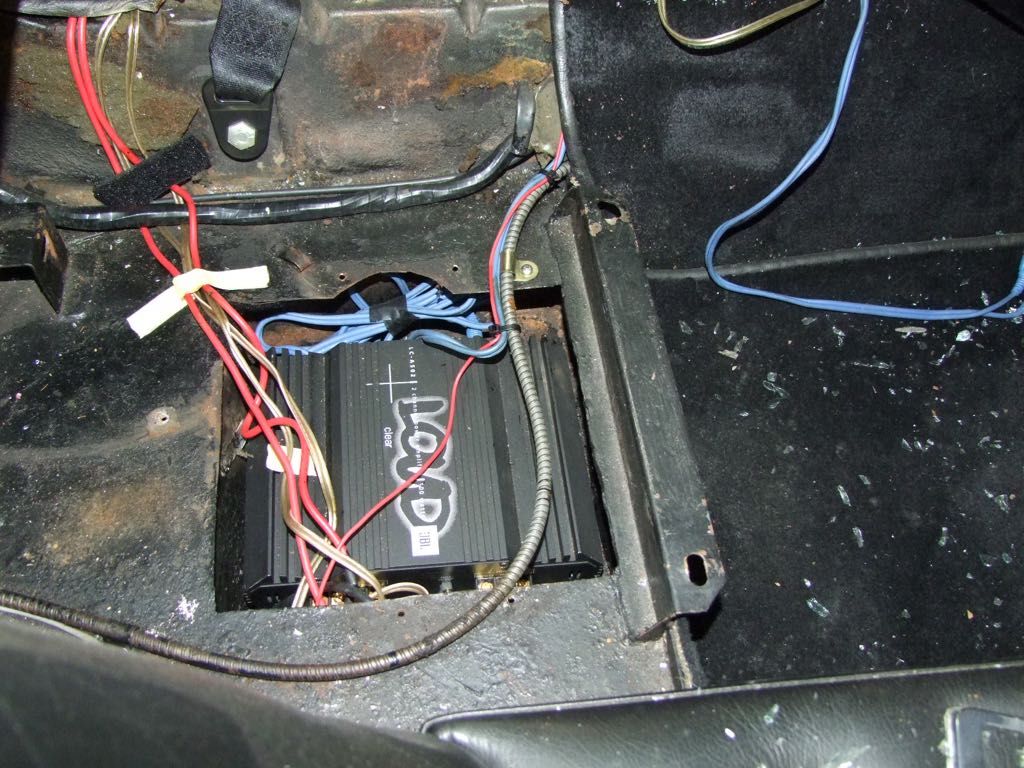
Perhaps where the 'computer' went? It now houses the power amplifiers. |
|
| Back to top |
|
 |
jonc
Joined: 21 Sep 2010
Posts: 584
Location: Cheshire, UK
|
 Posted: Wed May 27, 2015 11:03 am Post subject: Posted: Wed May 27, 2015 11:03 am Post subject: |
 |
|
The centre console is next. It has been build up in pieces in the car and so has to come out the same way.
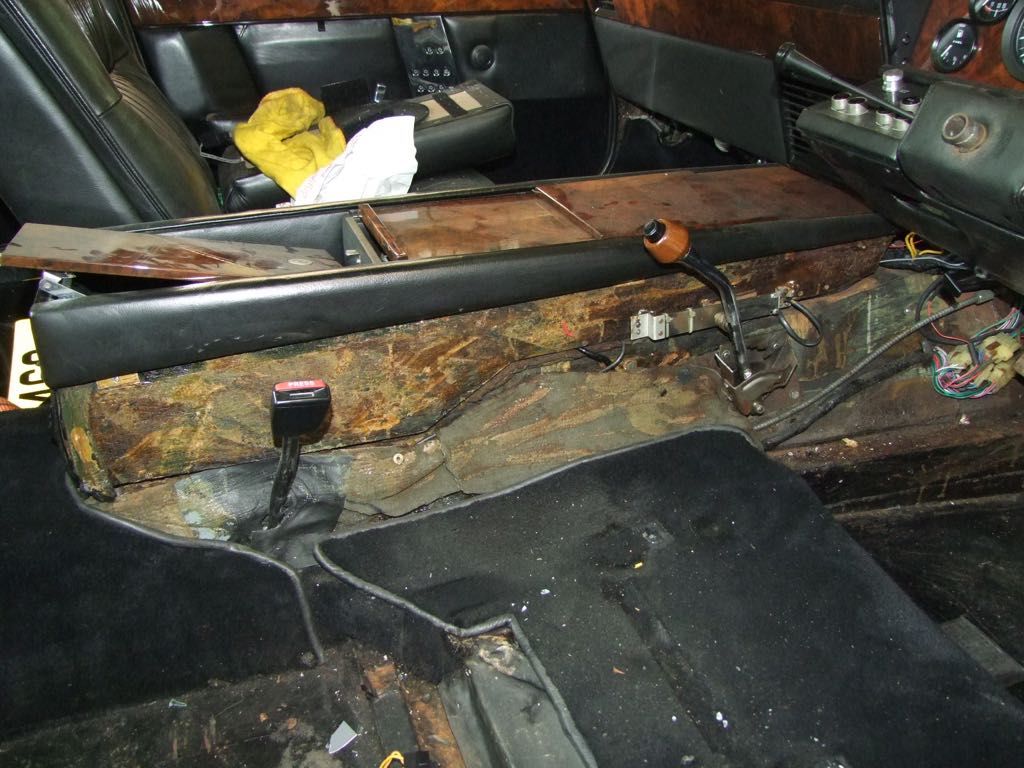
Not one piece like the production one.
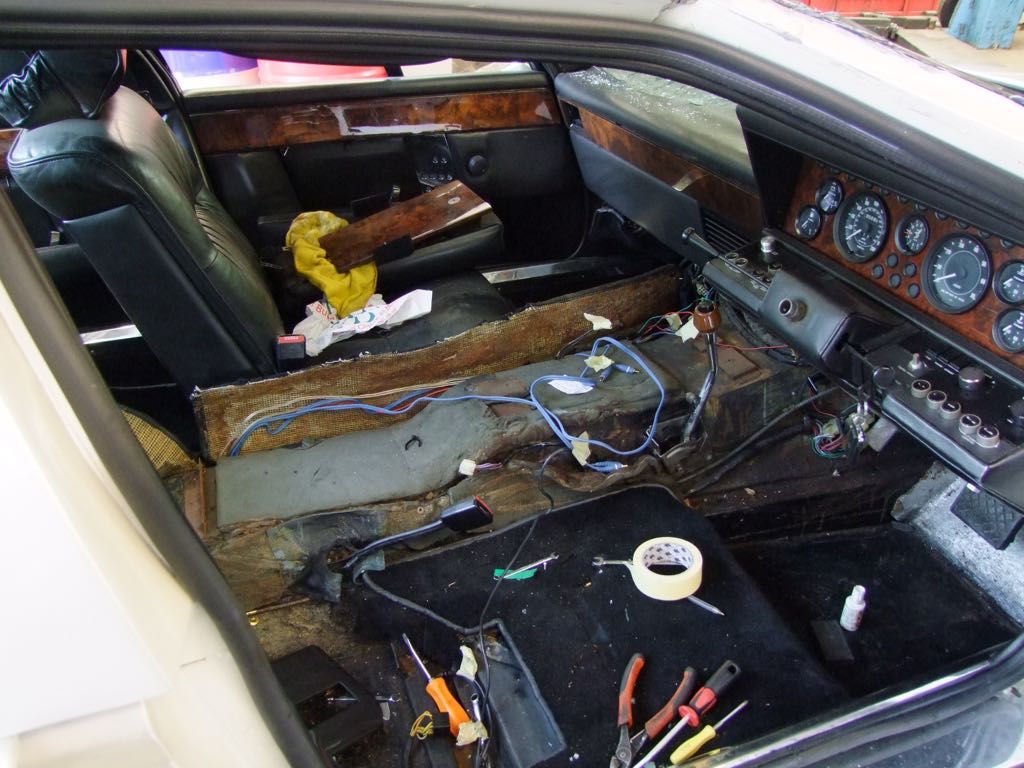
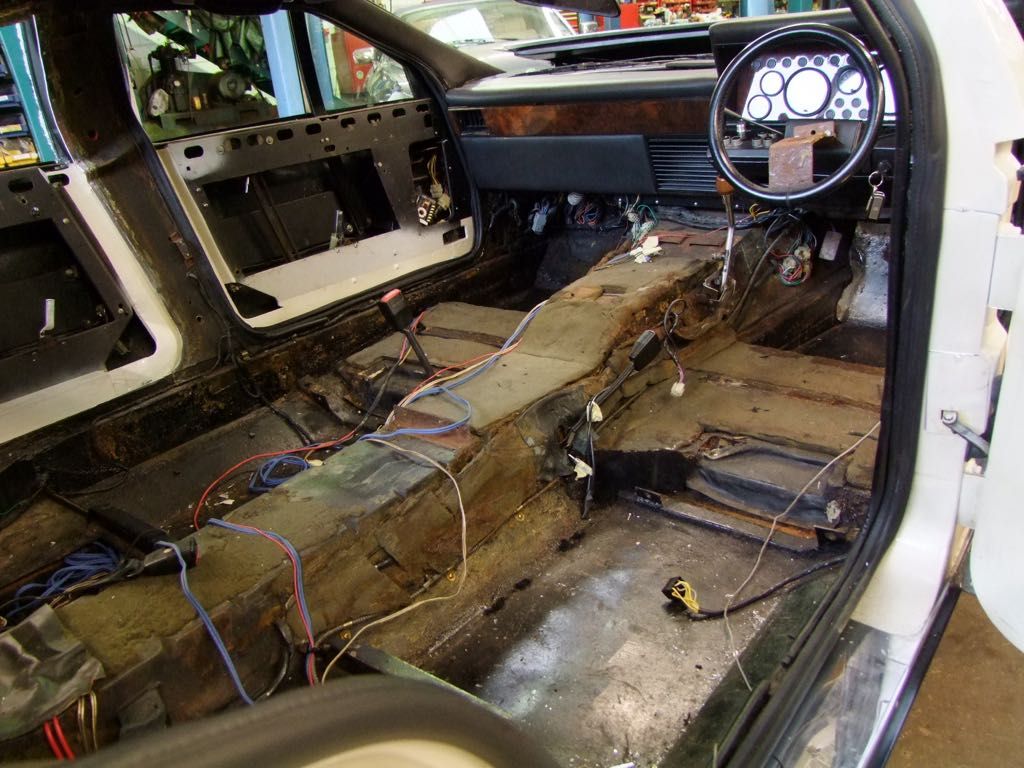
Everything has been straightforward so far. The only difficult part is where the left rear seat is, because the roof is against the top of the seat. Some delicate surgery is required on the brackets for the seat back because it can't be pushed up to release it.
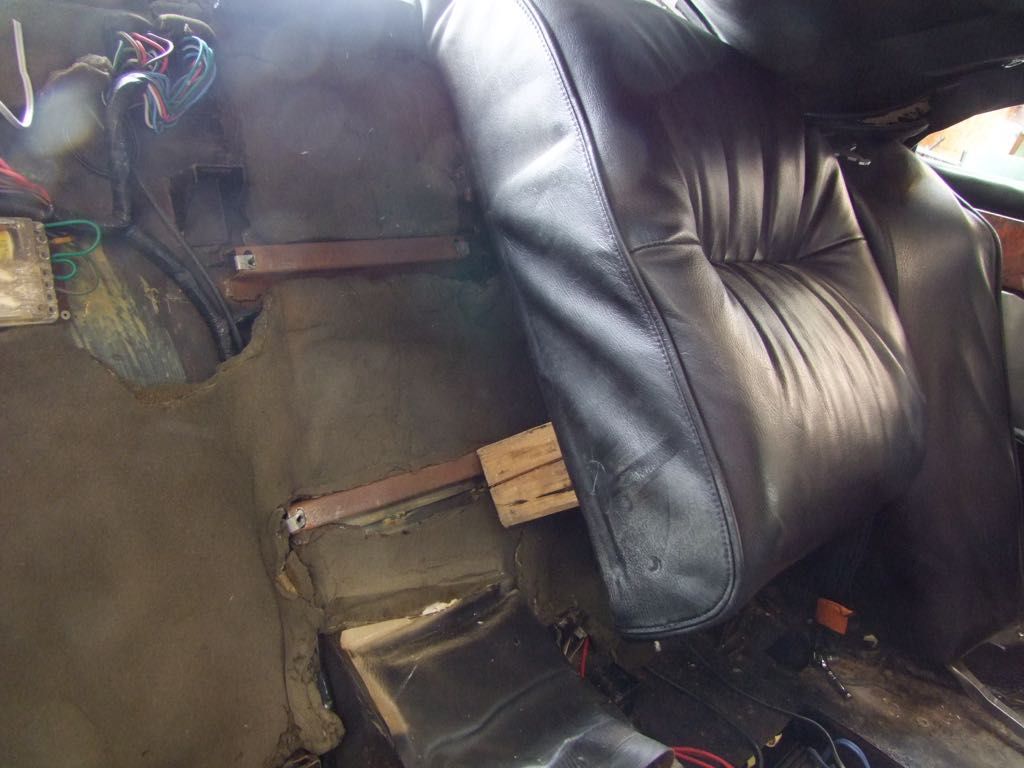
Finally the bolster.
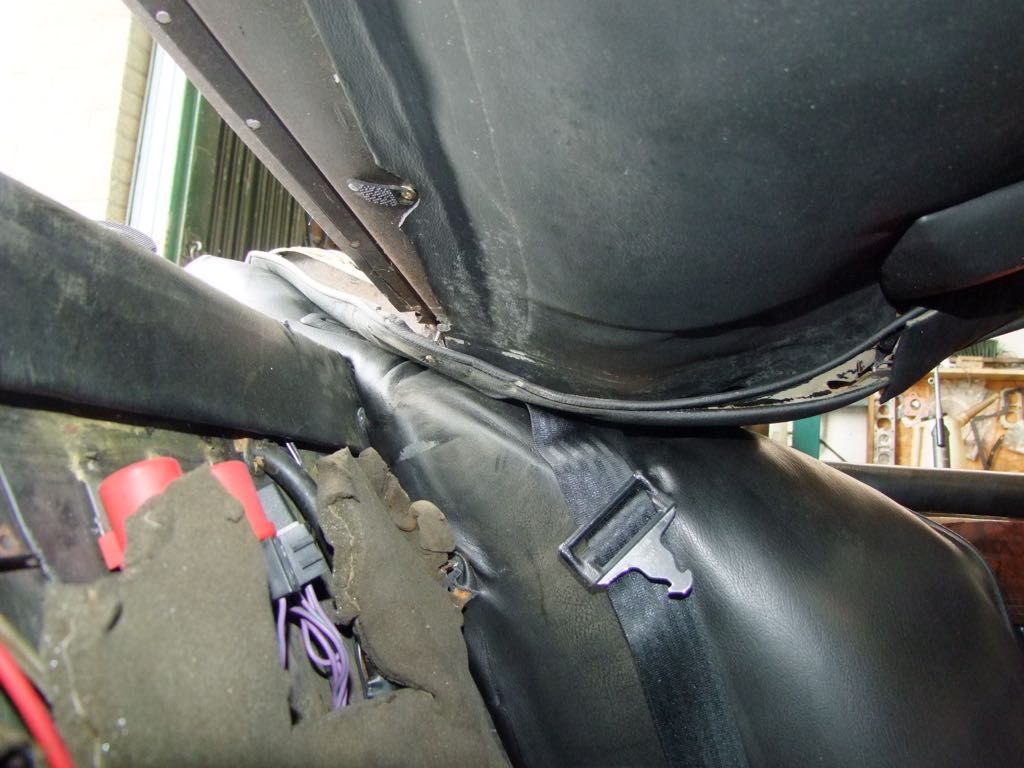
This is of standard fibreglass construction and so even though it looks crushed, it will require little repair.
Dash is next. It will be interesting to see how the analogue conversion has been done and also the heating modifications.. |
|
| Back to top |
|
 |
jonc
Joined: 21 Sep 2010
Posts: 584
Location: Cheshire, UK
|
 Posted: Wed Jun 03, 2015 12:32 pm Post subject: Posted: Wed Jun 03, 2015 12:32 pm Post subject: |
 |
|
So, dash out time.
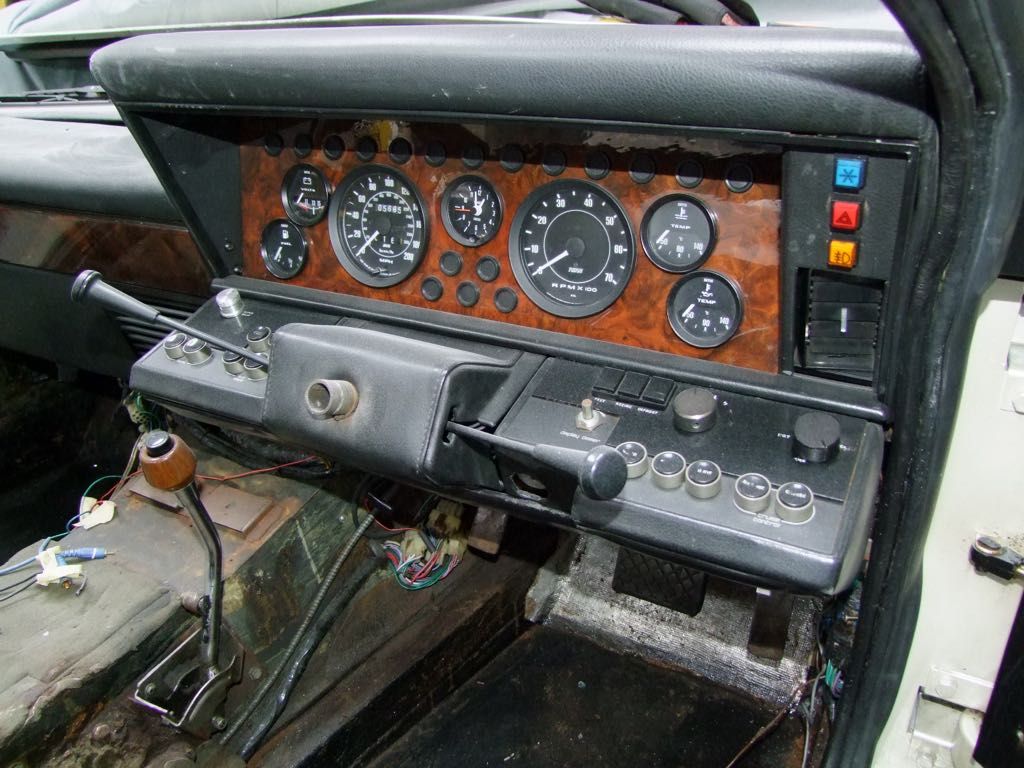
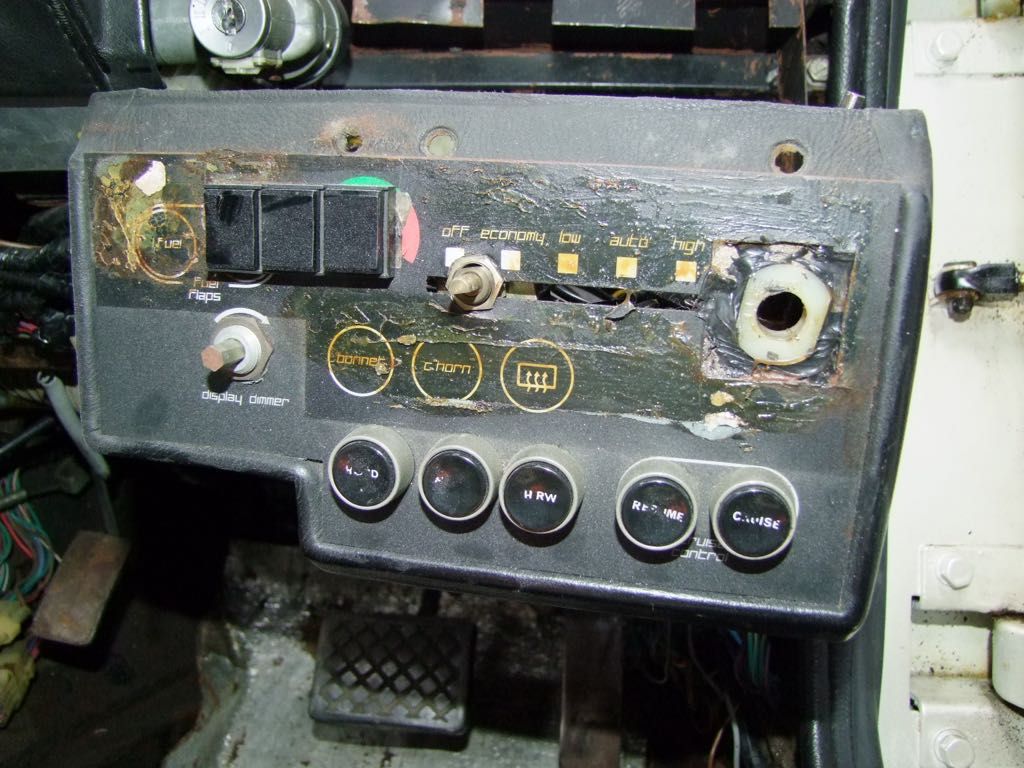
Knee panel comes off first. This has two additional switches on it which look non-standard, plus a mystery cut-out on the left.
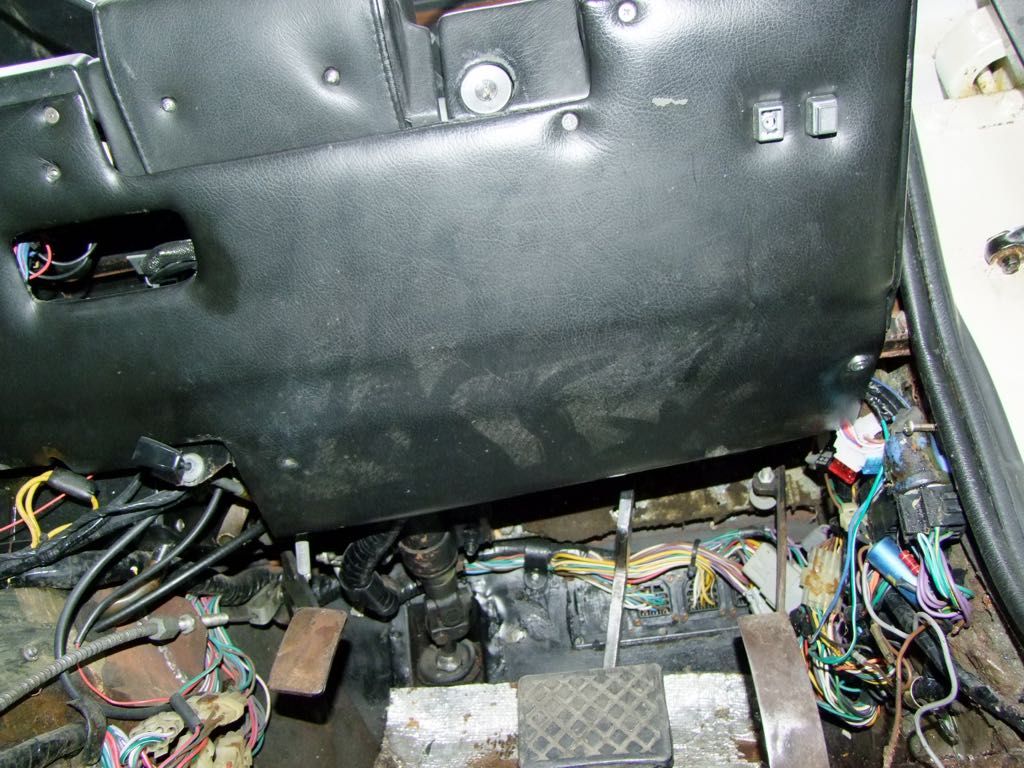
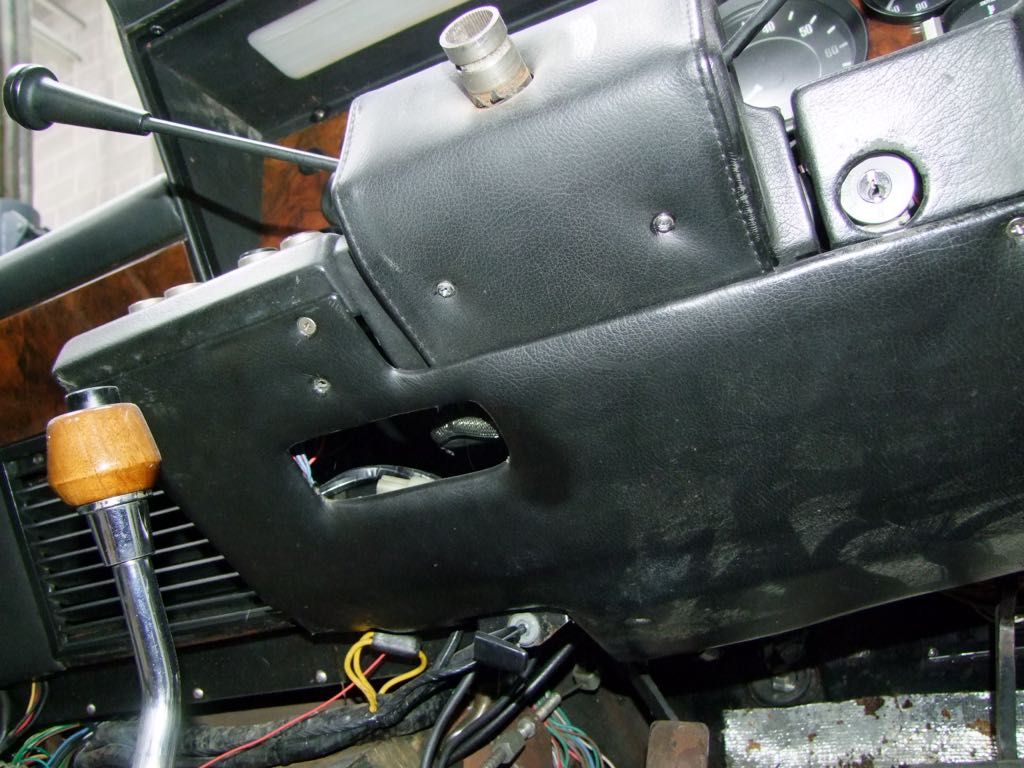
You can see the foot-operated parking brake, plus its release pull.
And the additional switches do nothing:
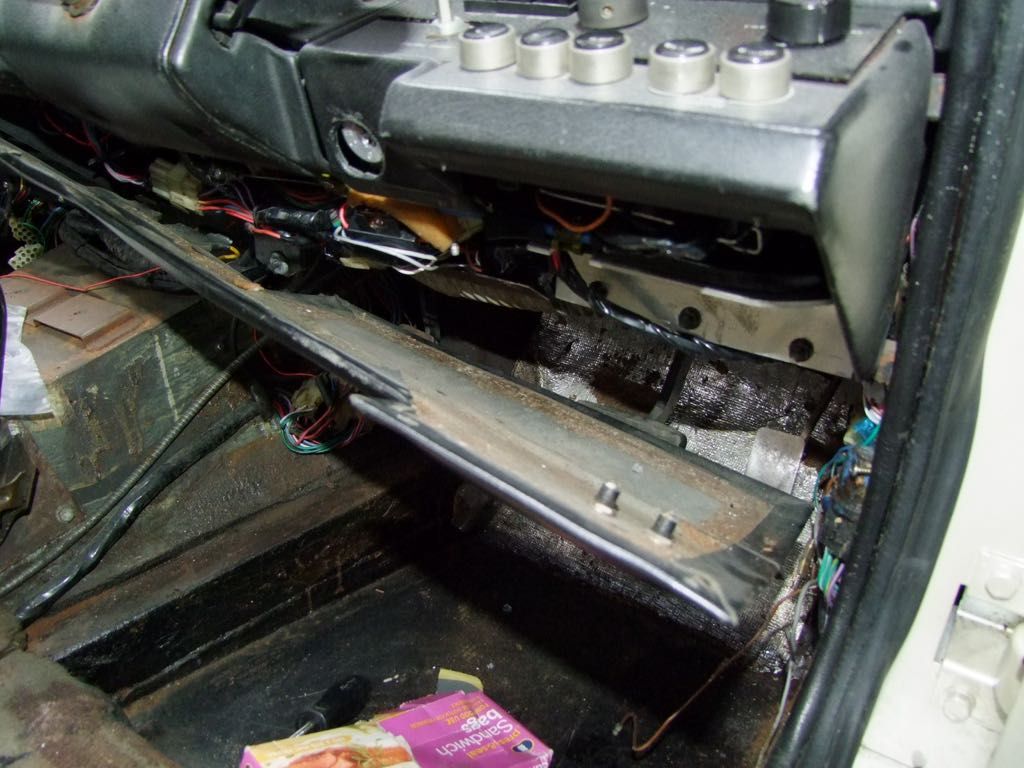
Inside it's pretty tidy. You can see that the vacuum solenoids are not there - instead there is a custom bracket to support the temperature control. This is cable operated control of the blend flap:
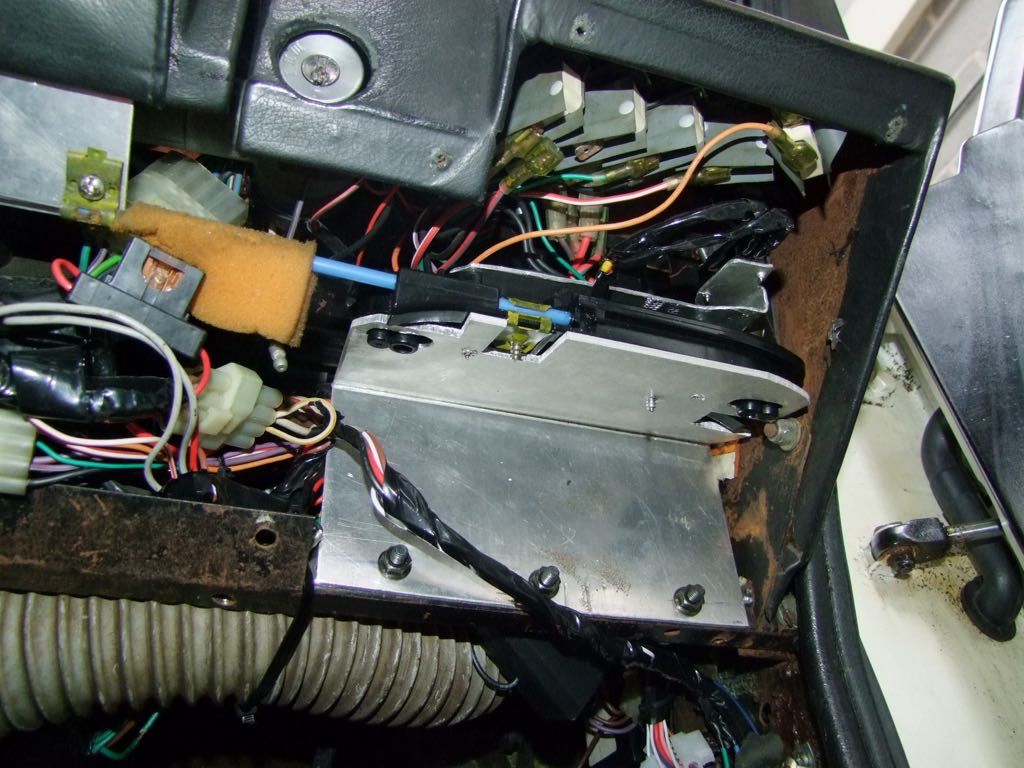
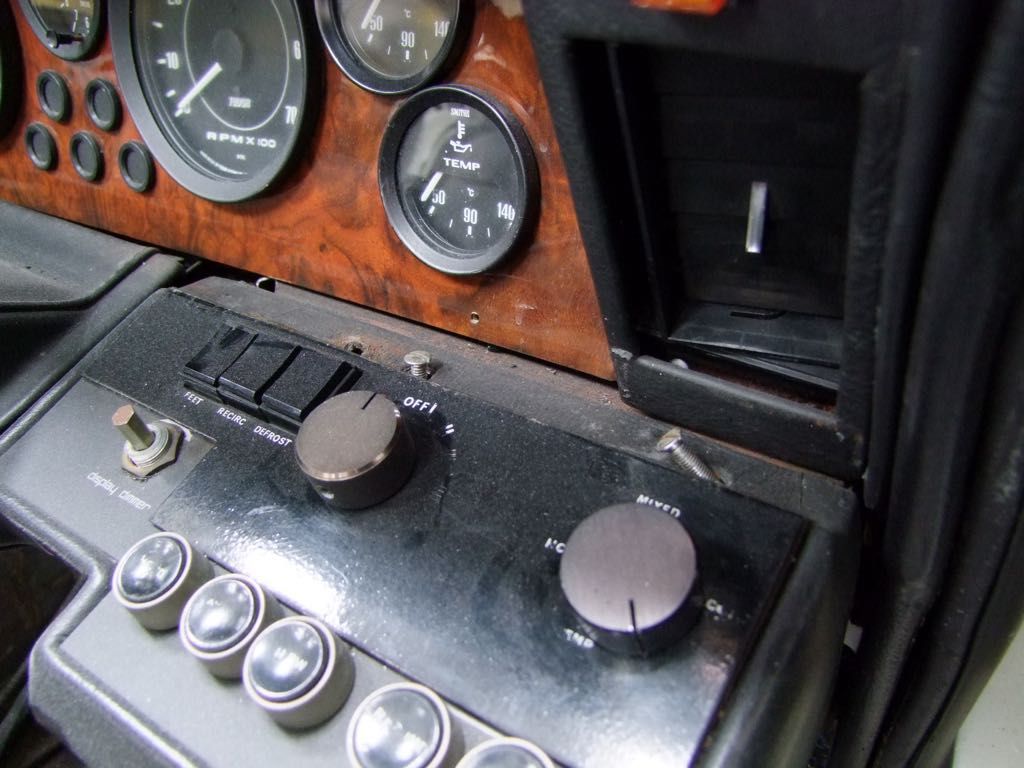
The heating system was modified at the back-end of 1997 by Works. The previous owner complained that the air conditioning was not up to the job and was also temperamental. Works said it is not reliable due to 'type of internal controls and construction of the system' so they modified it 'to use parts which are readily available'. I think it has been changed to basically the system used on the 1980s V8s with manual control of the temperature and fan.
 |
|
| Back to top |
|
 |
Lagondanet
Administrator

Joined: 03 Jan 2007
Posts: 3110
Location: UK
|
 Posted: Wed Jun 03, 2015 12:42 pm Post subject: Posted: Wed Jun 03, 2015 12:42 pm Post subject: |
 |
|
| Unique switch pads on this. |
|
| Back to top |
|
 |
jonc
Joined: 21 Sep 2010
Posts: 584
Location: Cheshire, UK
|
 Posted: Wed Jun 03, 2015 12:43 pm Post subject: Posted: Wed Jun 03, 2015 12:43 pm Post subject: |
 |
|
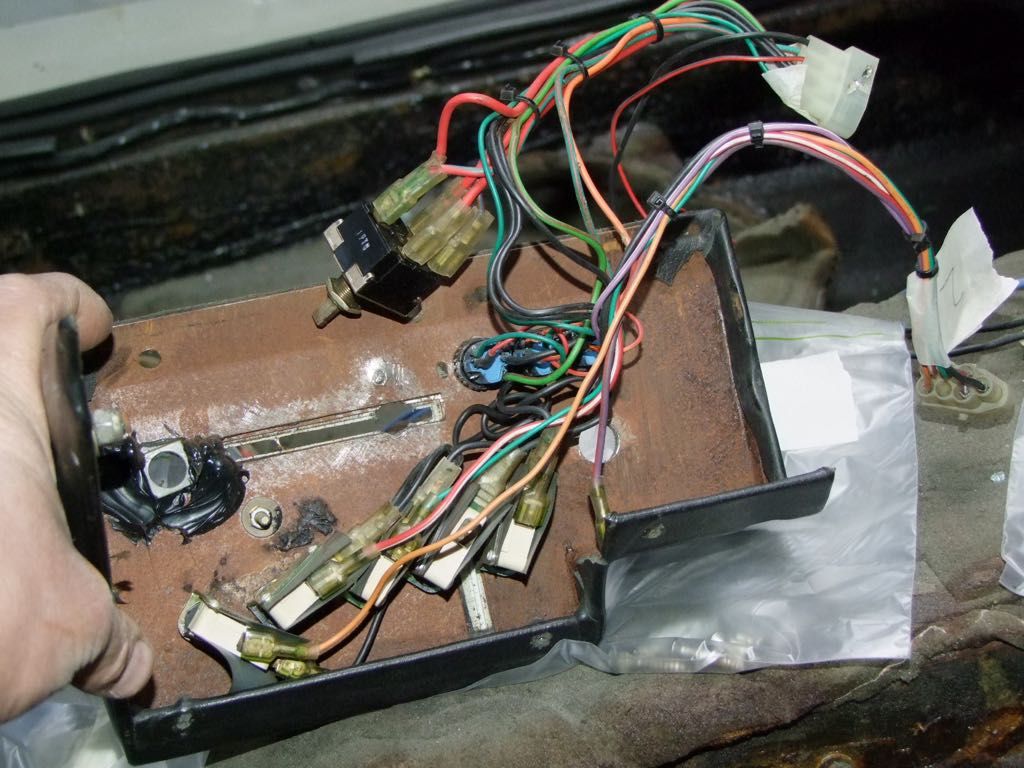
Its not clear from the history I have whether the mechanical switches were done at the same time.
The wiring underneath is well done though:
The instrument panel was changed in 1997 also.
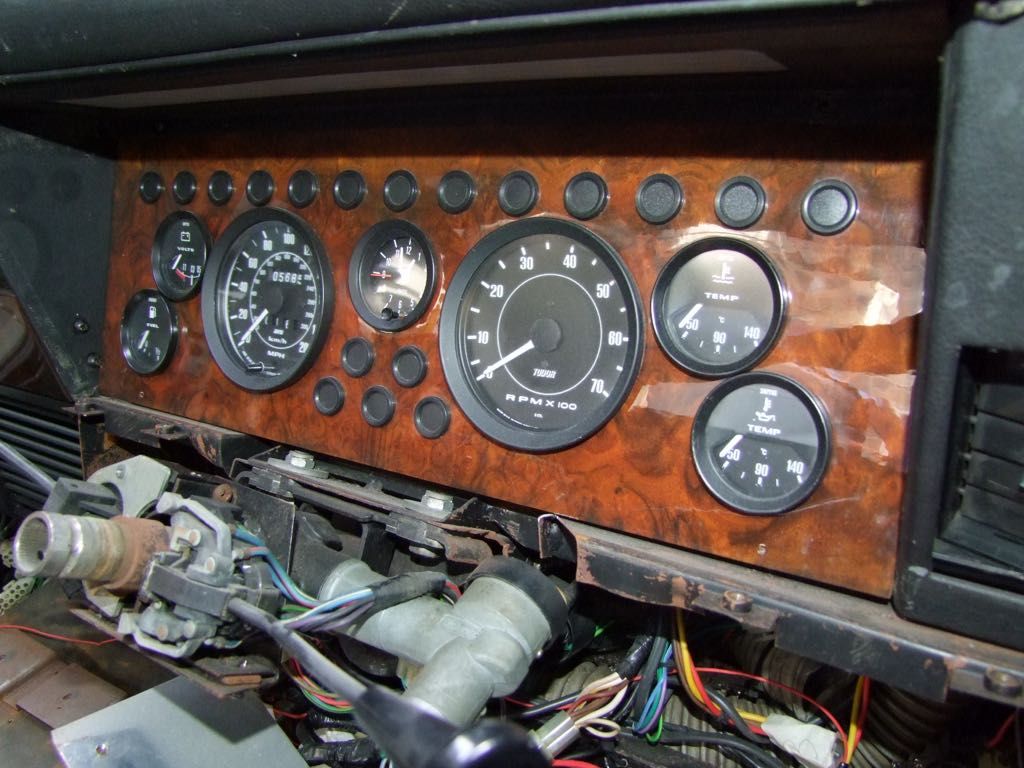
The owner wanted to have his current LED dash replaced with the slightly later version. My interpretation is that he had the early standard LED dash (in this current housing) and thought his problems could be resolved with the later revision. He really wanted to keep the LED dash and talked to Works about them sending an engineer to Hong Kong to fix it, and then also to have Works send a kit of parts so it could be replaced.
In the end, he sent the car back to the UK and was persuaded to have an analogue dash conversion. The quality of the work is really good.
 |
|
| Back to top |
|
 |
Lagondanet
Administrator

Joined: 03 Jan 2007
Posts: 3110
Location: UK
|
 Posted: Wed Jun 03, 2015 1:07 pm Post subject: Posted: Wed Jun 03, 2015 1:07 pm Post subject: |
 |
|
| Did you get the service record from WS evidencing their work? David Dillow? electrician may have done (some of) the work. He is still there & could be asked. |
|
| Back to top |
|
 |
jonc
Joined: 21 Sep 2010
Posts: 584
Location: Cheshire, UK
|
 Posted: Fri Jun 05, 2015 1:50 pm Post subject: Posted: Fri Jun 05, 2015 1:50 pm Post subject: |
 |
|
I have nothing directly from WS. The request is with them though. I have a request in with the DVLA also for ownership history.
I know the timing of a lot of the work from the previous owner's history file, which he kindly sent to me.
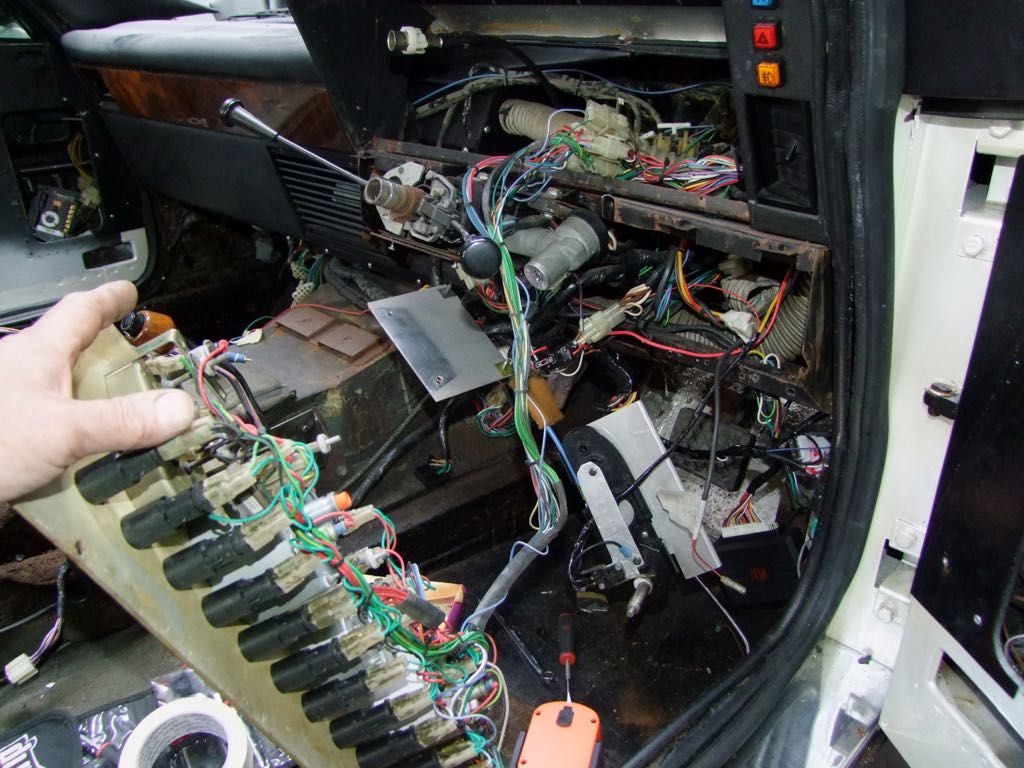
The mechanical binnacle buttons are a modification. They have been drilled through a standard touch membrane. In fact, its not even an early membrane set as the switches are grouped which is from about 1984. I would like to return the car to standard controls which means I need the interface box for the touch switches which is missing.
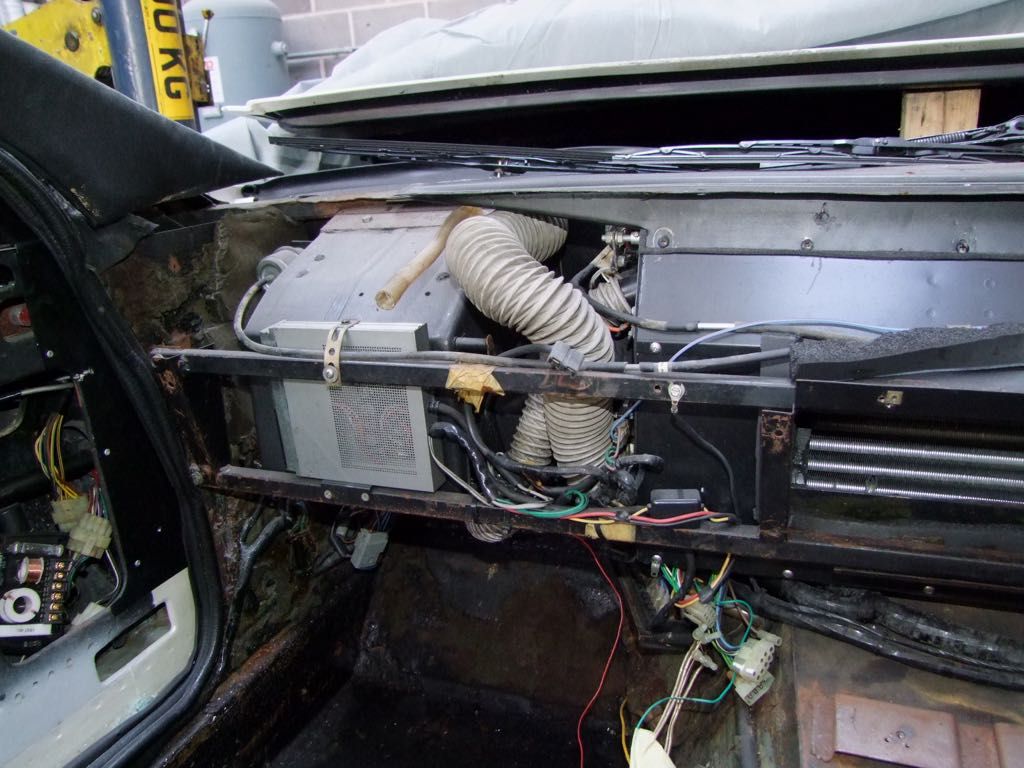
Not only has the heating slider been removed, but also the programmer which is hidden beneath the instrument housing. The vacuum solenoids have been relocated there on a custom bracket.
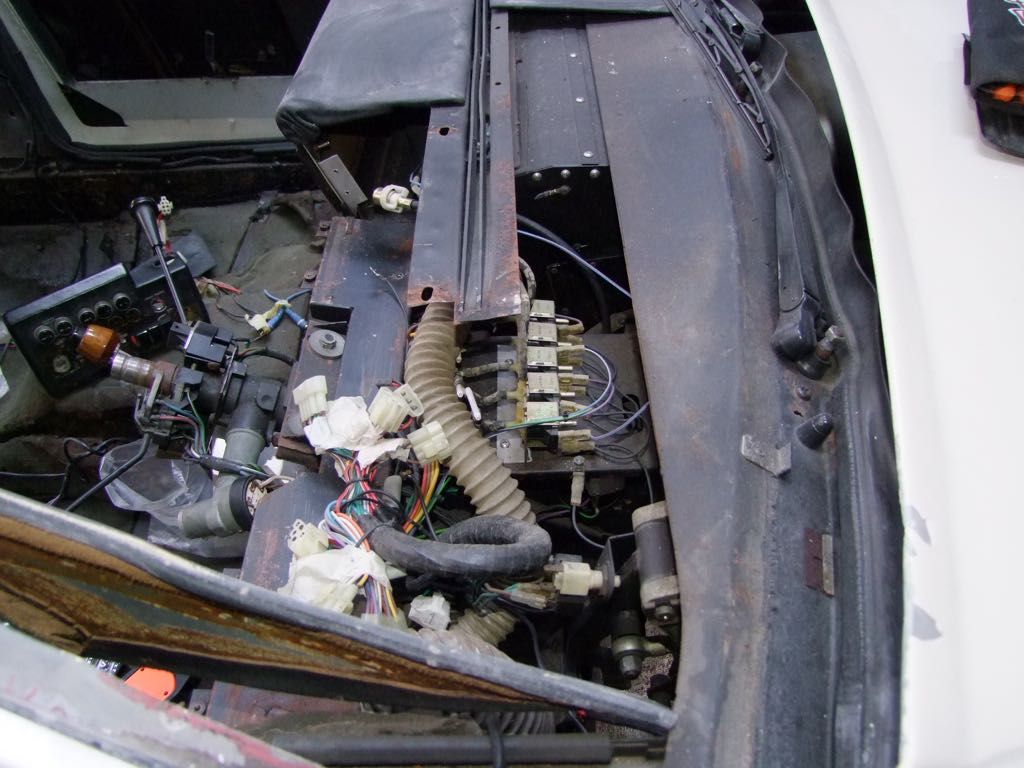
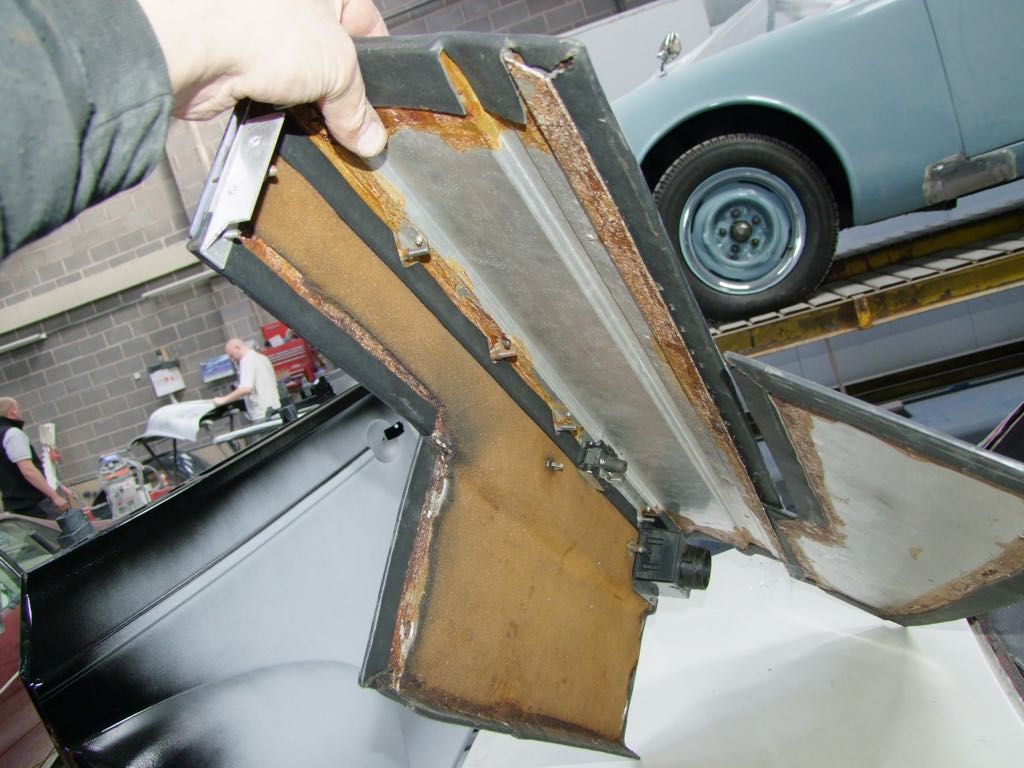
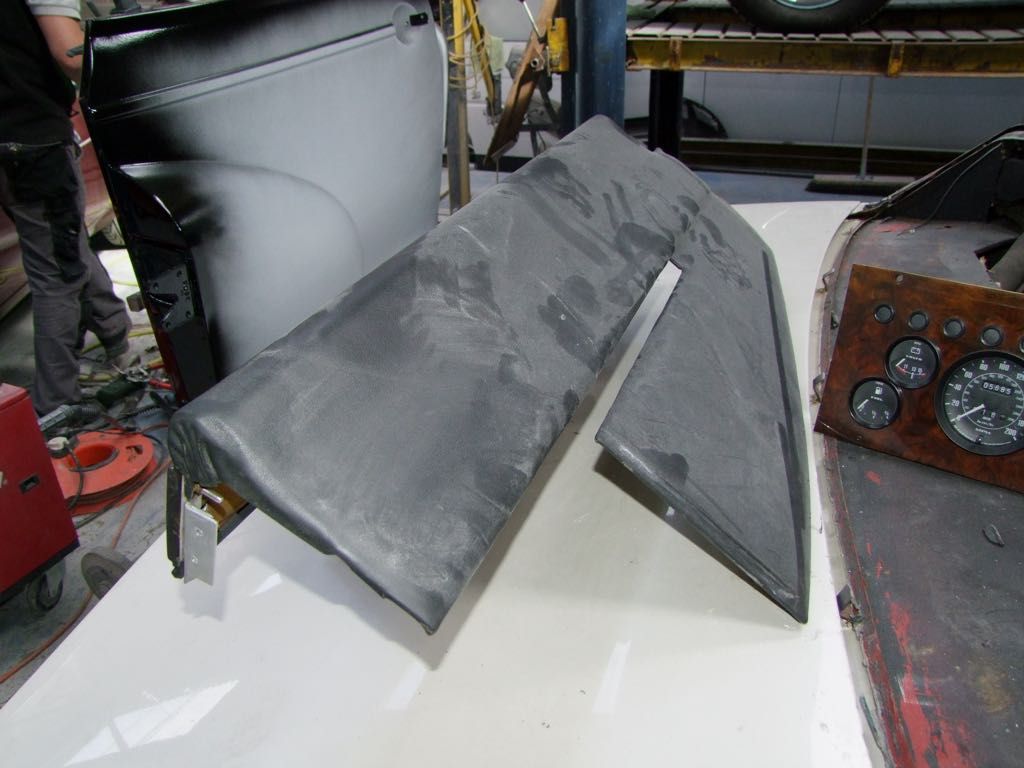
The passenger side dash front and top come out as one piece which is handy. The heater fan box is standard - that metal box is part of the stereo.
 |
|
| Back to top |
|
 |
jonc
Joined: 21 Sep 2010
Posts: 584
Location: Cheshire, UK
|
 Posted: Fri Jun 05, 2015 1:53 pm Post subject: Posted: Fri Jun 05, 2015 1:53 pm Post subject: |
 |
|
With the headlining out, the car is ready for de-squashing.
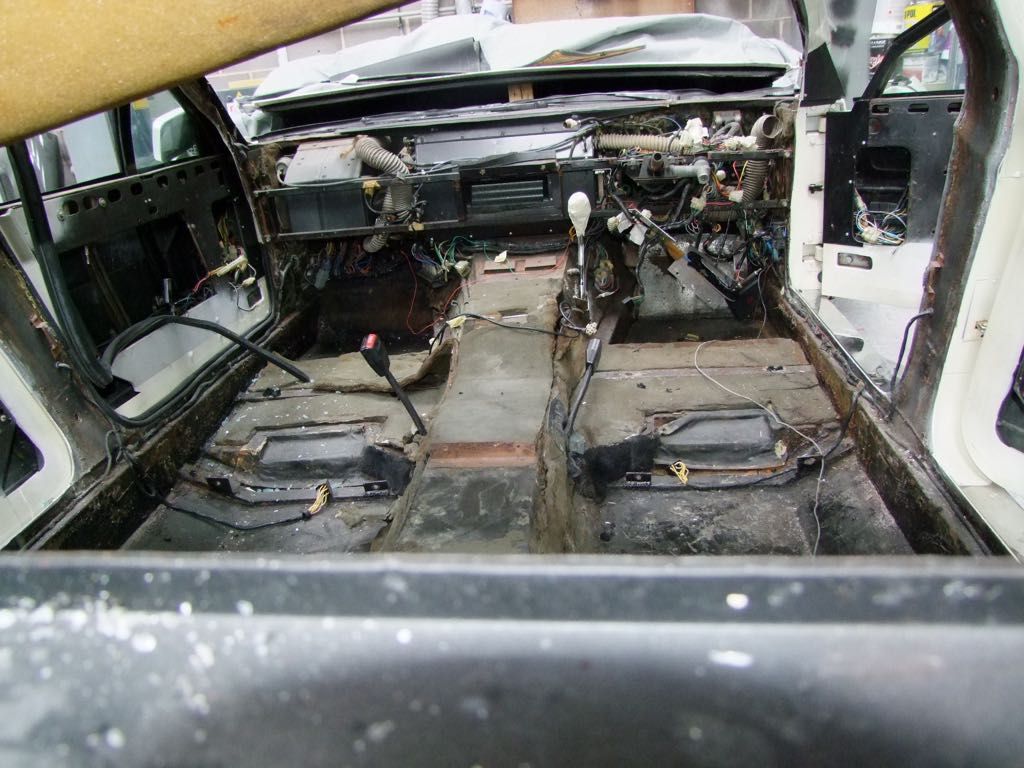
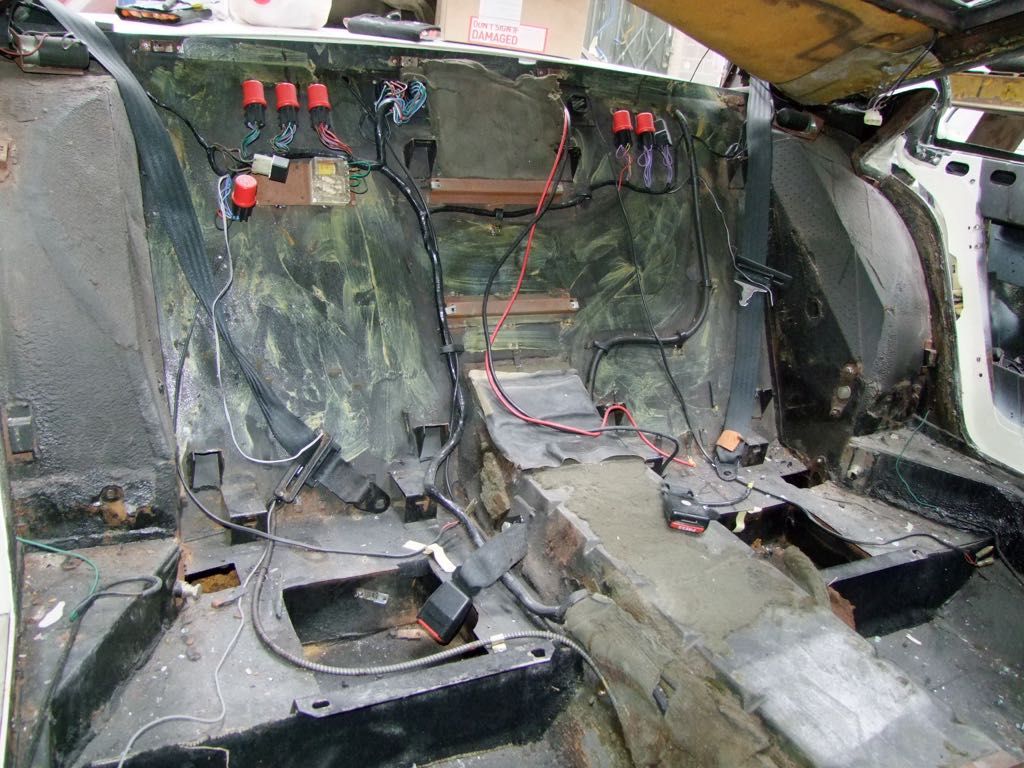
After another hoovering out of the glass that is.. |
|
| Back to top |
|
 |
Lagondanet
Administrator

Joined: 03 Jan 2007
Posts: 3110
Location: UK
|
 Posted: Sun Jun 07, 2015 8:20 pm Post subject: Posted: Sun Jun 07, 2015 8:20 pm Post subject: |
 |
|
| Fantastic! |
|
| Back to top |
|
 |
jonc
Joined: 21 Sep 2010
Posts: 584
Location: Cheshire, UK
|
 Posted: Tue Jun 09, 2015 12:54 pm Post subject: Posted: Tue Jun 09, 2015 12:54 pm Post subject: |
 |
|
I started collecting parts for the car a while ago. There are some body panels which are a little far gone, some which need work but must be kept (like the roof with its swage lines) and also things like glass and surrounds.
Also, the Centra wheels need switching back to steel wheels. The standard steel wheels are a Jaguar part from the XJ series. AML ground off the pegs for the wheel trims which you can just see on the wheels on the left:
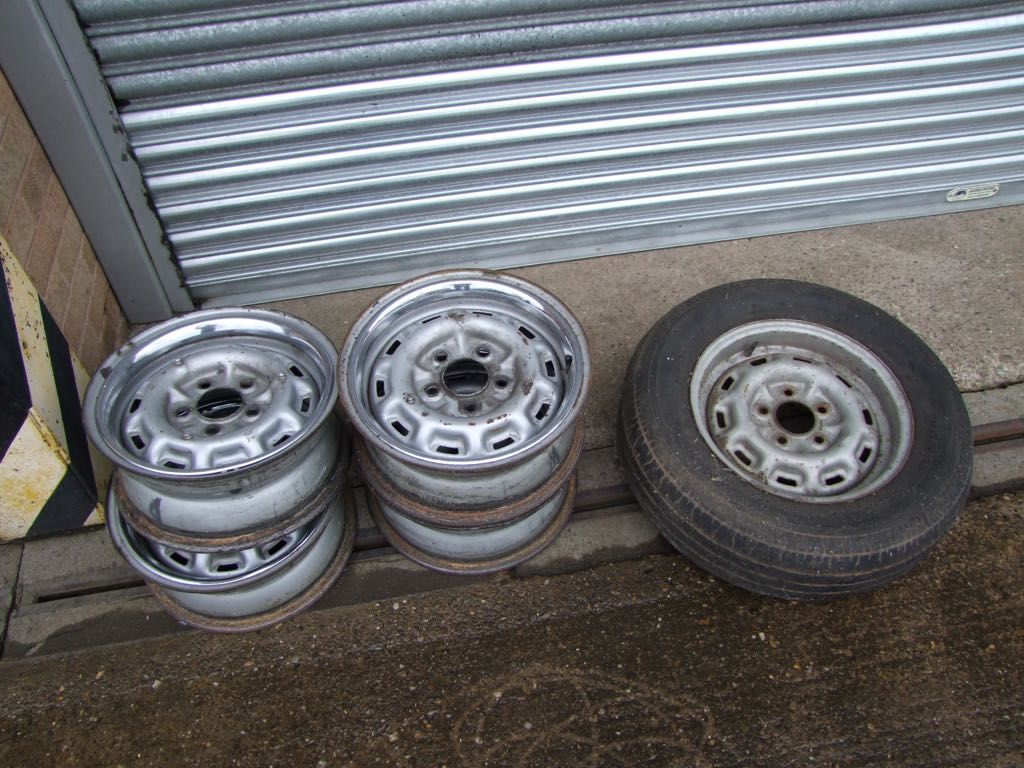
I was wondering which wheel trims were used on the car. It is pictured in 'Aston Martin V-8' by Michael Bowler captioned 'The first production Lagonda (13008) was delivered twice to Lady Tavistock with major instrumentation revision in between' with the early trims similar to production ones but with covered wheel nuts (as on 13001 - the Motor Show prototype). In the book 'A Collectors Guide. Aston Martin and Lagonda Volme 2: V8 models from 1970' by Paul Chudeki the car is shown with moon disk type wheel trims with a winged Lagonda centre badge (like the grille one). The caption reads 'Two Thoroughbreds: Red Rum and V8 Lagonda pose at Woburn Abbey in 1979'.
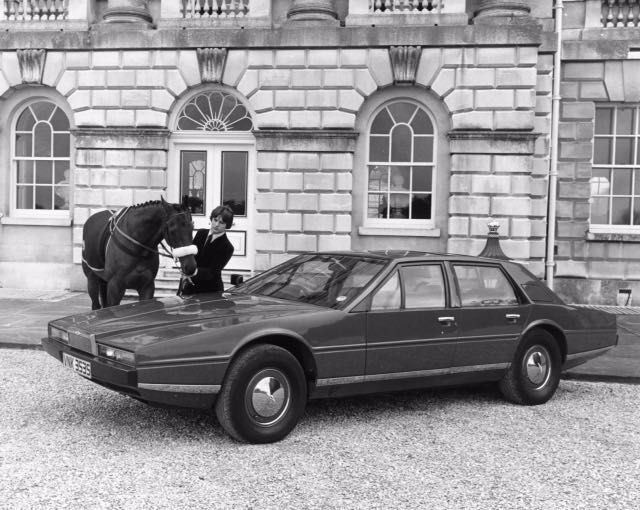
It is this type of wheel trim which is shown in the parts catalogue for 'early' cars. Although the painted rim looks like the standard production one, it has a different part number in the parts catalogue so must be different.
I managed to find these on eBay:
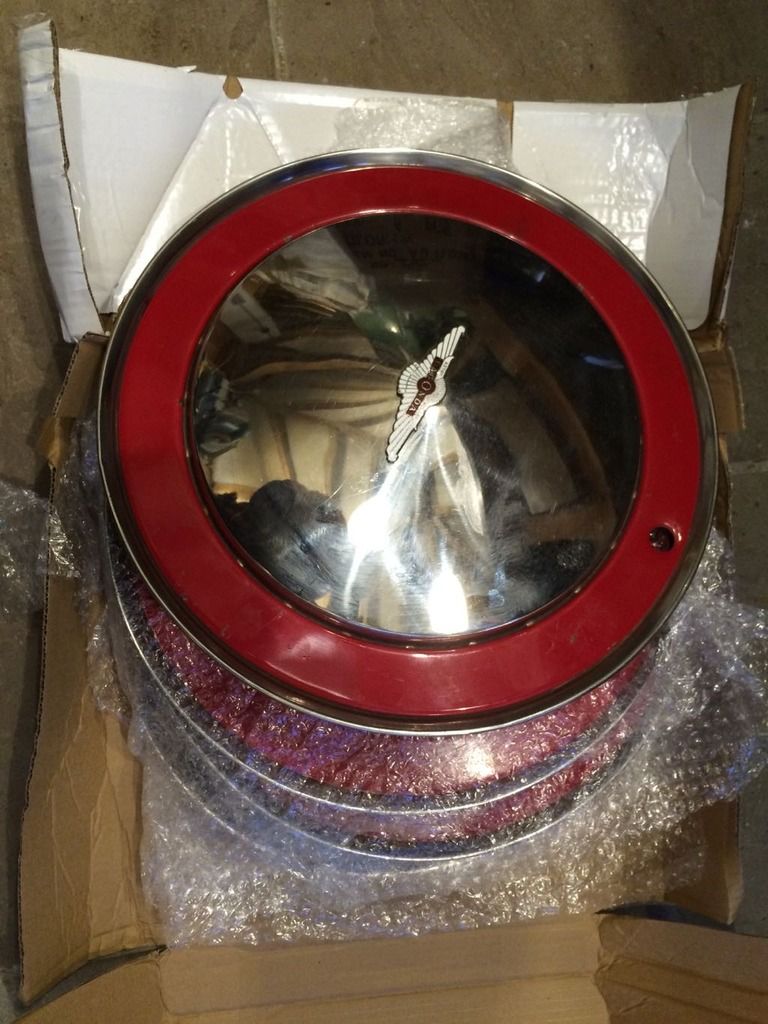
Amazingly, I now have a set of four, plus two unused spares.
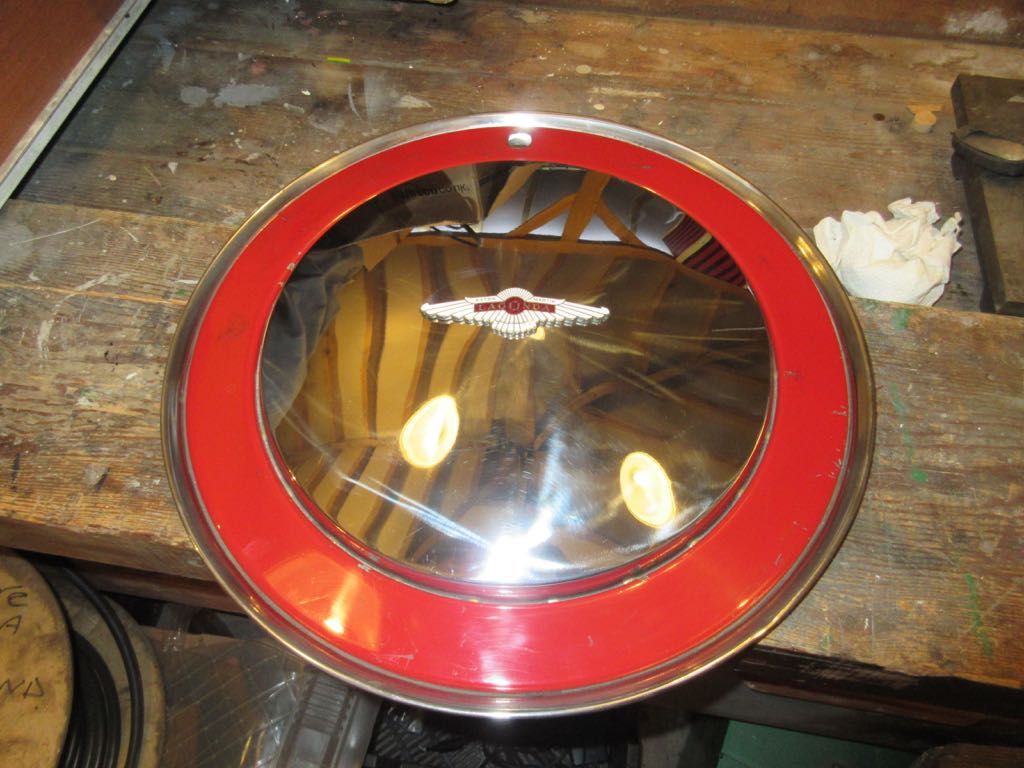
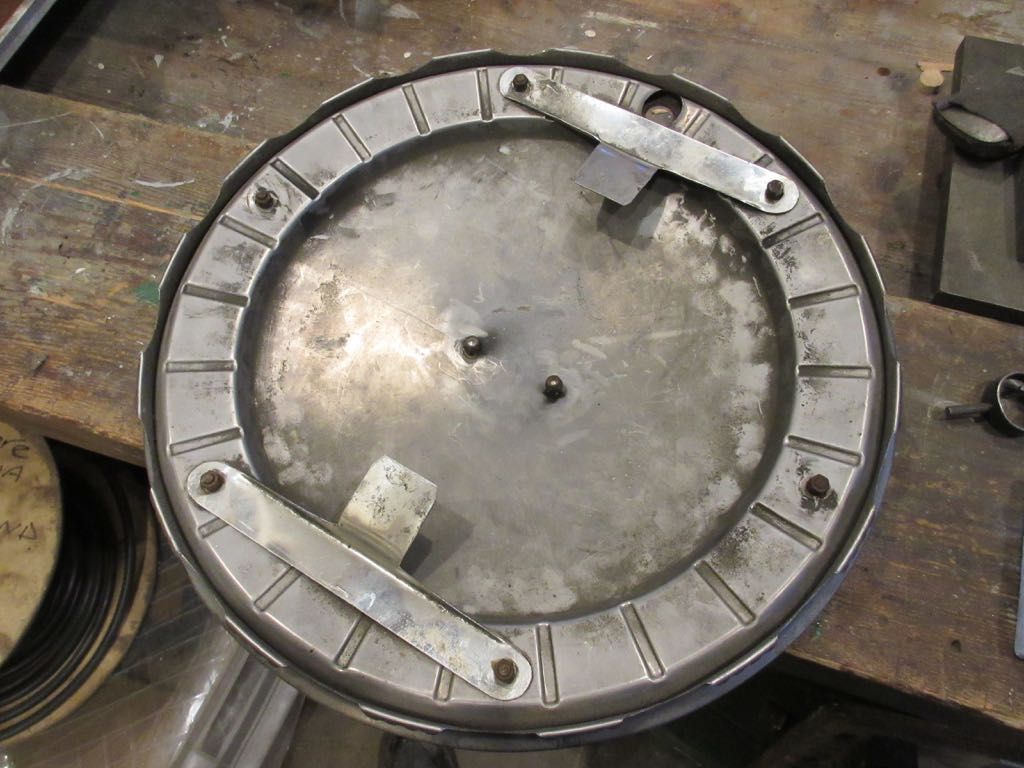
The back has some hand-made brackets which look like they are to retain them. The main part is a pressing but there are no manufacturer marks. The holes for the painted ring and badge are drilled by hand. Without the ring, the front looks like this:
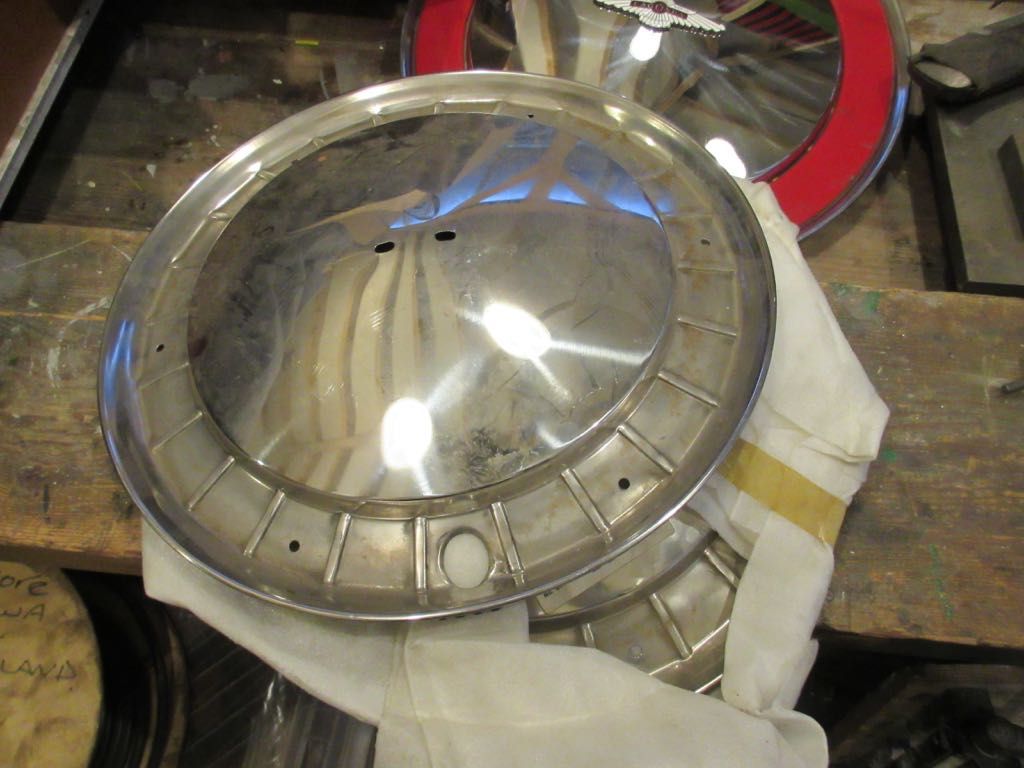
..and from this I found where they came from originally.. |
|
| Back to top |
|
 |
Lagonda87
Joined: 18 Dec 2007
Posts: 315
|
 Posted: Tue Jun 09, 2015 8:34 pm Post subject: Posted: Tue Jun 09, 2015 8:34 pm Post subject: |
 |
|
Great project! 
I'm really looking forward to following the progress of this restoration!!
I wonder if this could be an earlier - work in progress - version of 13008:

When zooming in it looks like:
- The seats doesn't have headrests.
- The instrument binnacle looks black (red on VNK353S)
- The top of the dashboard looks red (like on VNK353S).
Also notice the white sticker in the left-hand side of the windshield....
A similar sticker is also present in the picture of VNK353S in the book
"Aston Martin and Lagonda Vol. 2: V8 models from 1970" by Paul Chudecki.
The sticker is not present in the picture of VNK353S with the Tavistocks.
So a timeline could be:
1) The picture above
2) The picture in the Chudecki book
3) The picture with the Tavistocks
/Soren |
|
| Back to top |
|
 |
|


