| View previous topic :: View next topic |
| Author |
Message |
jonc
Joined: 21 Sep 2010
Posts: 584
Location: Cheshire, UK
|
 Posted: Fri Mar 13, 2015 8:58 pm Post subject: Posted: Fri Mar 13, 2015 8:58 pm Post subject: |
 |
|
I've been sorting out the battery terminals like I did on 13277. I had already put one terminal convertor on where there was a Ford-type bolt-on cable and applied some heat-shrink to the terminal to tidy and insulate it.
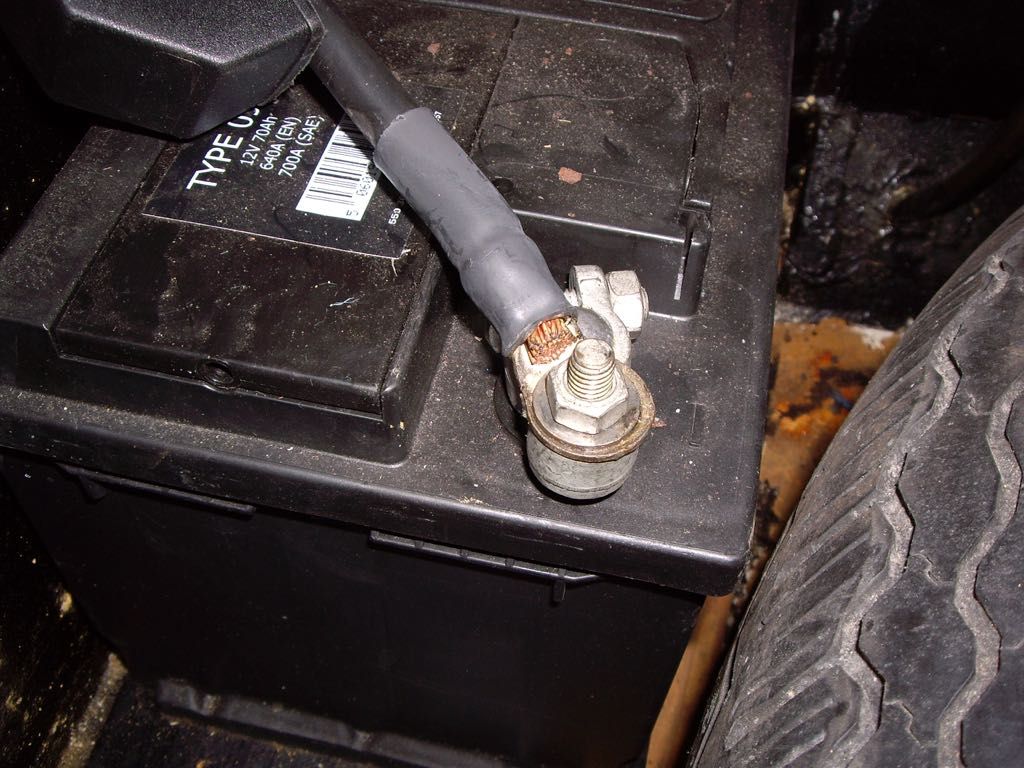
Here is the other one which is as I bought the car. In fairness, the previous owner had left a note saying that it needed improving.
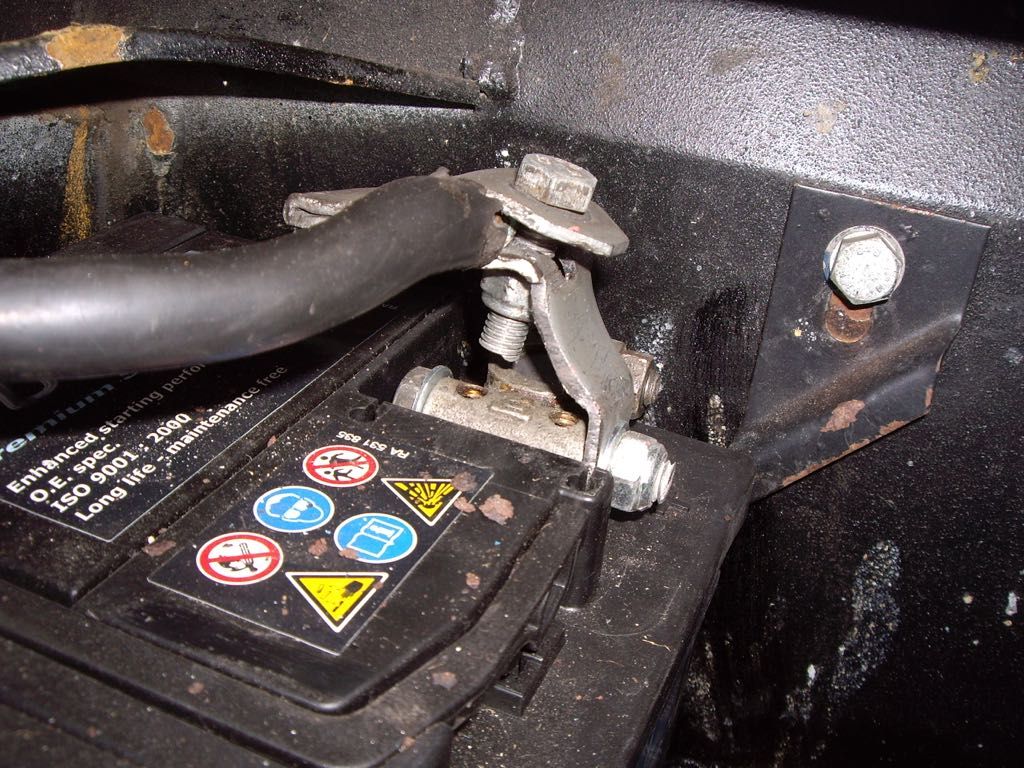
I crimped and soldered a tag onto the end, and then applied heat-shrink sleeving. I also fitted terminal covers as I don't really like exposed battery terminals in a location like this. Finally, I have fitted a battery clamp.
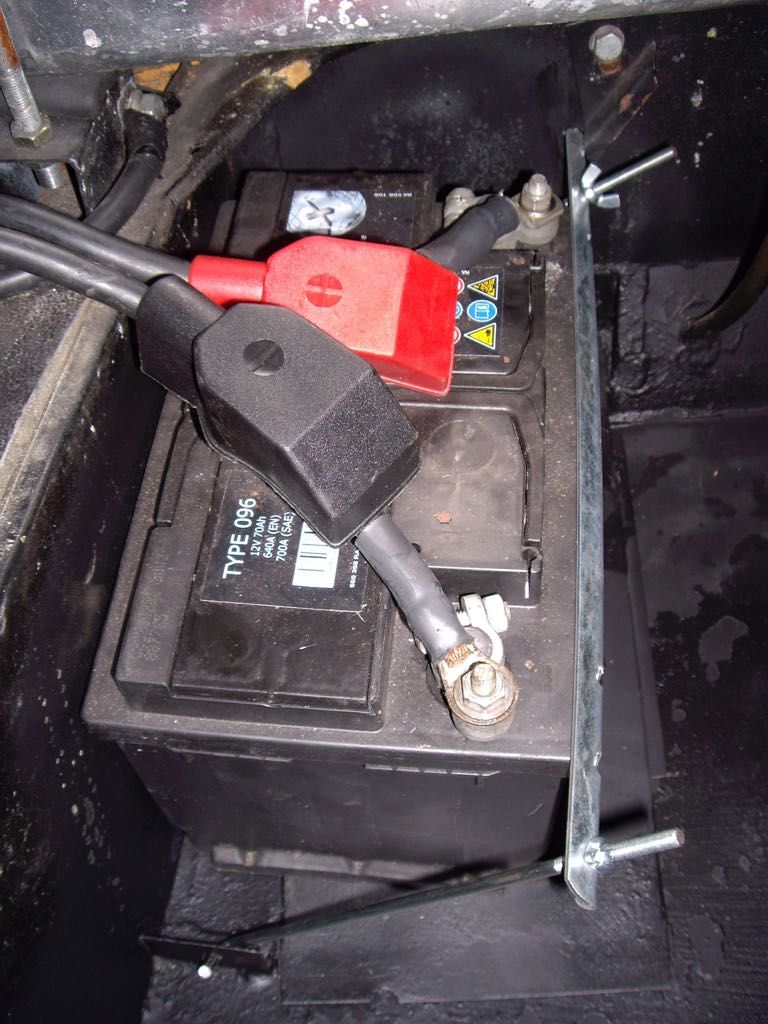
I then found that the wheel is right up to the clamp, so I had to shorten it.
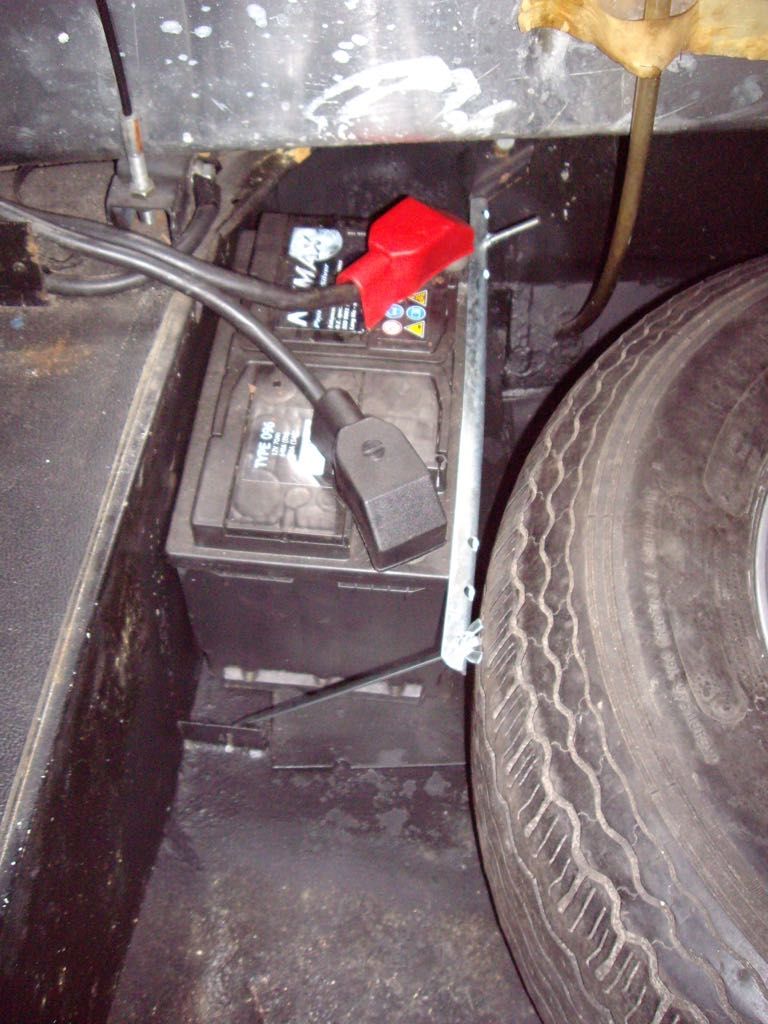
Both my Lagondas came without a battery clamp. I think this is because the battery originally fitted was an unusual size, (and also had unusual terminals on the top). I am pretty sure that the battery must be secured for the MOT, but this requires the tester to find it first..
There is a good reason why it should be secured. If the car was upside down, or jolted by an accident, there is a high chance the positive terminal would short out. With the Lagonda the terminal would touch the underside of the fuel tank and within a few seconds it would burn a hole through. Not what you want! |
|
| Back to top |
|
 |
jonc
Joined: 21 Sep 2010
Posts: 584
Location: Cheshire, UK
|
 Posted: Sun Mar 29, 2015 7:25 pm Post subject: Posted: Sun Mar 29, 2015 7:25 pm Post subject: |
 |
|
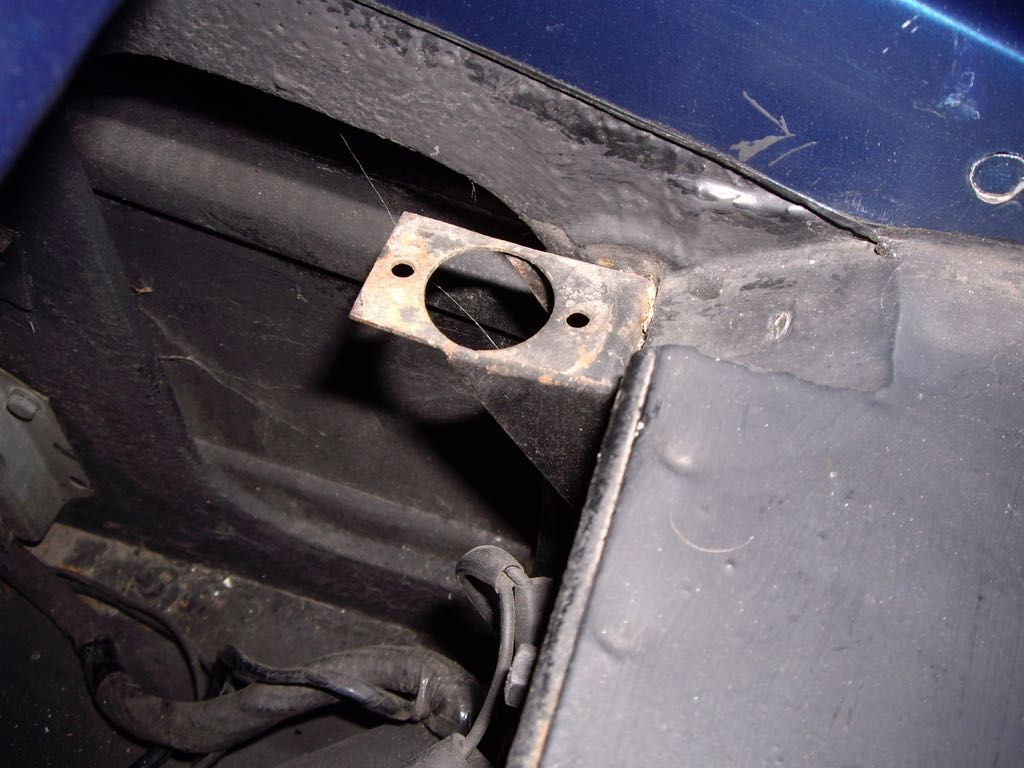
Here is where the bonnet light switch belongs:
I don't know why, but here is what the car has:
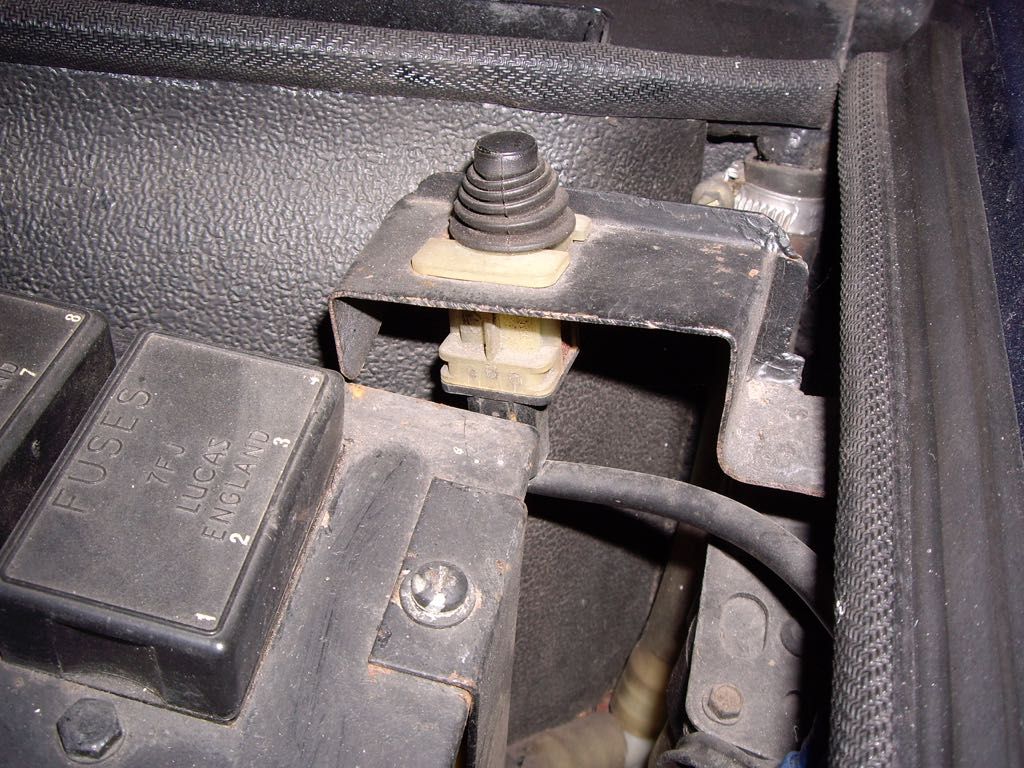
I can only think that the original switch failed and this is what was to hand. It is mounted next to the fuse box.
A call to my friendly AM parts supplier revealed it is still available - and a mere £18. It is actually made by Hella but I was surprised to find it available at all.
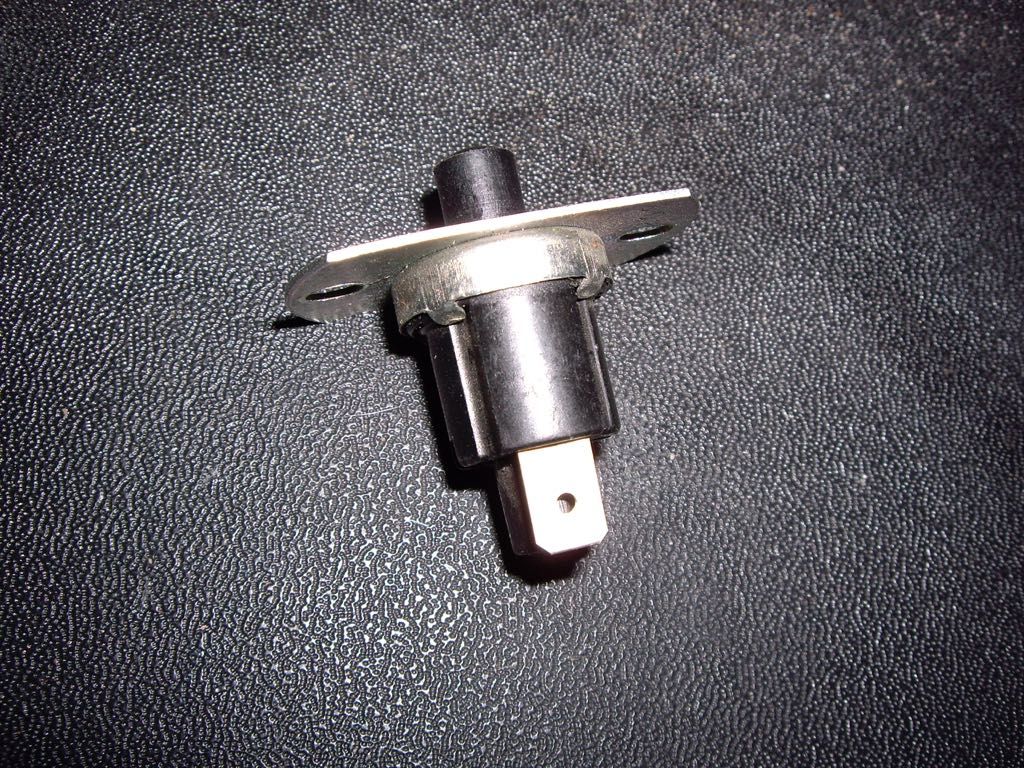
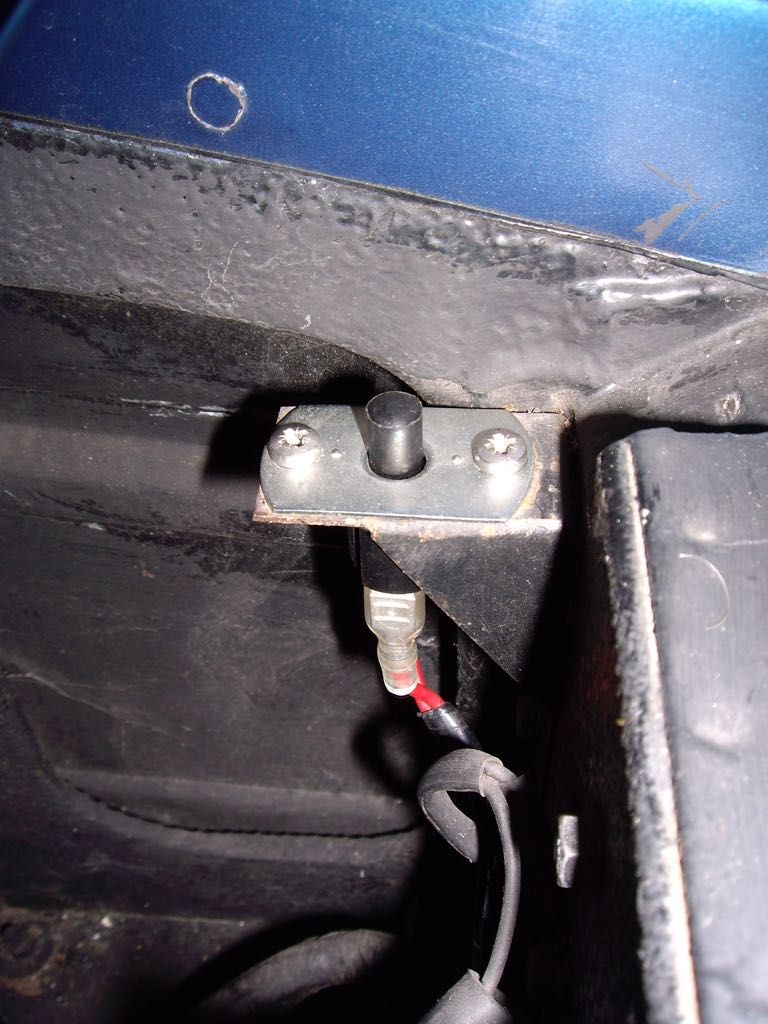
The loom had been extended up to the new switch with soldered connections which were cut and replaced with the correct crimps. Here it is fitted with new stainless steel screws:
 |
|
| Back to top |
|
 |
jonc
Joined: 21 Sep 2010
Posts: 584
Location: Cheshire, UK
|
 Posted: Sun Mar 29, 2015 7:40 pm Post subject: Posted: Sun Mar 29, 2015 7:40 pm Post subject: |
 |
|
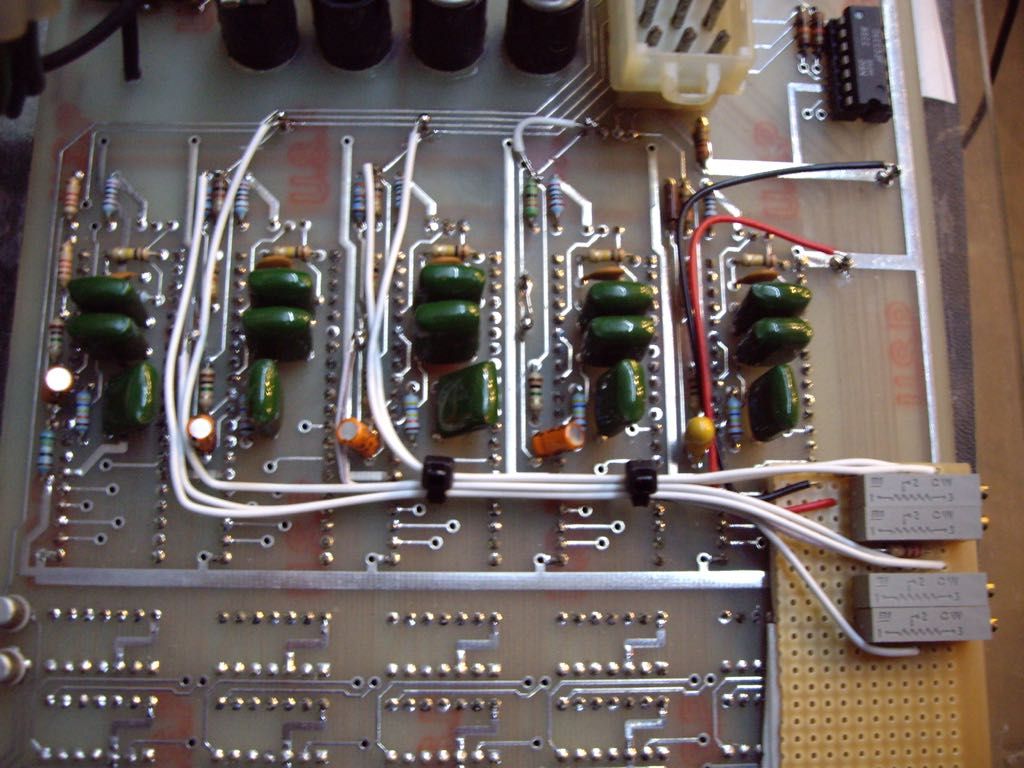
As I have said here http://lagondanet.com/bb/viewtopic.php?t=388#6589, I have made an improvement to the dashboard oil and water temp gauges. I did this because the water temperature sensor was faulty and needed replacing, and I don't like the idea that the 'consumable' replacement from AML is so expensive. I shall call this improvement the 'Universal Temperature Sensor Upgrade' since it allows the dash to be adjusted to a range of sensors, the best of which I think should be the PT500 or PT1000 platinum resistance sensors. It is mounted behind the dash PCB and so is not visible:
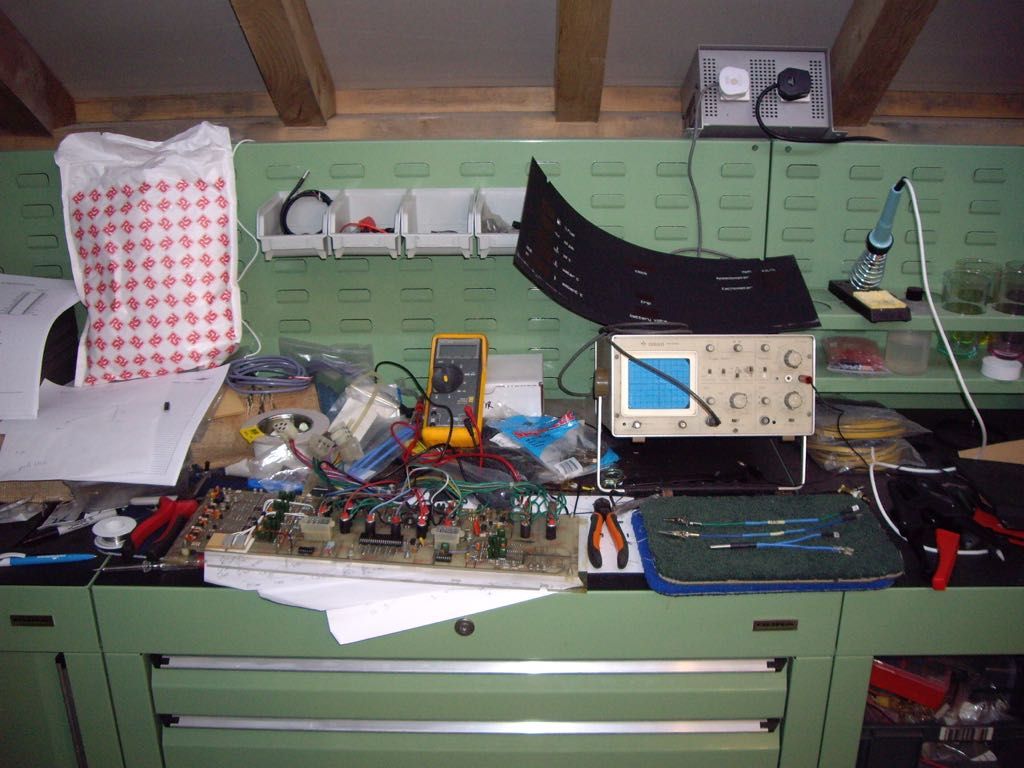
I still have some tidying of my work bench to do now I am finished with it:
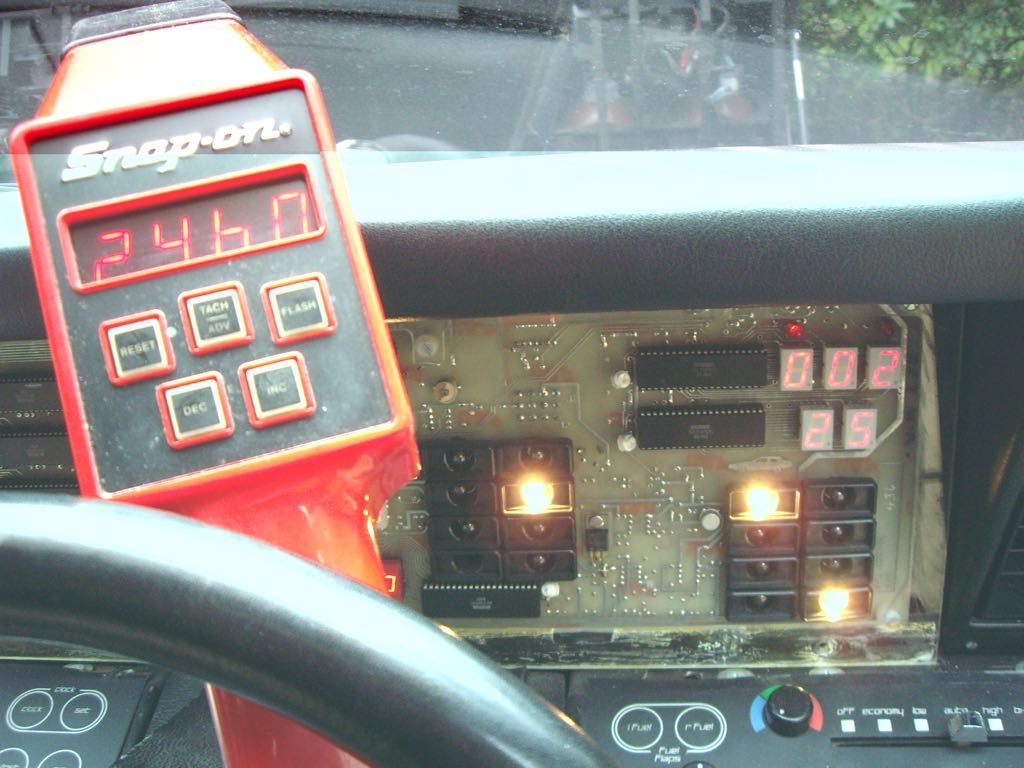
Since the upgrade has been applied to the oil temp gauge, I have been able to accurately calibrate it as well. While the dash was accessible, I have also calibrated some other gauges. This photo shows calibration of the tachometer and is pretty much the same photo in Roger's set when his was done at David Marks. Like David, I used the tachometer on my timing light:
Finally, I calibrated the road speed using a GPS speed sensor at 70mph. There is no ability to adjust the zero, so it stays at +2mph. Maybe a job for another day to add that ability..
Last edited by jonc on Wed Apr 08, 2015 6:42 pm; edited 1 time in total |
|
| Back to top |
|
 |
jonc
Joined: 21 Sep 2010
Posts: 584
Location: Cheshire, UK
|
 Posted: Sun Mar 29, 2015 7:58 pm Post subject: Posted: Sun Mar 29, 2015 7:58 pm Post subject: |
 |
|
A couple of the door wood inserts didn't look too good when I bought the car. Here is the driver's door one:
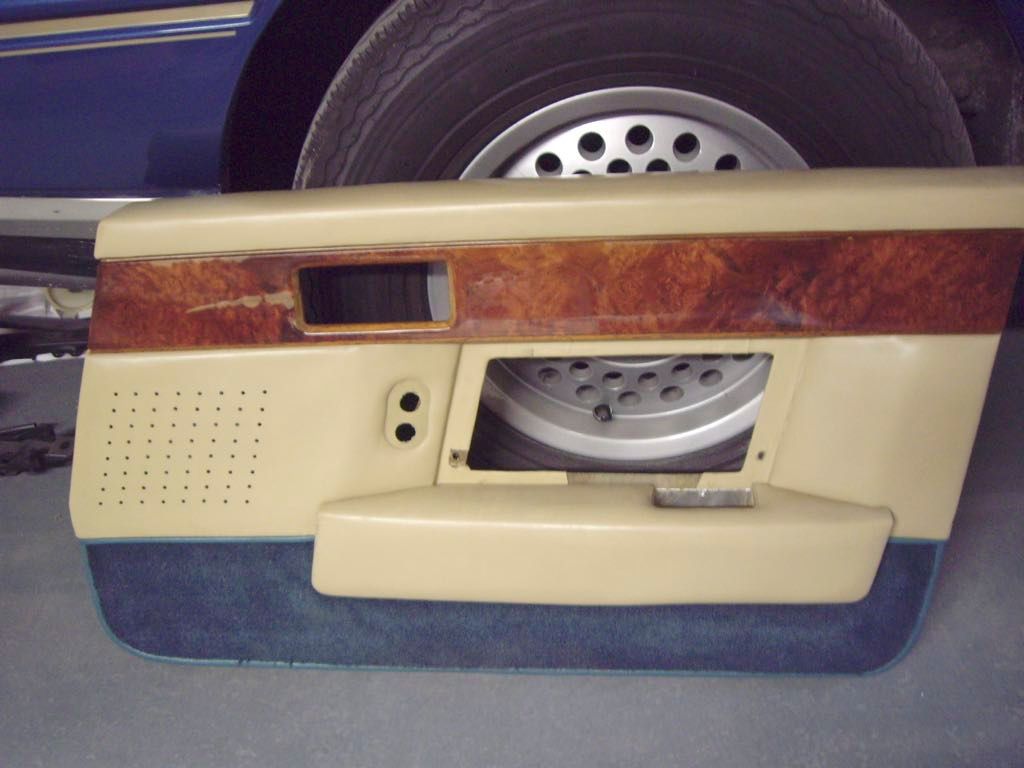
and one of the rear doors was nearly as bad. Time for refurbishment which involves removing them from the door cards, which means the door cards have to come off. Since they have never been off the car before, they were quite well stuck to the leather of the door cards. Once each one was unscrewed, they had to be very carefully prised off so the wood didn't break.
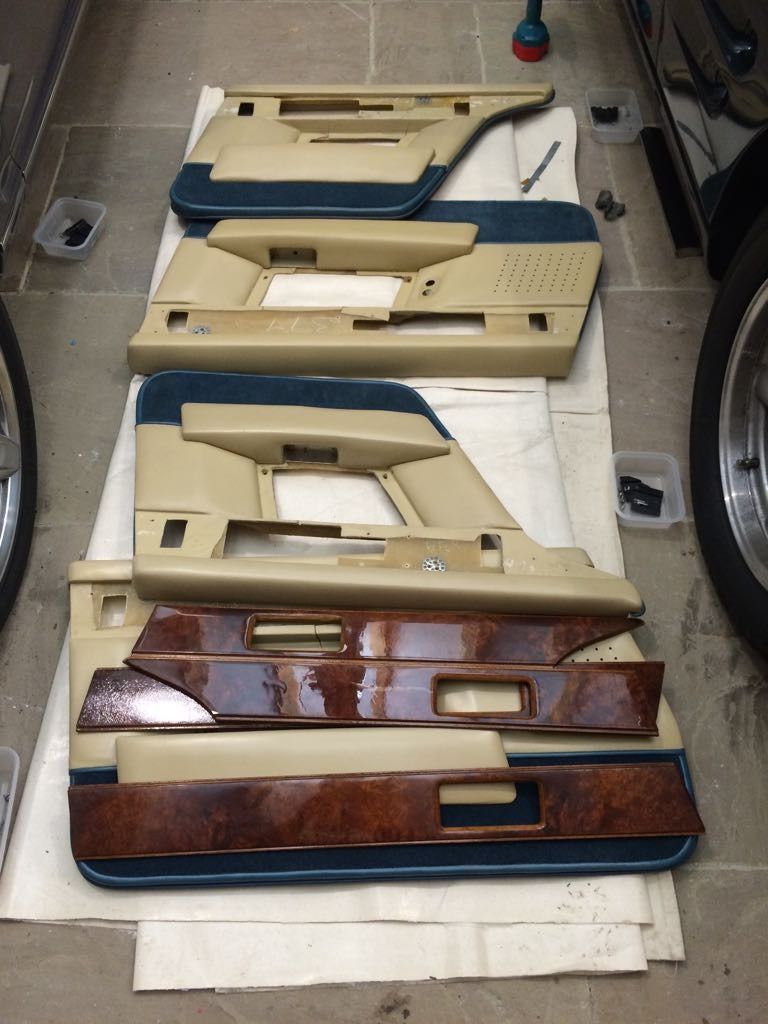
I took them to a man who used to do this job for R-R / Bentley, and then set up on his own in Crewe. After two weeks of magic, here they are back:
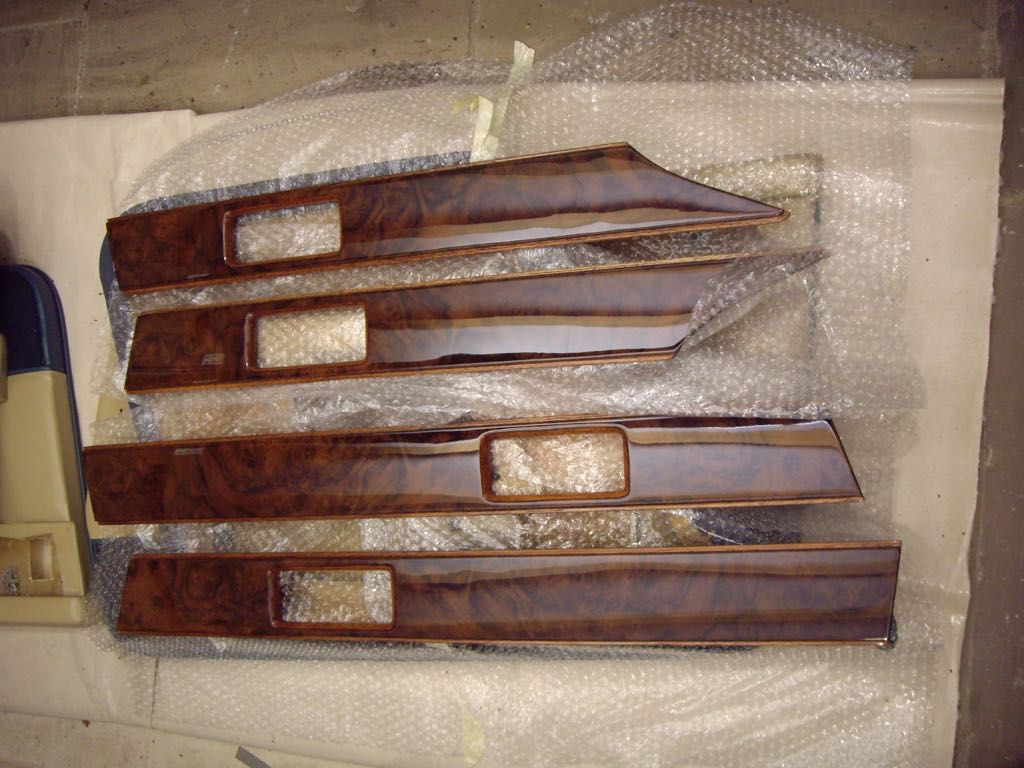
and fitted again:
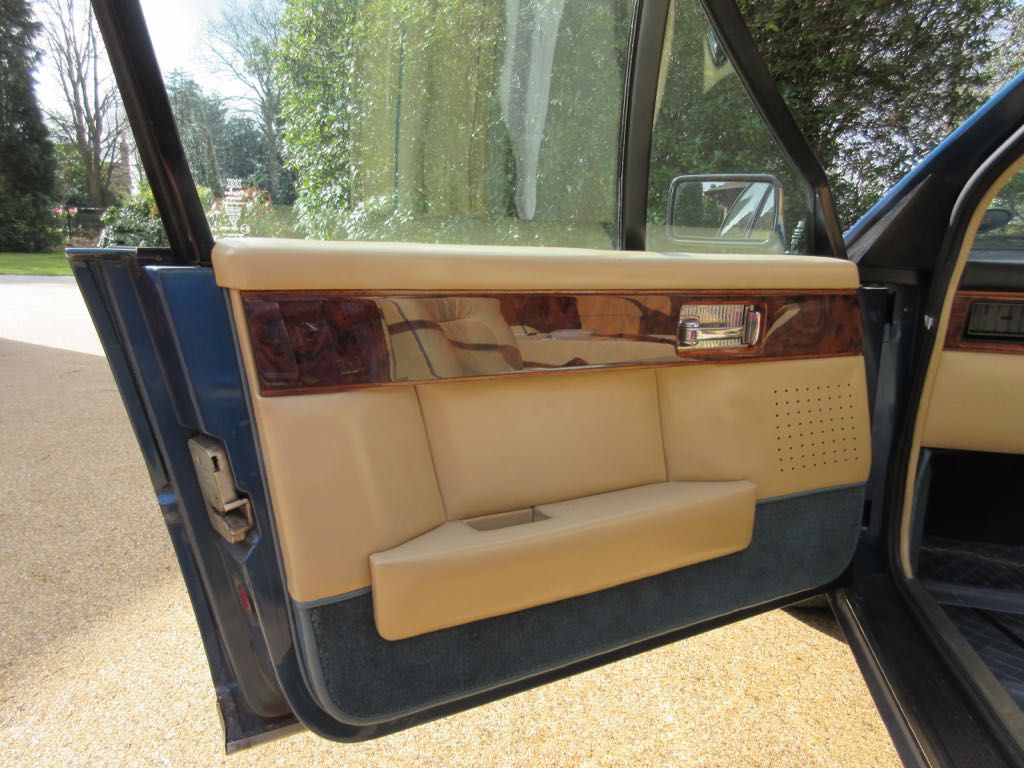
They are as good as, if not better than new  |
|
| Back to top |
|
 |
Vrije
Joined: 23 Nov 2007
Posts: 440
|
 Posted: Mon Mar 30, 2015 7:30 pm Post subject: Posted: Mon Mar 30, 2015 7:30 pm Post subject: |
 |
|
Just saw the Switch at the helle parts site looking for some other. At Hella they are under 10 euro  |
|
| Back to top |
|
 |
jonc
Joined: 21 Sep 2010
Posts: 584
Location: Cheshire, UK
|
 Posted: Mon Mar 30, 2015 9:26 pm Post subject: Posted: Mon Mar 30, 2015 9:26 pm Post subject: |
 |
|
| Do you have a part number or reference? |
|
| Back to top |
|
 |
Vrije
Joined: 23 Nov 2007
Posts: 440
|
 Posted: Tue Mar 31, 2015 5:20 am Post subject: Posted: Tue Mar 31, 2015 5:20 am Post subject: |
 |
|
6 zf 005 686-067 silver button
-007. Black button.
Cheapest is some 6 euro |
|
| Back to top |
|
 |
jonc
Joined: 21 Sep 2010
Posts: 584
Location: Cheshire, UK
|
 Posted: Tue Mar 31, 2015 9:55 am Post subject: Posted: Tue Mar 31, 2015 9:55 am Post subject: |
 |
|
Excellent thanks Harry. Looks like there are three versions:
6ZF 005 686-001 - natural (white) button? (maybe obsolete now?)
6ZF 005 686-007 - chrome button
6ZF 005 686-067 - black button
Parts catalogue lists 37.20607 for fuel flap warning switches, bonnet and also alarm switch for S4. On 13379 the white button ones are used on the fuel flaps. |
|
| Back to top |
|
 |
Vrije
Joined: 23 Nov 2007
Posts: 440
|
 Posted: Tue Mar 31, 2015 8:35 pm Post subject: Posted: Tue Mar 31, 2015 8:35 pm Post subject: |
 |
|
| Beware that no. 001 might be switching the other way as connected being pushed in |
|
| Back to top |
|
 |
jonc
Joined: 21 Sep 2010
Posts: 584
Location: Cheshire, UK
|
 Posted: Thu Apr 09, 2015 7:42 pm Post subject: Posted: Thu Apr 09, 2015 7:42 pm Post subject: |
 |
|
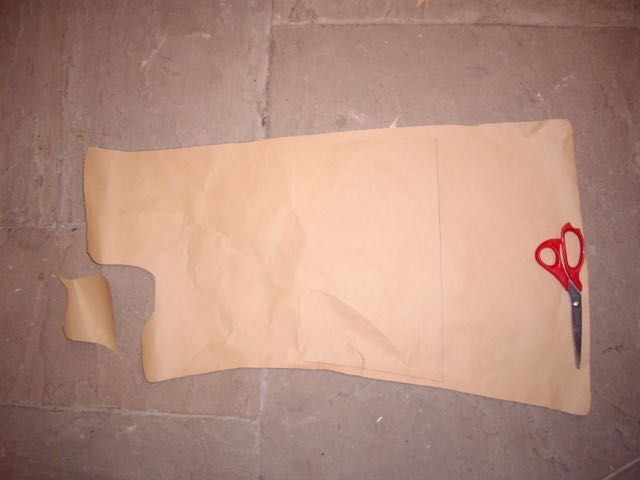
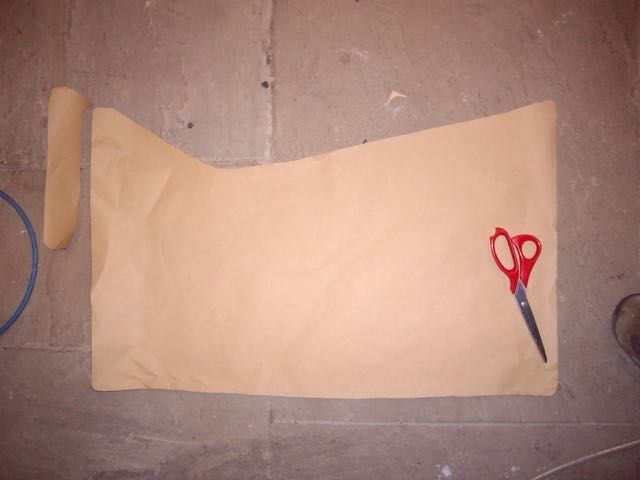
Almost up to date. Two years ago I spoke to Autostyle who make tailored car mats after I bought a set for my Spirit; they were a really good fit and so I wanted some for the Lagonda. I sent them the four carpet sections and they made templates. However, for overmats they needed to be adjusted.
Finally, this year I got round to sorting out the templates for them. They sent me paper floor mat templates and I cut them down. Fronts:
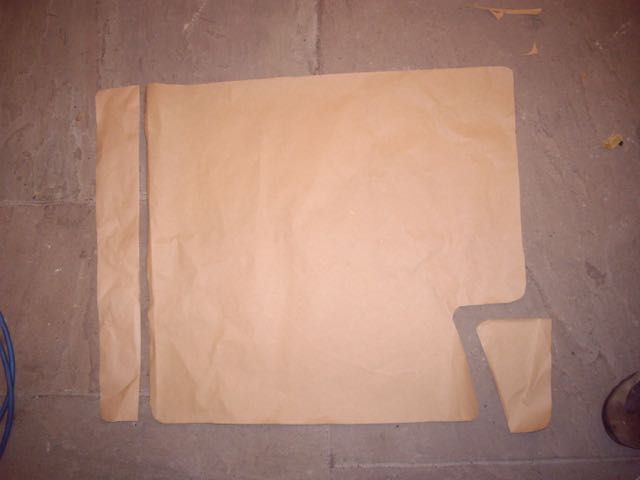
The rears are symmetrical unlike the fronts:
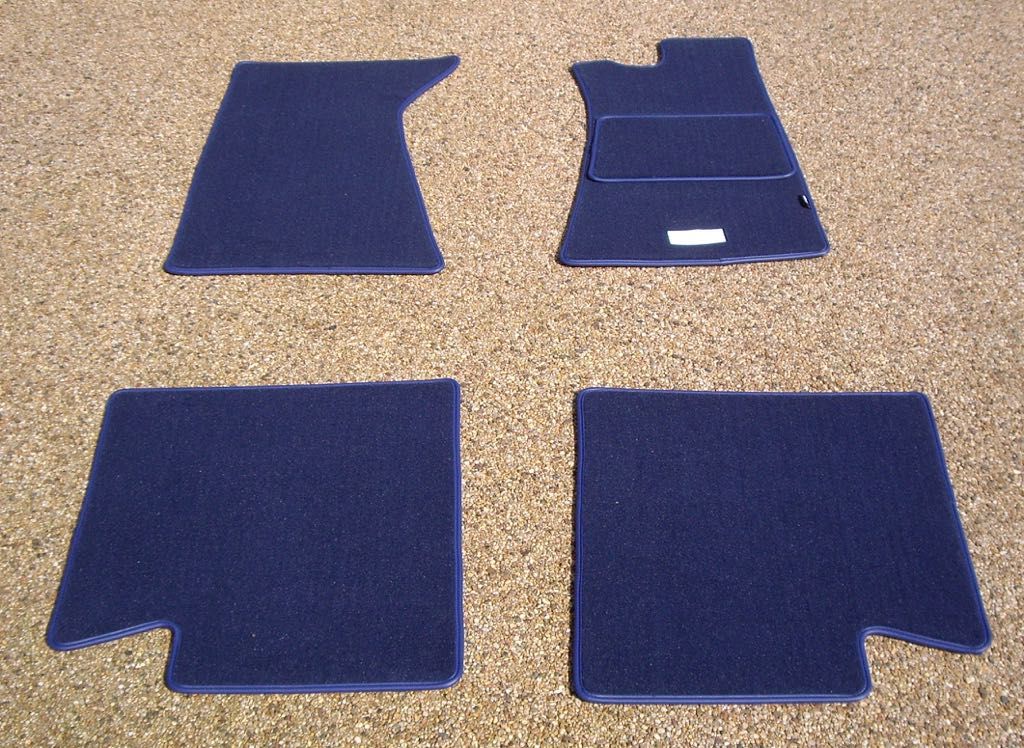
After I sent back the templates, here is the end result:
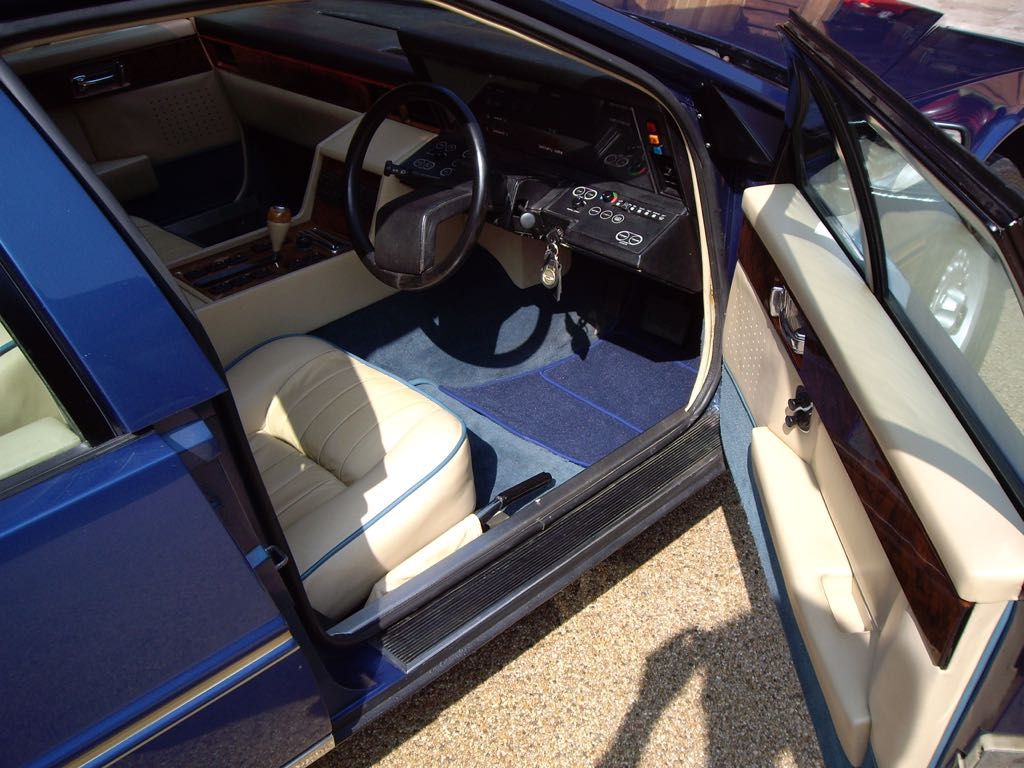
And fitted to the car:
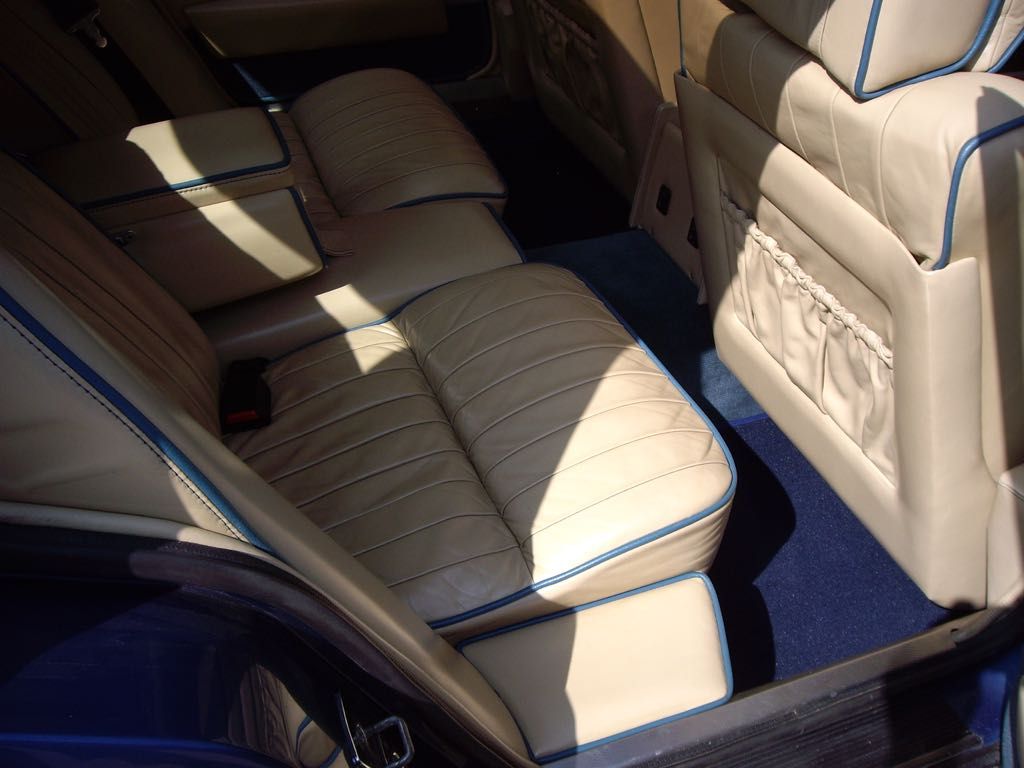
They are not expensive and you can get them in various colours here: http://www.autostyle.co.uk/
I also gave them the size for the boot carpet so that is available too. |
|
| Back to top |
|
 |
jonc
Joined: 21 Sep 2010
Posts: 584
Location: Cheshire, UK
|
 Posted: Fri Apr 10, 2015 7:00 pm Post subject: Posted: Fri Apr 10, 2015 7:00 pm Post subject: |
 |
|
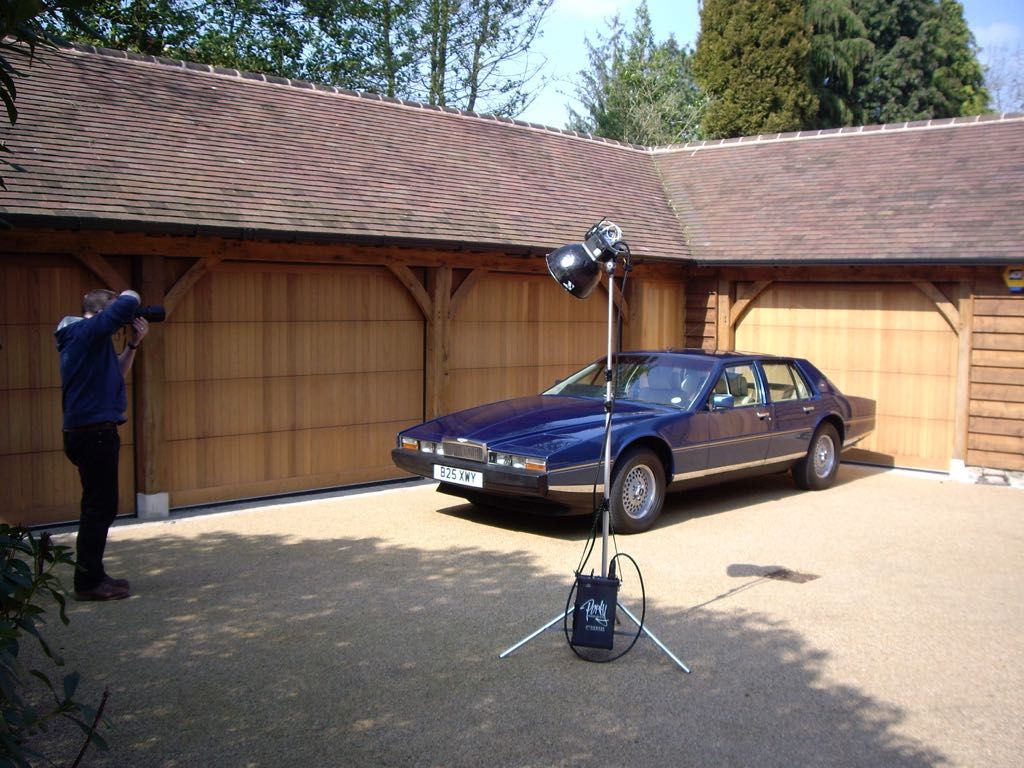
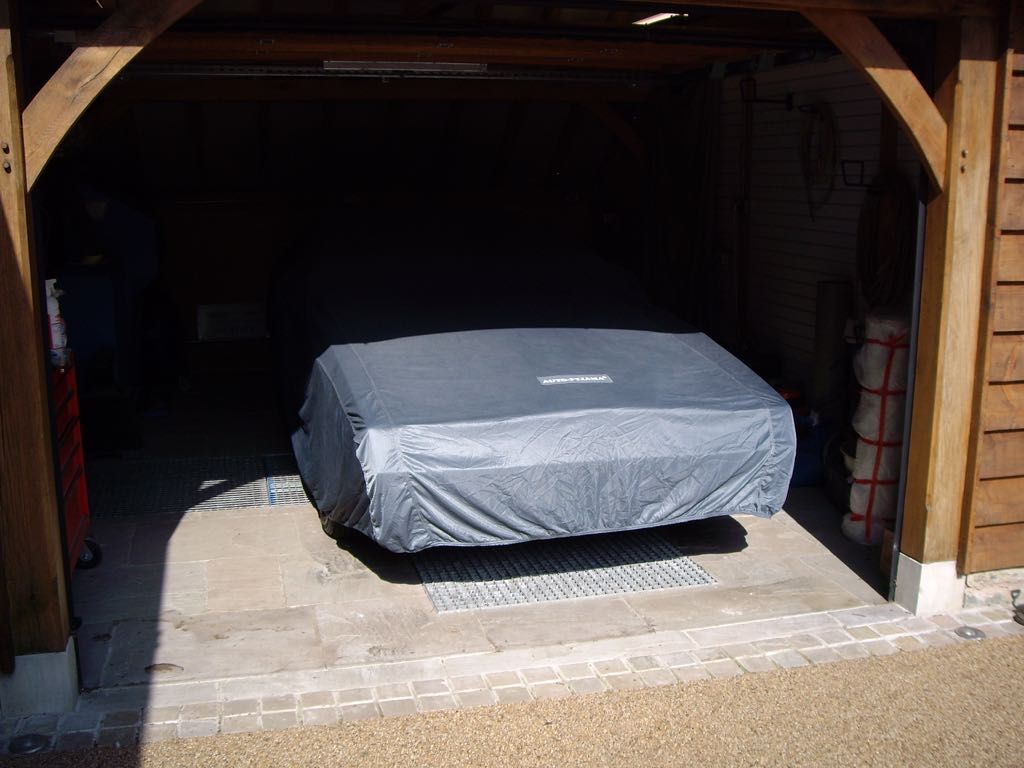
So. This is pretty much where my story ends. Sadly, due to another project this car is on its way home to Newport Pagnell for the Aston Martin Works Sale. It was photographed yesterday and is now tucked up awaiting its journey to a new owner. I hope they enjoy it as much as I have!
 |
|
| Back to top |
|
 |
|


