| View previous topic :: View next topic |
| Author |
Message |
Dimitri
Joined: 13 Sep 2010
Posts: 180
Location: Smarden, Kent, UK
|
 Posted: Thu Dec 24, 2015 2:45 pm Post subject: Posted: Thu Dec 24, 2015 2:45 pm Post subject: |
 |
|
David & Jonathan, you have done an amazing job on 13008.
Can't wait to see this entire project completed, this will be THE resurrection of the decade ! |
|
| Back to top |
|
 |
Mitrovic

Joined: 19 Nov 2007
Posts: 627
|
| Posted: Thu Dec 24, 2015 8:16 pm Post subject: |
|
|
| White Lightening trophy in Belgium! |
|
| Back to top |
|
|
jonc
Joined: 21 Sep 2010
Posts: 584
Location: Cheshire, UK
|
| Posted: Sun Dec 27, 2015 2:30 pm Post subject: |
|
|
Thanks all for the comments.
I am also doing the conversion on the instrument panel so I can run the PT1000 temp sensors, plus the multi-turn trimmers for easier setup:
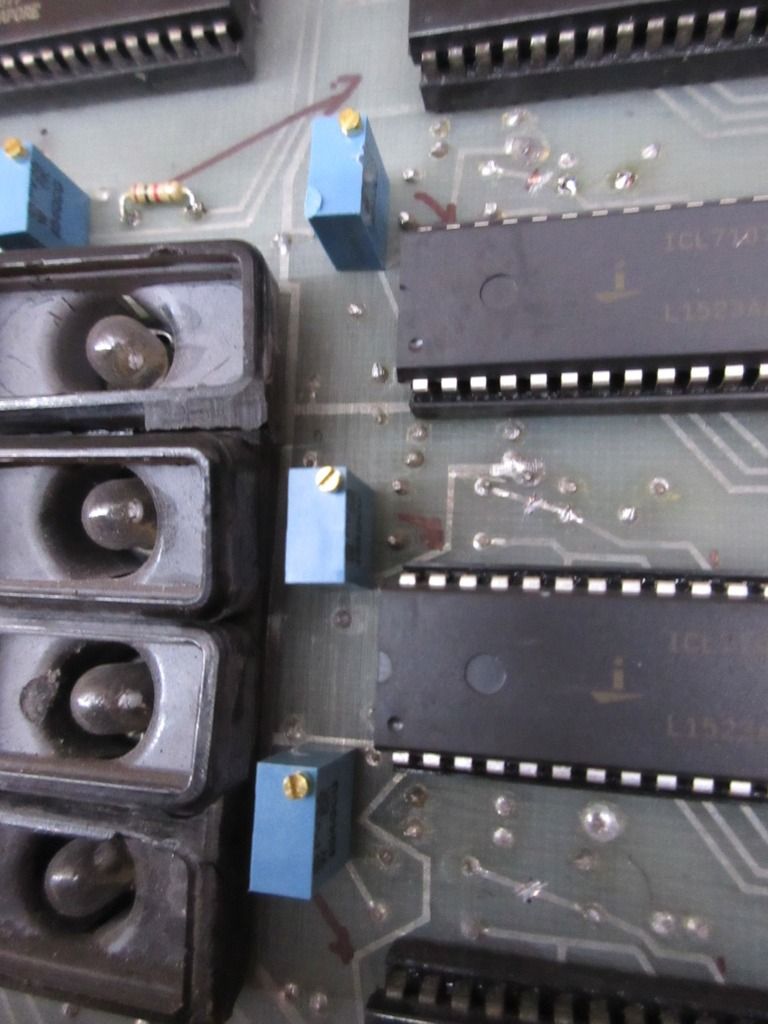
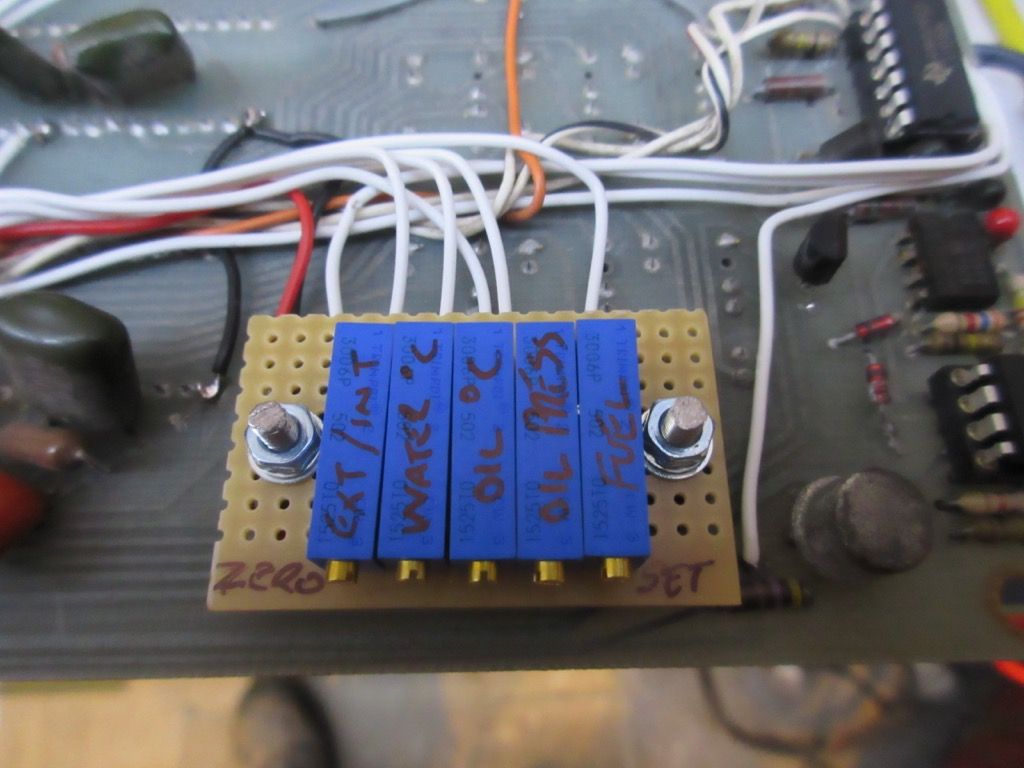
Five zero trimmers only needed. Revs and speedo don't need it. Using this modification I can also use a standard VDO oil pressure sensor.
Now, the speedo input. With an analogue dash, there is a mechanical speedo cable drive to the head. There is no evidence of a standard LED-car speedo sensor on the bulkhead.
I have a few options. I have looked at what is available now - there are a few which will screw straight onto the cable drive output on the gearbox. They are 'hall effect' sensors which provide a pulse and require a 12V supply to them. I need to find out what the original sensor outputs.
Here is the sensor off 277:
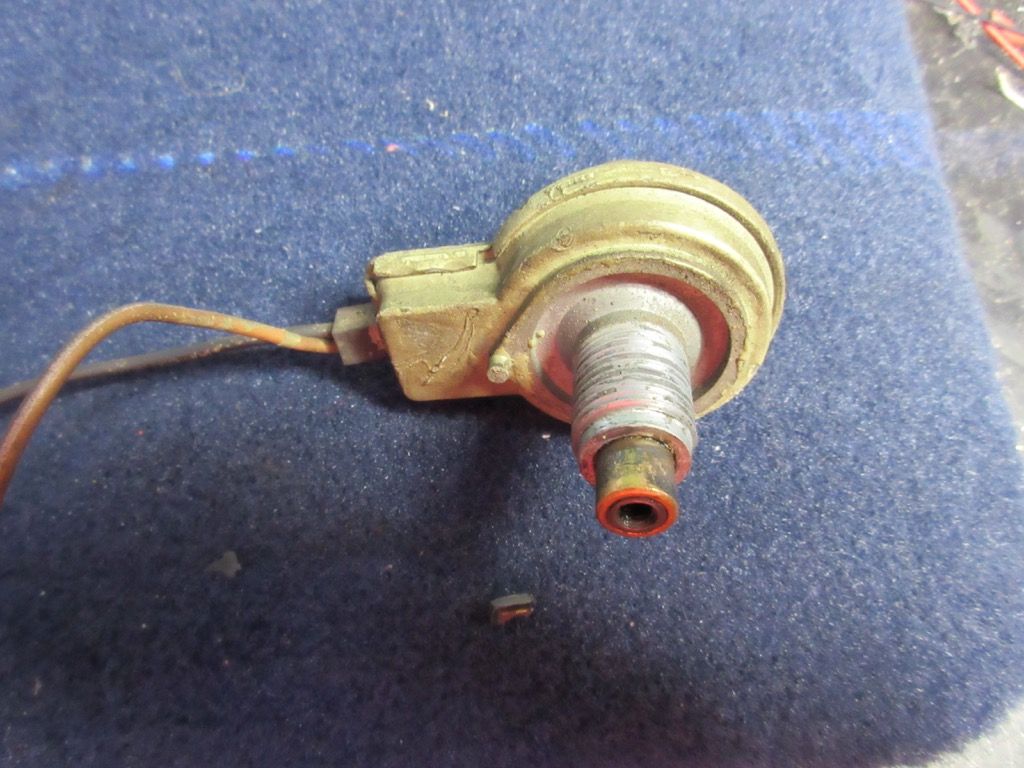
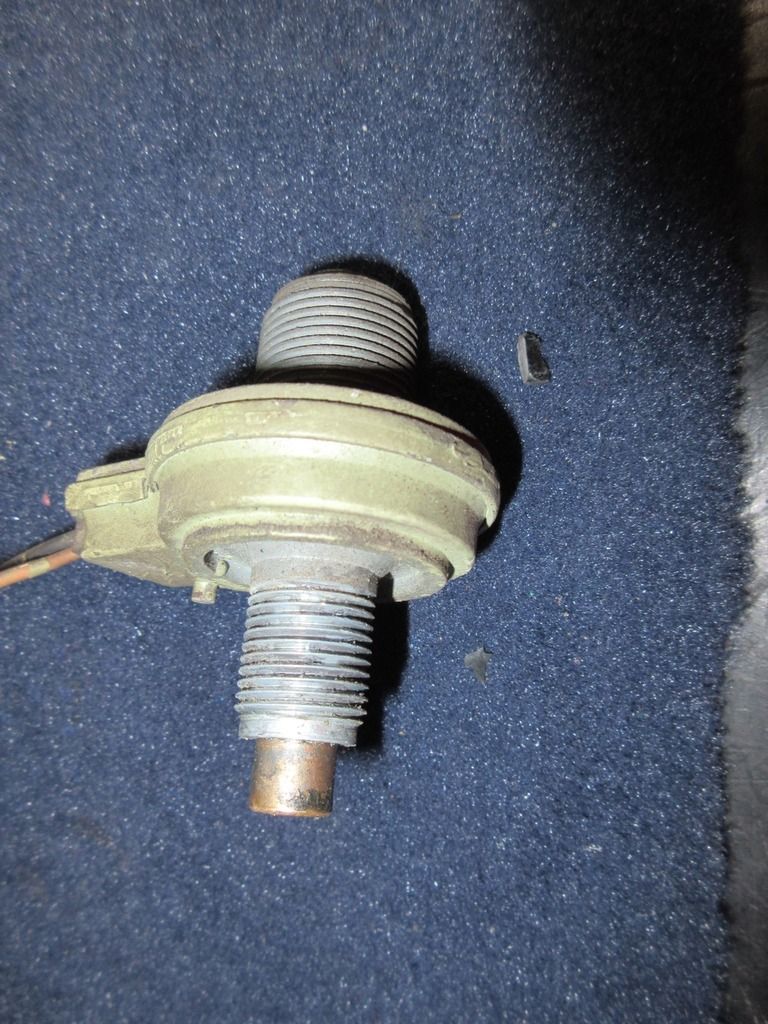
Hmm.. no markings on the case so I don't know who made it. Lets look at the output. From a nail I made a square-drive shaft to test it: Here it is connected to my pillar drill:
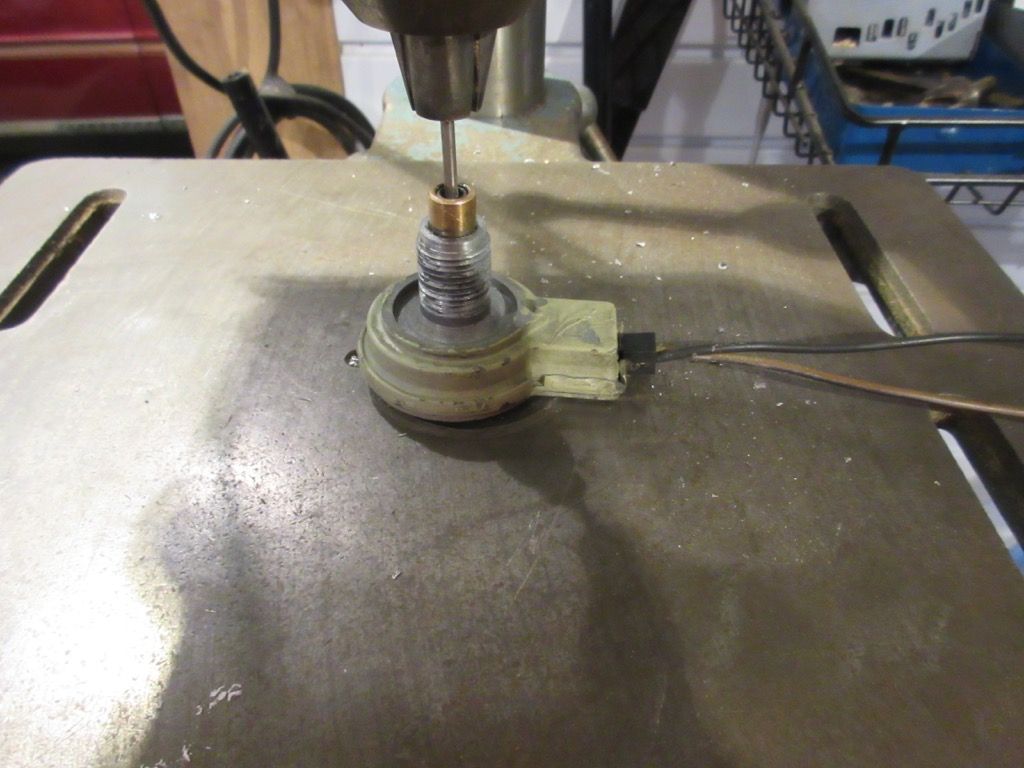
and its output:
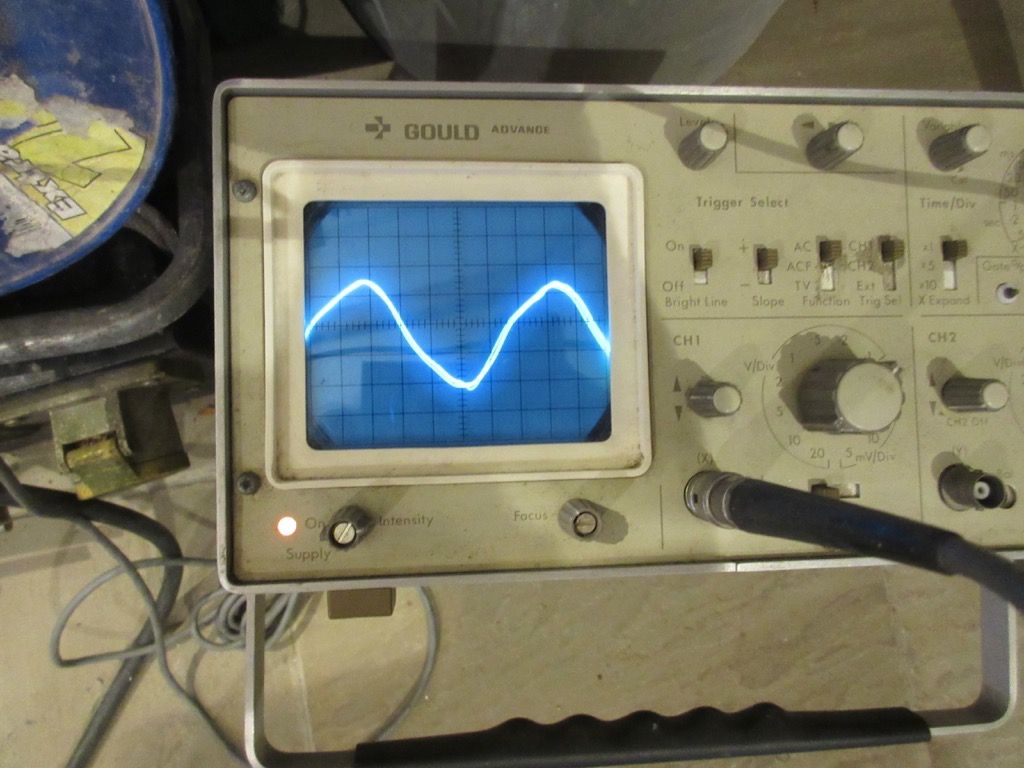
Its a sine wave, so basically an AC generator. The frequency of the sensor is proportional to the speed of the car.
I looked at the Rolls-Royce sensor from the Silver Spirit. I was at the point of borrowing one when I discovered that they are both unreliable, and very expensive!
Then I managed to get this new-old-stock from Canada:
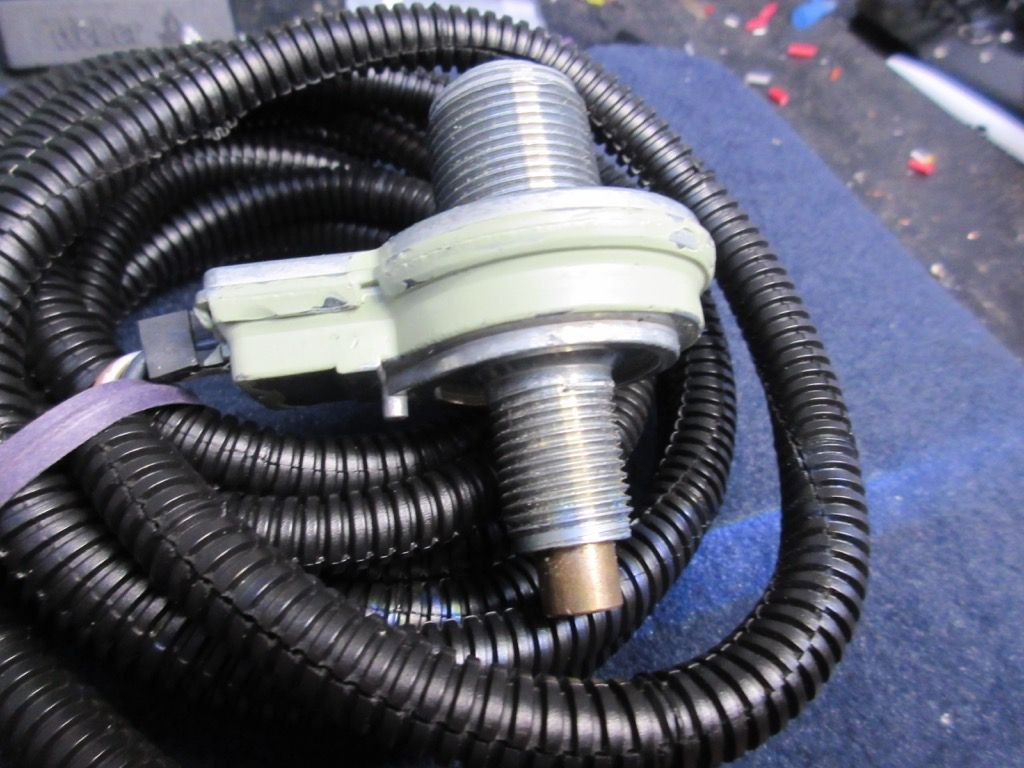
This was sold as a speedo sensor for an aftermarket cruise-control system made by ARA Manufacturing Co of Texas.
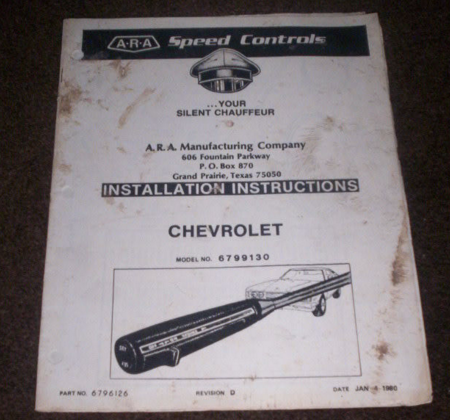
This is what Javelina Corporation (of Texas) used! |
|
| Back to top |
|
|
Vrije
Joined: 23 Nov 2007
Posts: 440
|
| Posted: Sun Dec 27, 2015 9:35 pm Post subject: |
|
|
| Some Lags have speedo sensor directly mounted to the trans |
|
| Back to top |
|
|
jonc
Joined: 21 Sep 2010
Posts: 584
Location: Cheshire, UK
|
| Posted: Mon Dec 28, 2015 12:05 pm Post subject: |
|
|
It would be interesting to see photos of the sensor mounted on the gearbox - I wonder if it is the R-R one?
Back to the bodywork now.
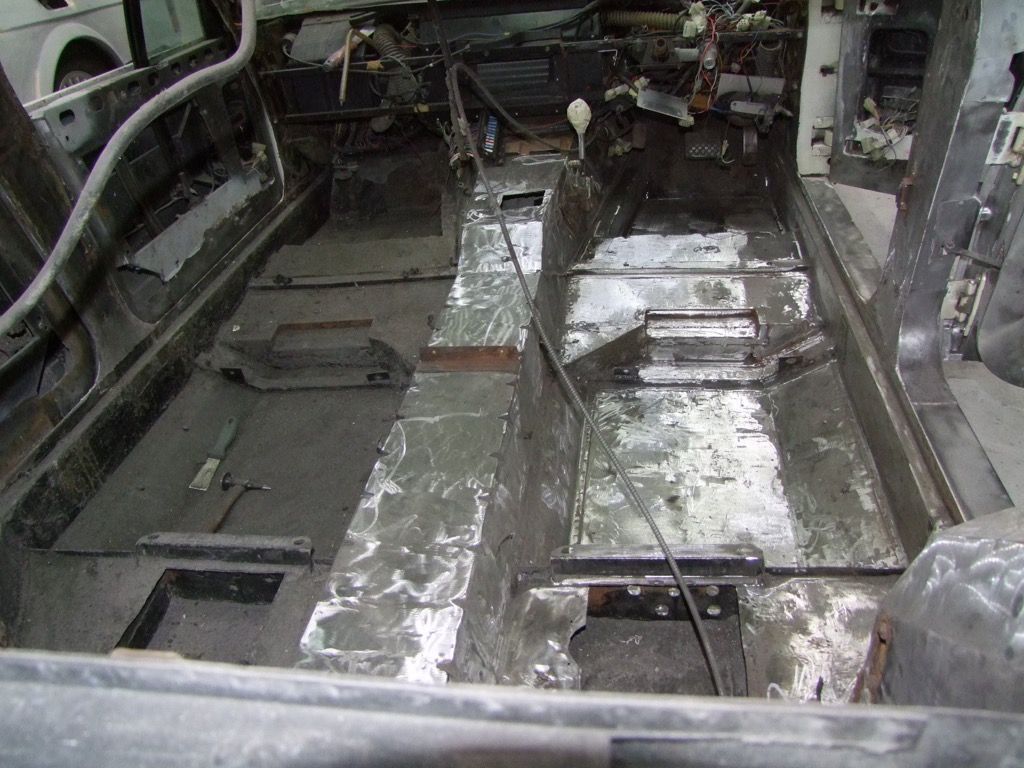
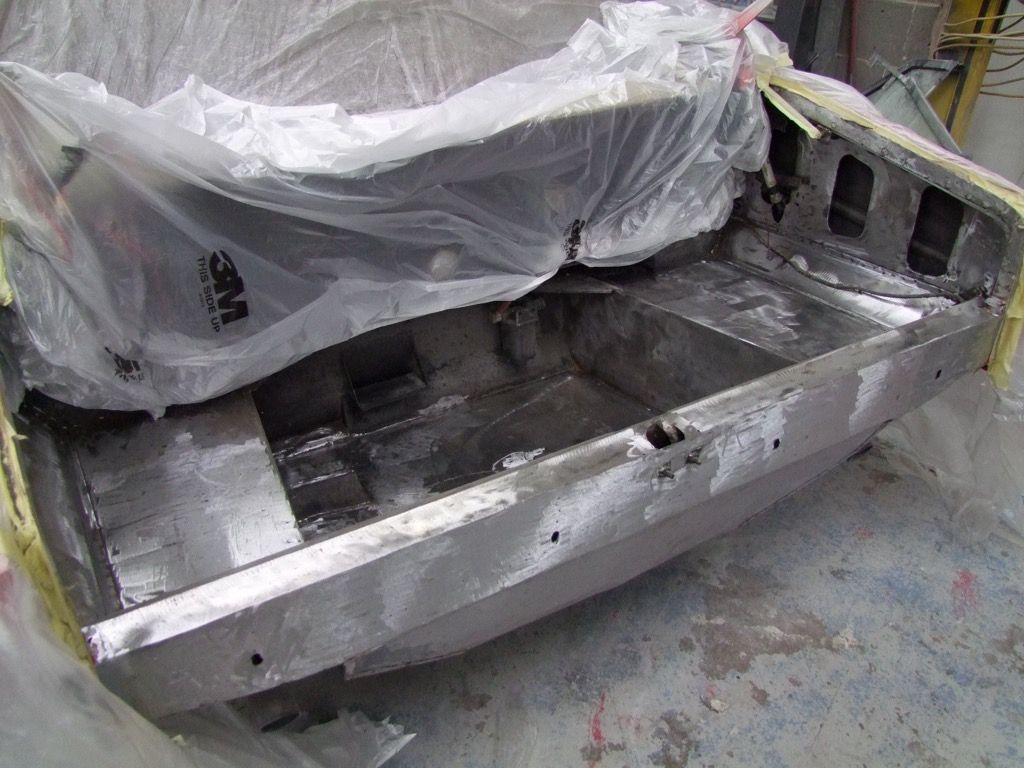
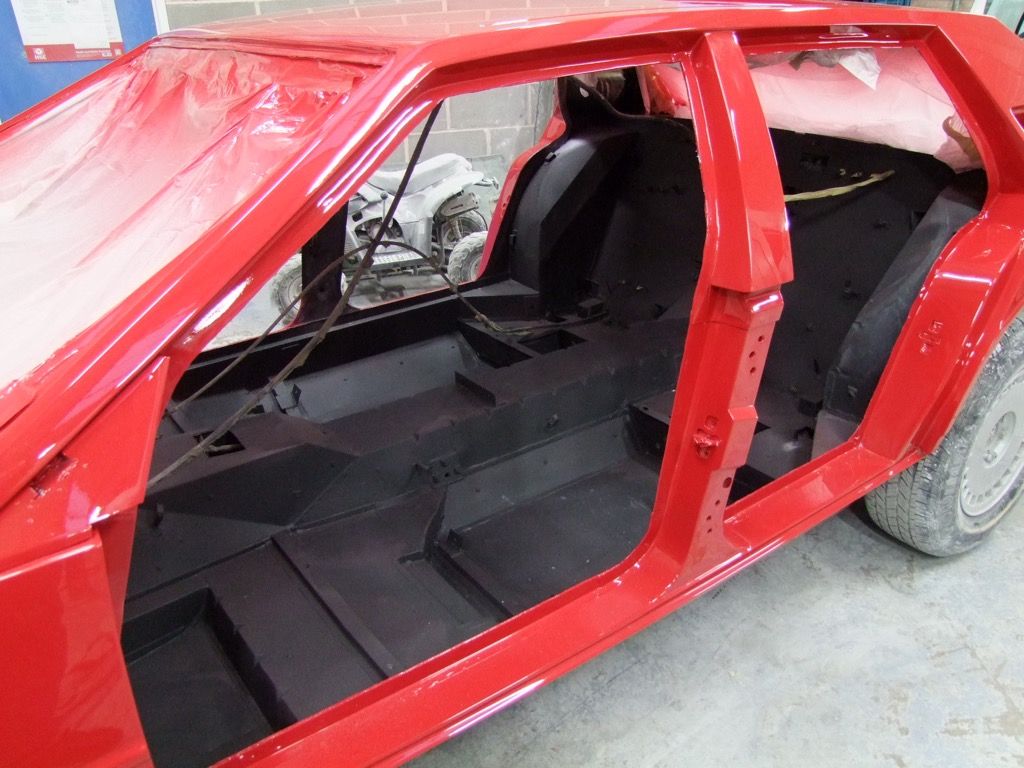
We are taking the opportunity to strip and repaint the interior. Something completely unseen, but I will feel happier with it repainted. There are some areas of surface rust and we intend to replace the very tatty sound insulation so the fresh paint will give it a better surface to stick to.
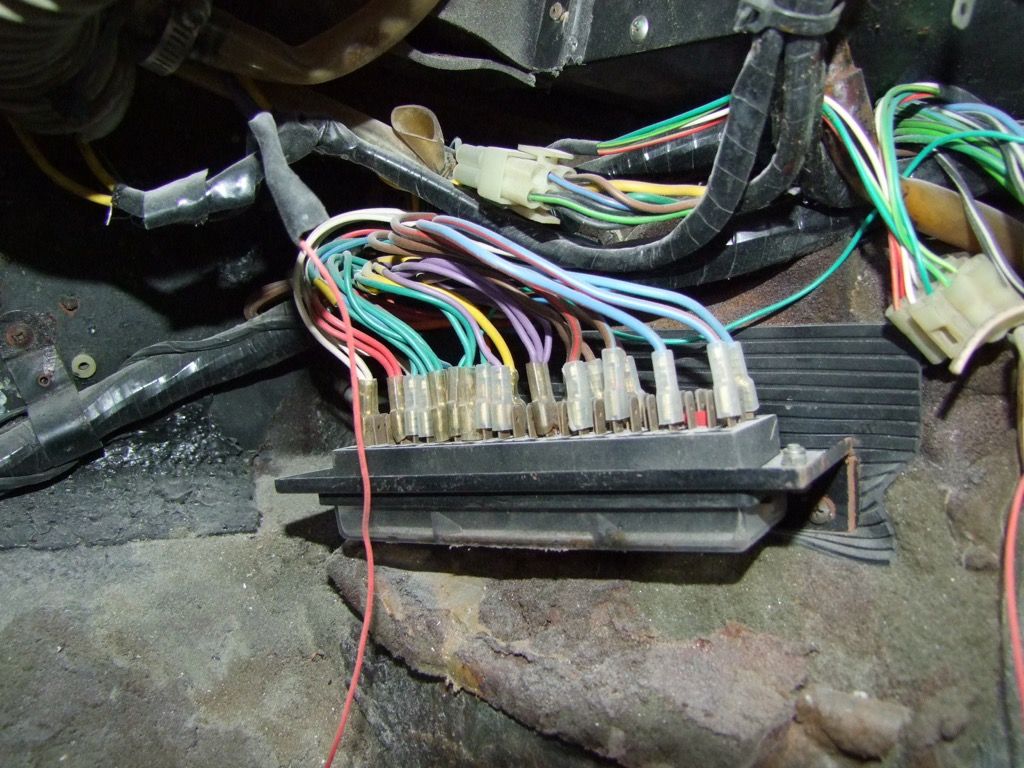
First the wiring loom and other bits and bobs must be removed.
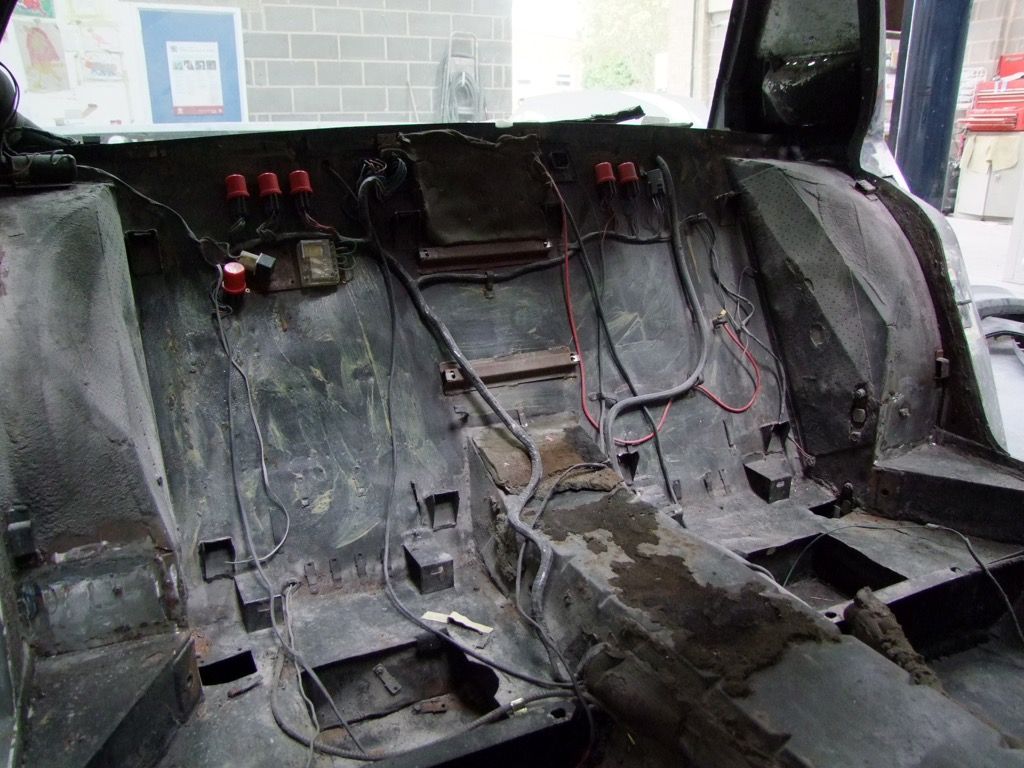
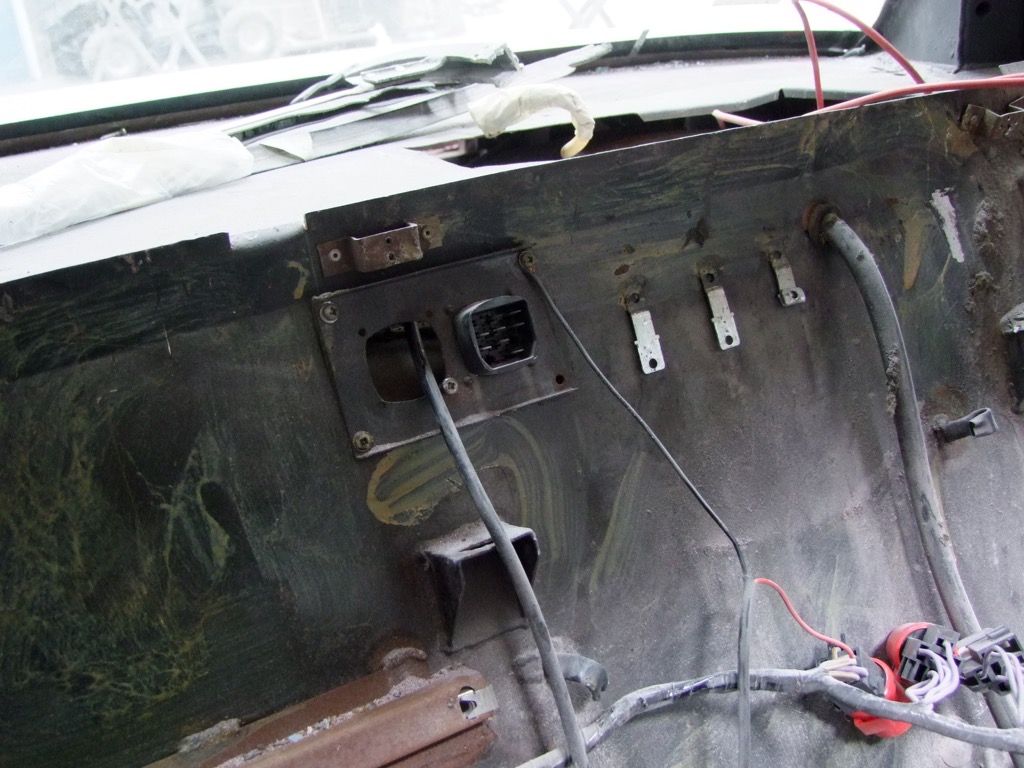
The relays are different on this car - they are mounted on metal tabs rather than by the connector base.

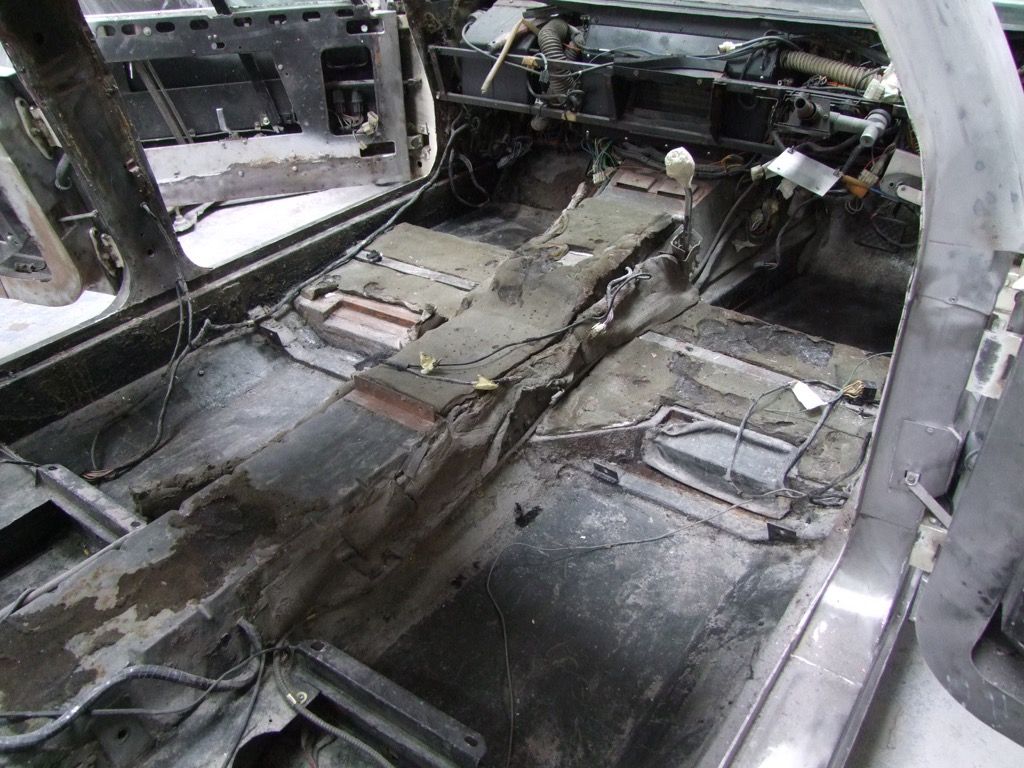
As I said some time ago during the strip, the metalwork under the rear seats is different too.
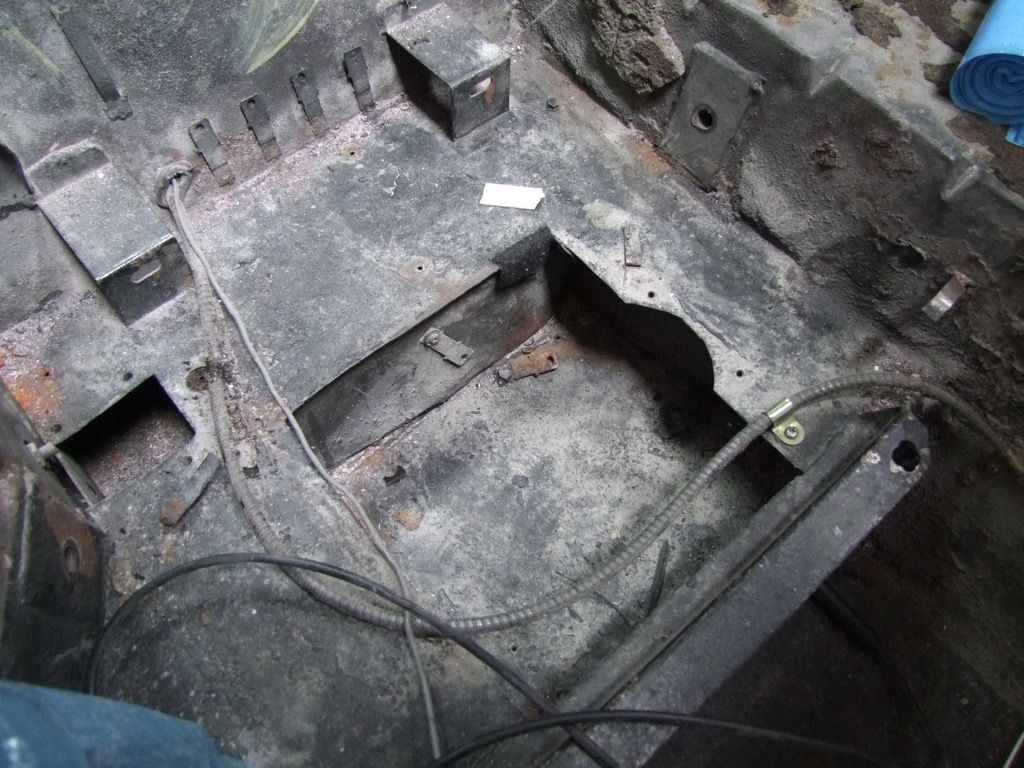
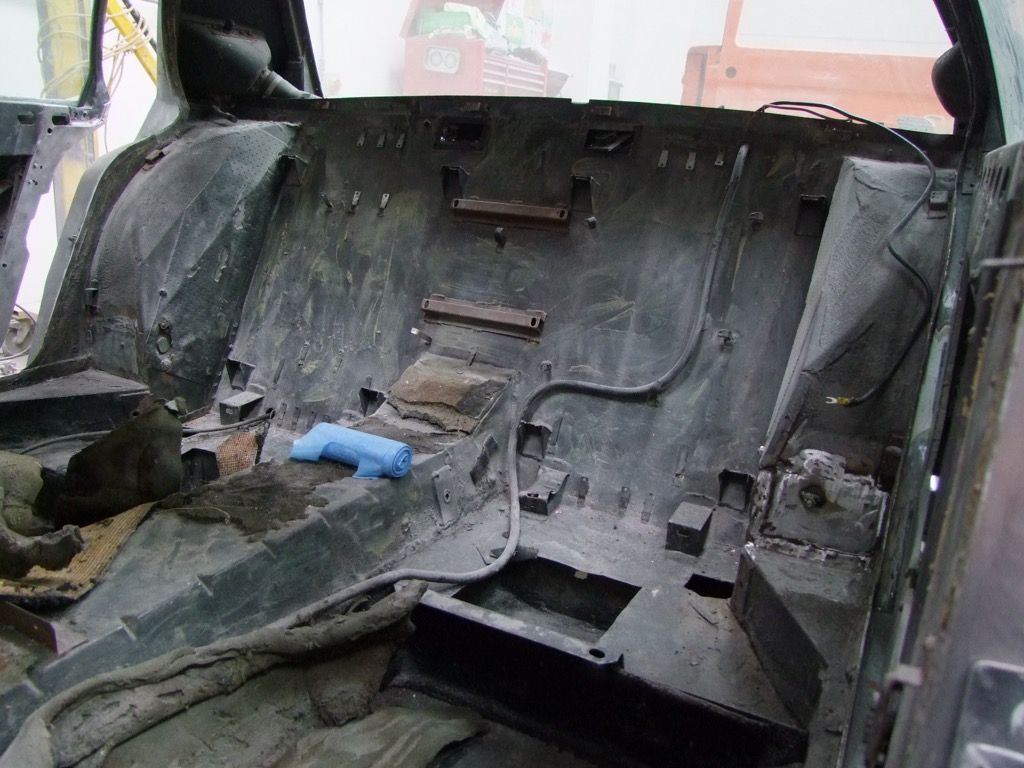
The internal fusebox is mounted on the side of the transmission tunnel.
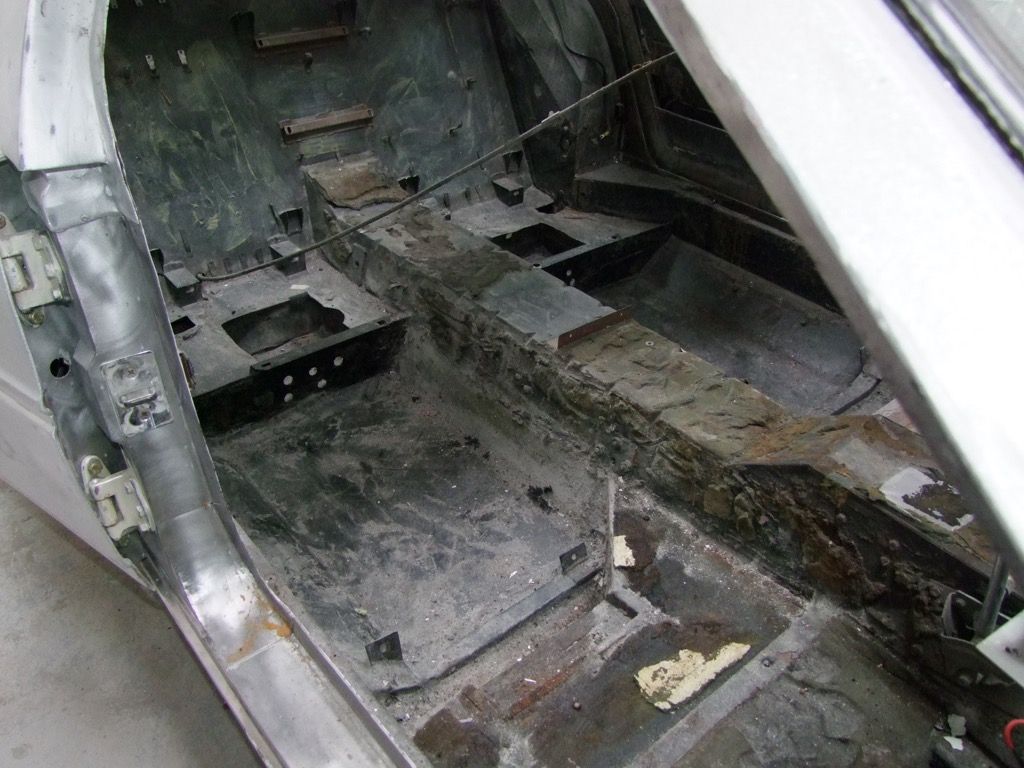
All clear, ready for stripping to bare metal.
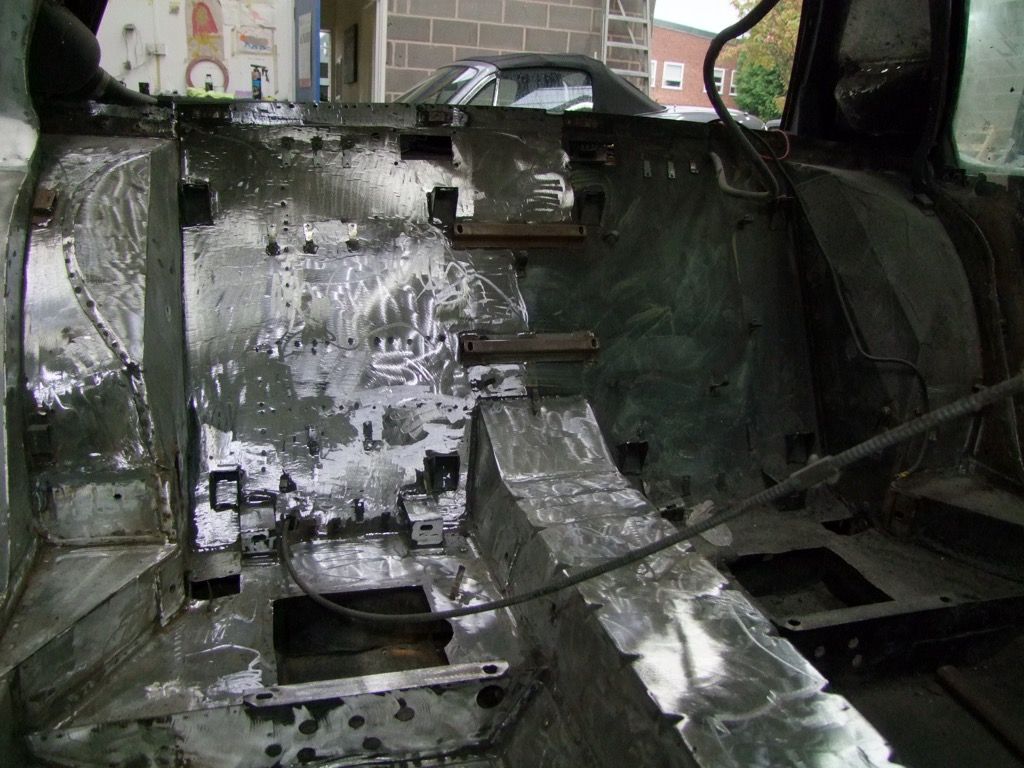
The interior is getting an etch primer to protect it for now while all the sanding of the bodywork is done. Then it will be finished in matte black with shutz-applied stonechip on the rear wing interiors as original. |
|
| Back to top |
|
|
Dimitri
Joined: 13 Sep 2010
Posts: 180
Location: Smarden, Kent, UK
|
| Posted: Mon Dec 28, 2015 8:48 pm Post subject: |
|
|
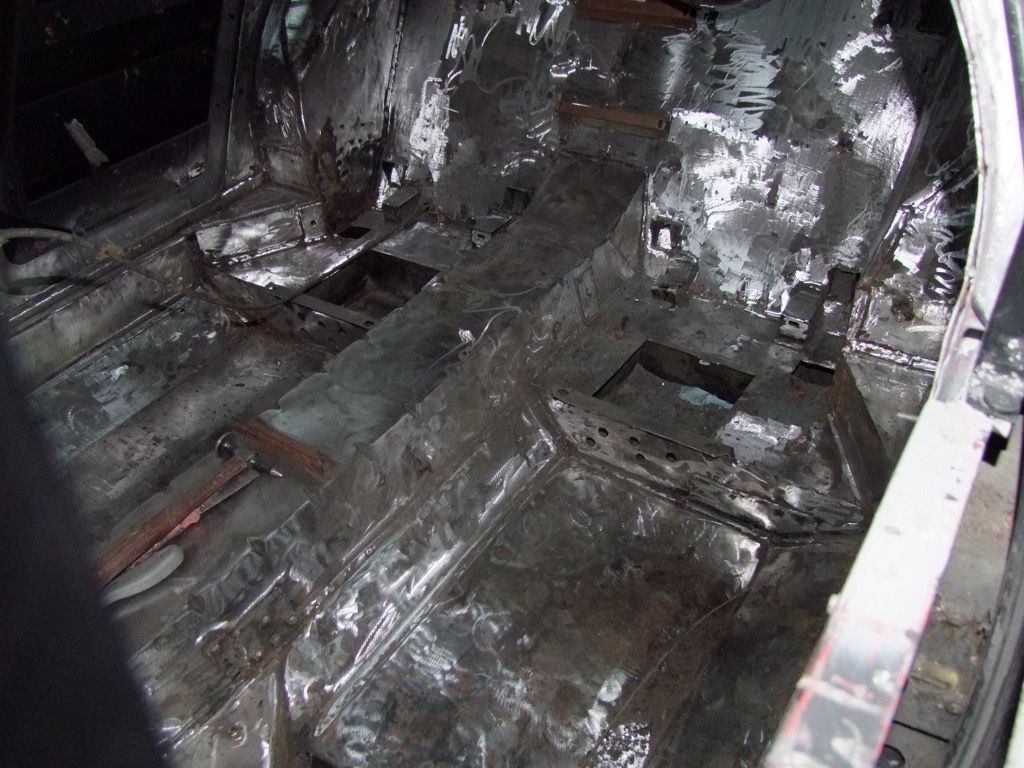
| Looks like the floorpans are aluminium too on this car or am I wrong ? |
|
| Back to top |
|
|
jonc
Joined: 21 Sep 2010
Posts: 584
Location: Cheshire, UK
|
| Posted: Tue Dec 29, 2015 4:48 pm Post subject: |
|
|
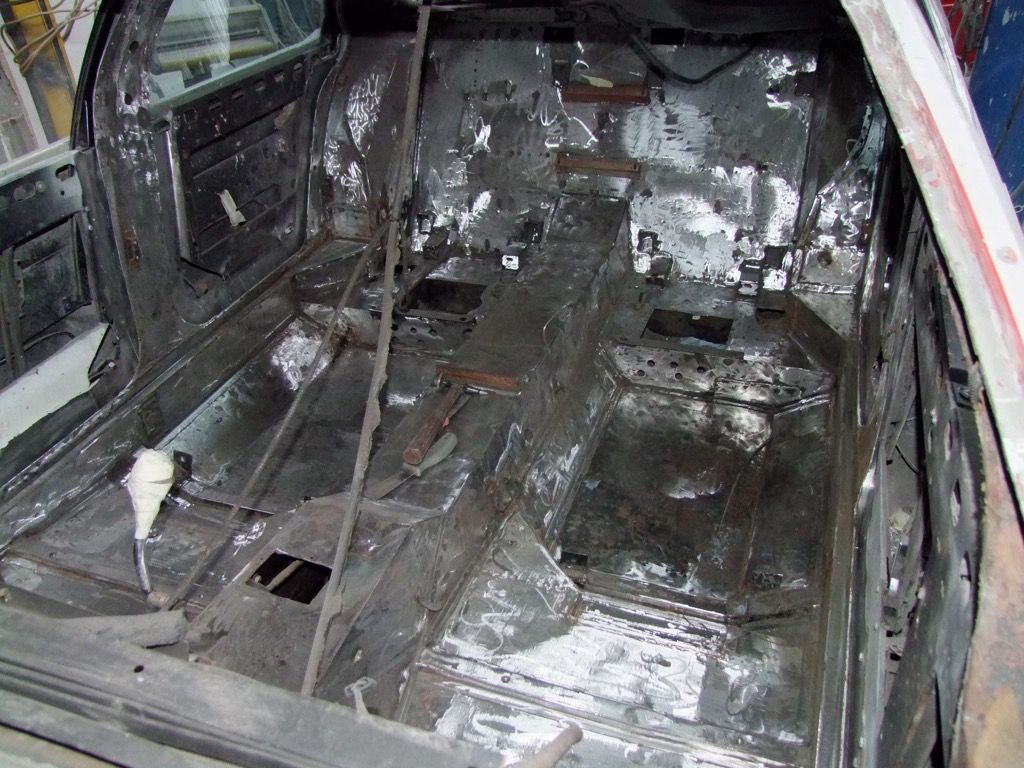
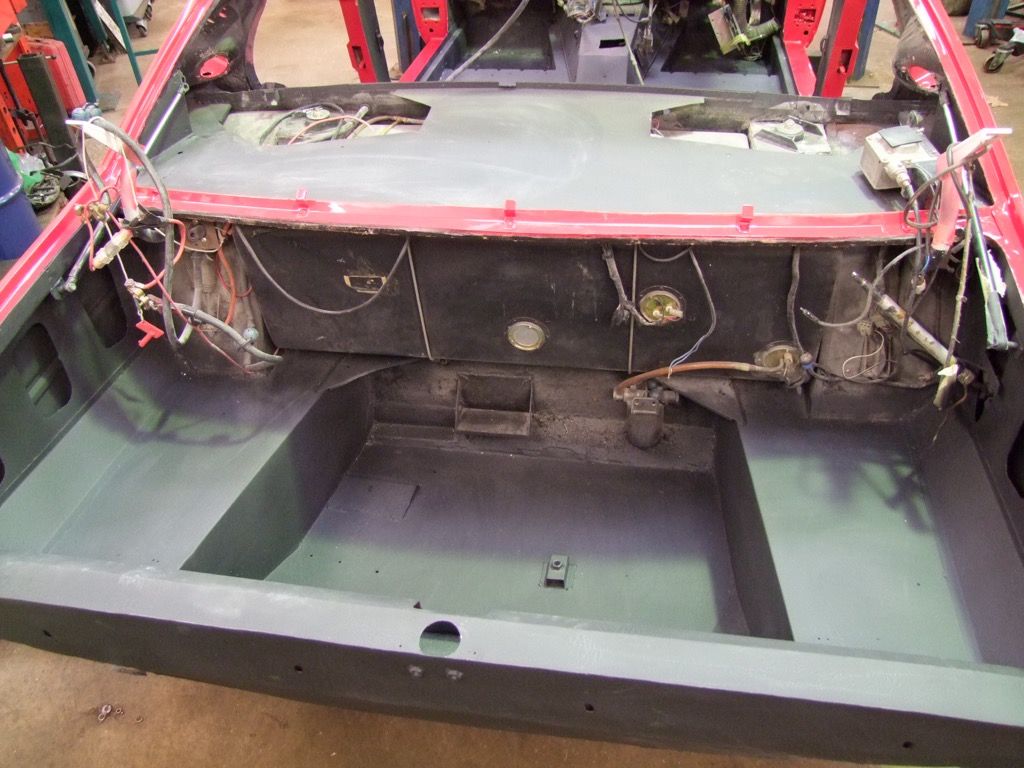
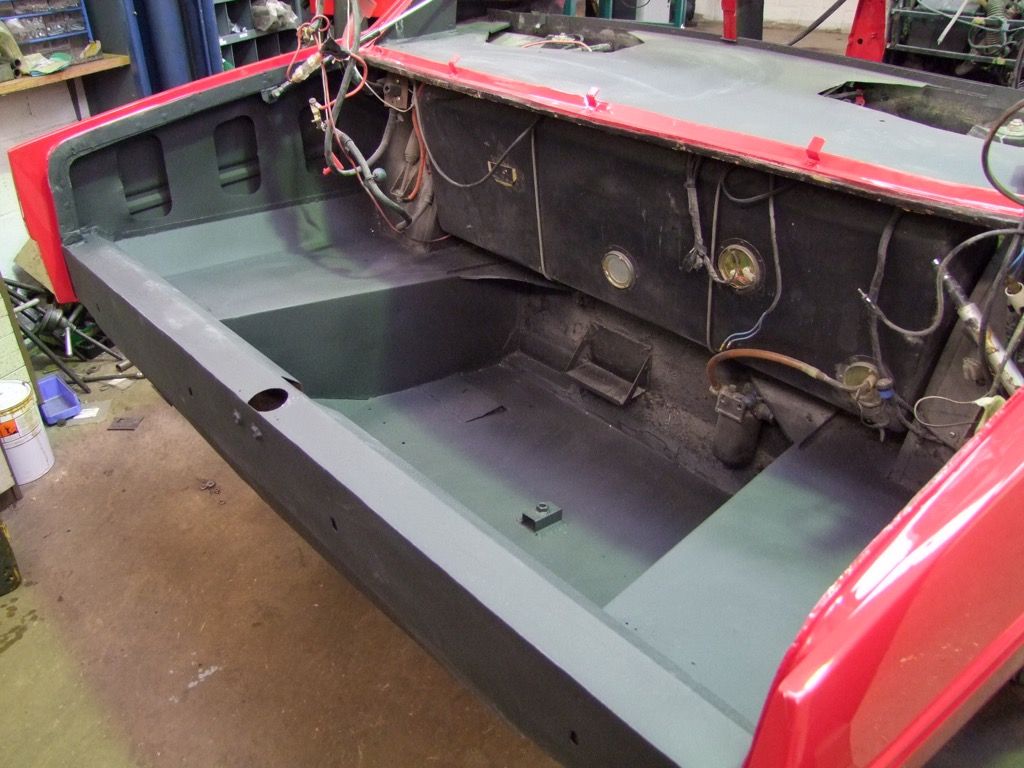
No, that is just very shiny steel, waiting for its paint. Here is the boot in the same state:
 |
|
| Back to top |
|
|
jonc
Joined: 21 Sep 2010
Posts: 584
Location: Cheshire, UK
|
| Posted: Thu Feb 04, 2016 2:50 pm Post subject: |
|
|
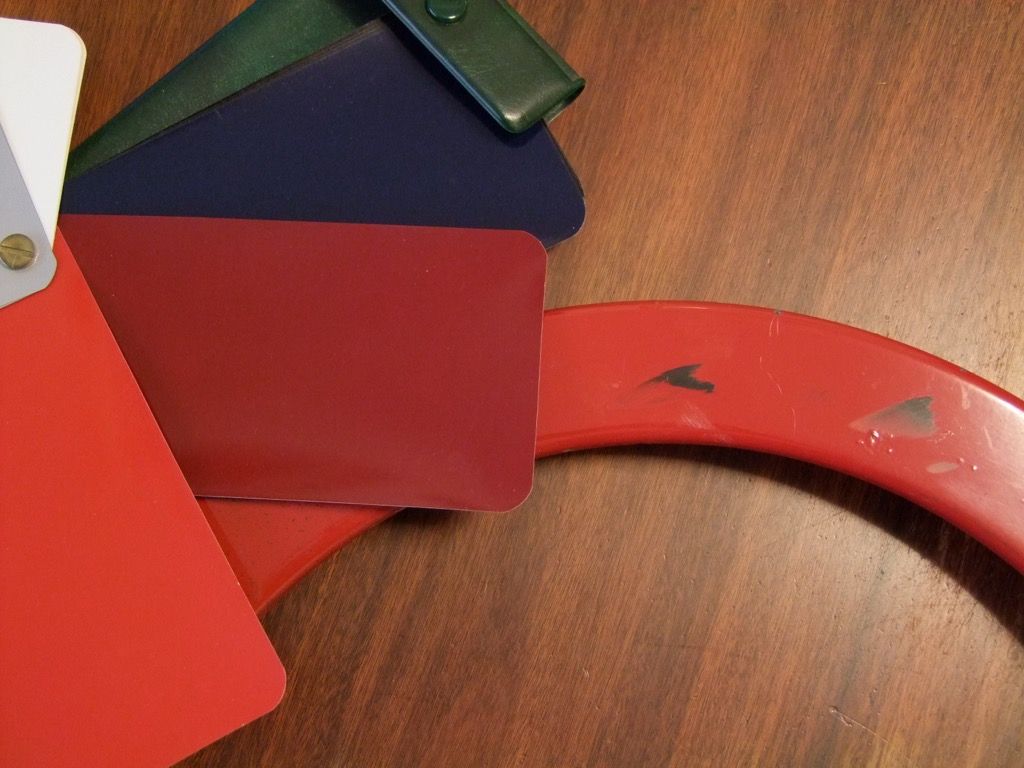
We are working towards painting the car. The colour is listed as Storm Red which is non-metallic. I tried to buy a tin so I could check the colour against the wheel trims and the car but I was told it was an obsolete cellulose colour.
David's colour swatch book shows Windsor Red (metallic), York Red and Suffolk Red. We now know the wheel trim colour matches the car, but both of these colours are a long way out:
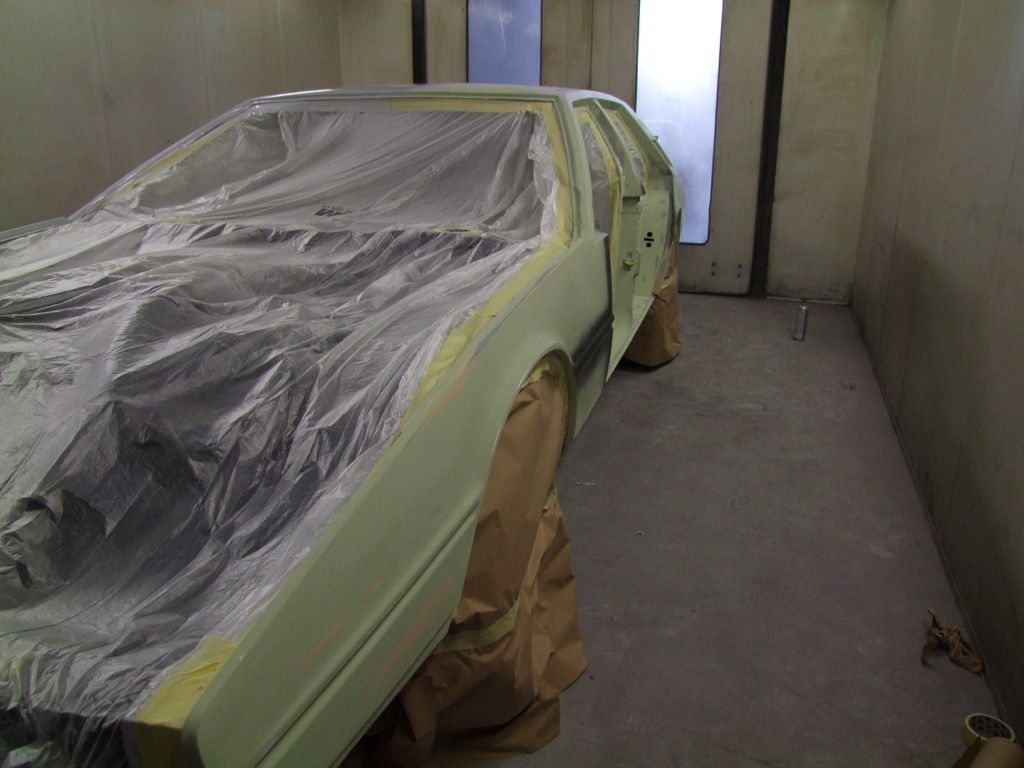
The only solution is to have the paint specially matched to the wheel trims we have in a modern paint. Here it is on a sample card.
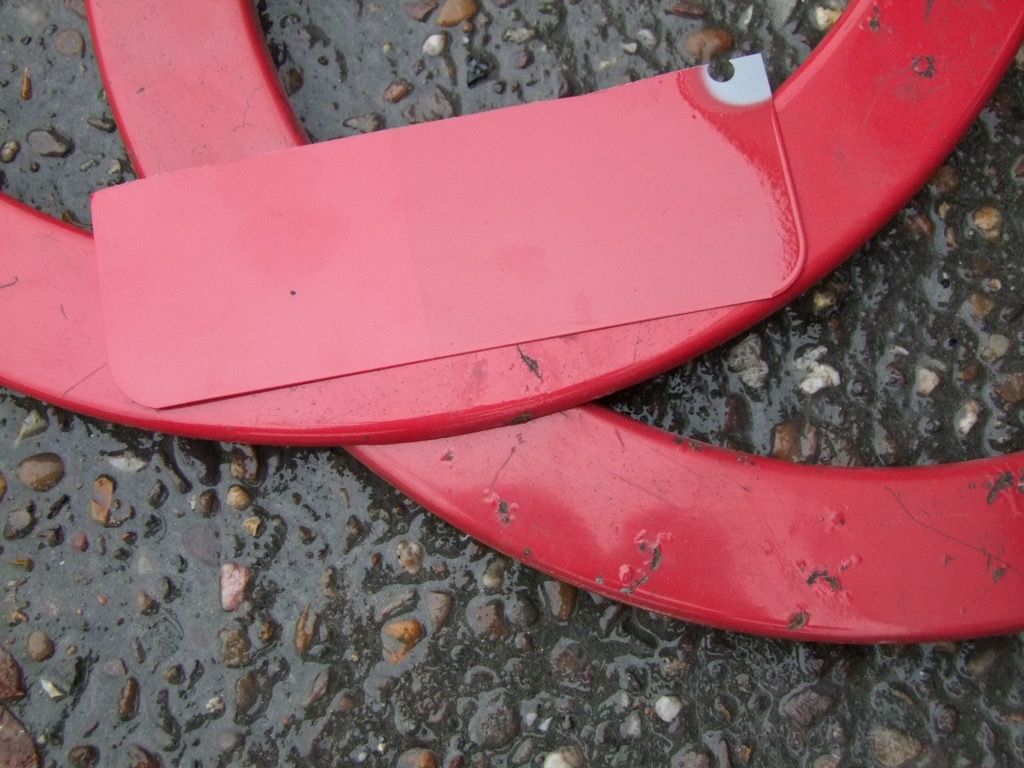
It is over two different primers, white (left) and grey (right). We have chosen white as when the sun shines on the car it will lighten the paint which I think will give the right effect.
The car is getting:
* One coat of acid etch primer
* 5 coats of primer filler
* Guide coat followed by flatting back
* Three more coats of primer filler
* Final flatting back, then:
* Two coats of white base coat
* Four coats of colour
* Clear lacquer finish.
To achieve the correct finish, the car will then be flatted with very fine paper and then machine polished but this will wait until final assembly.
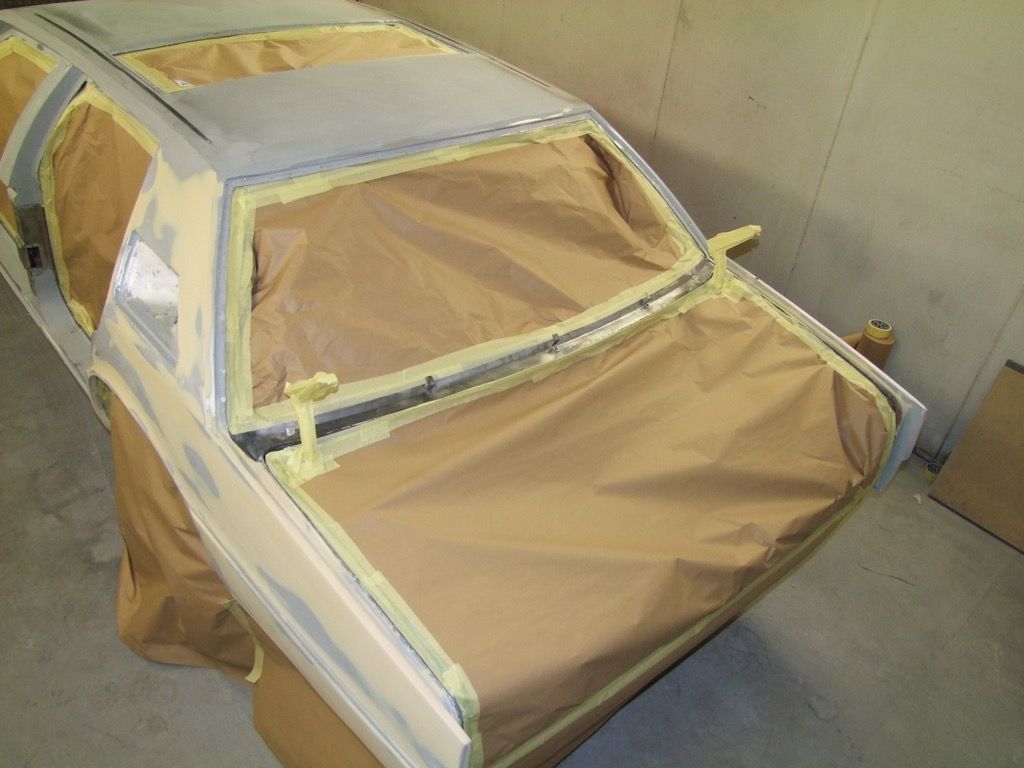
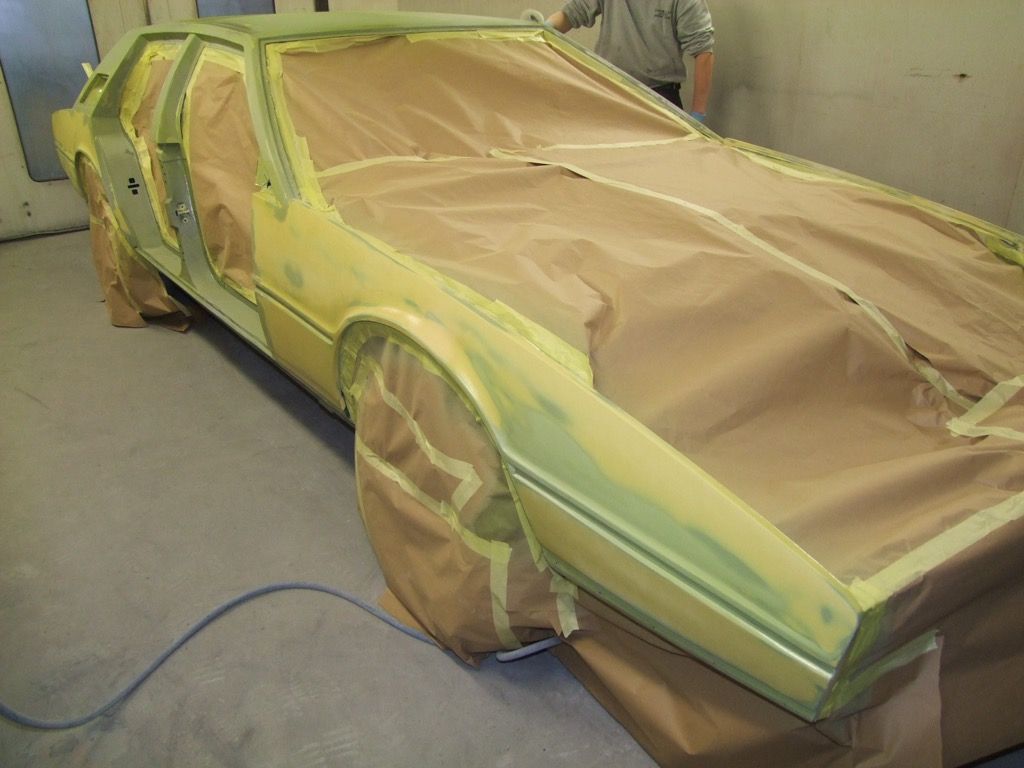
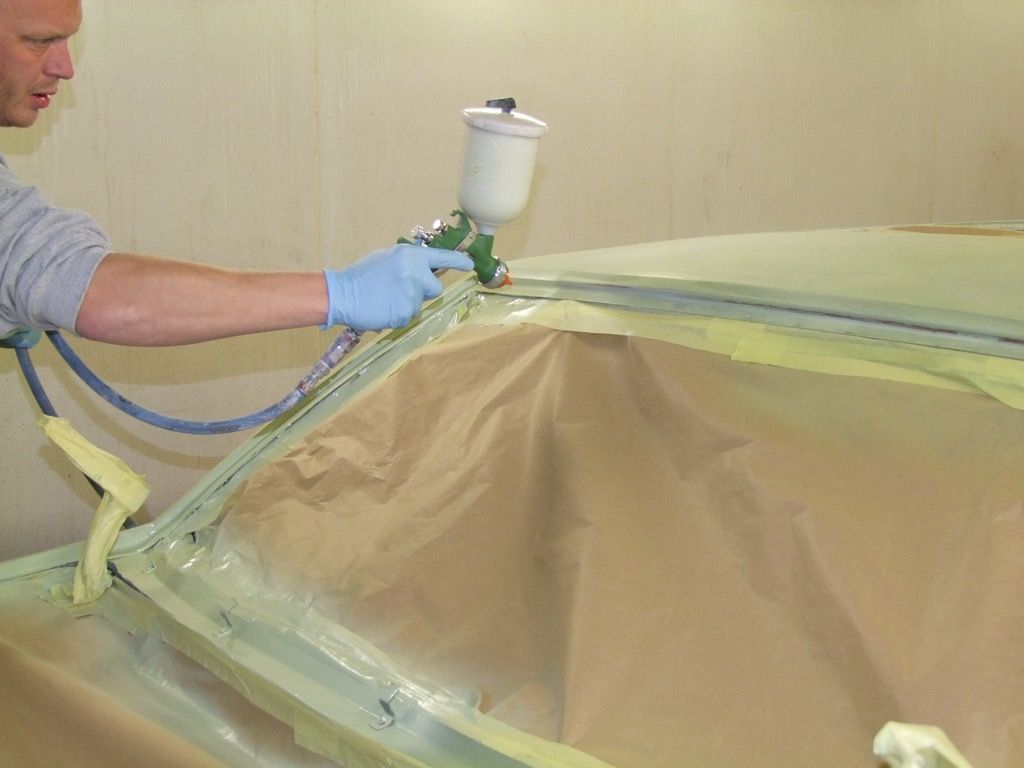
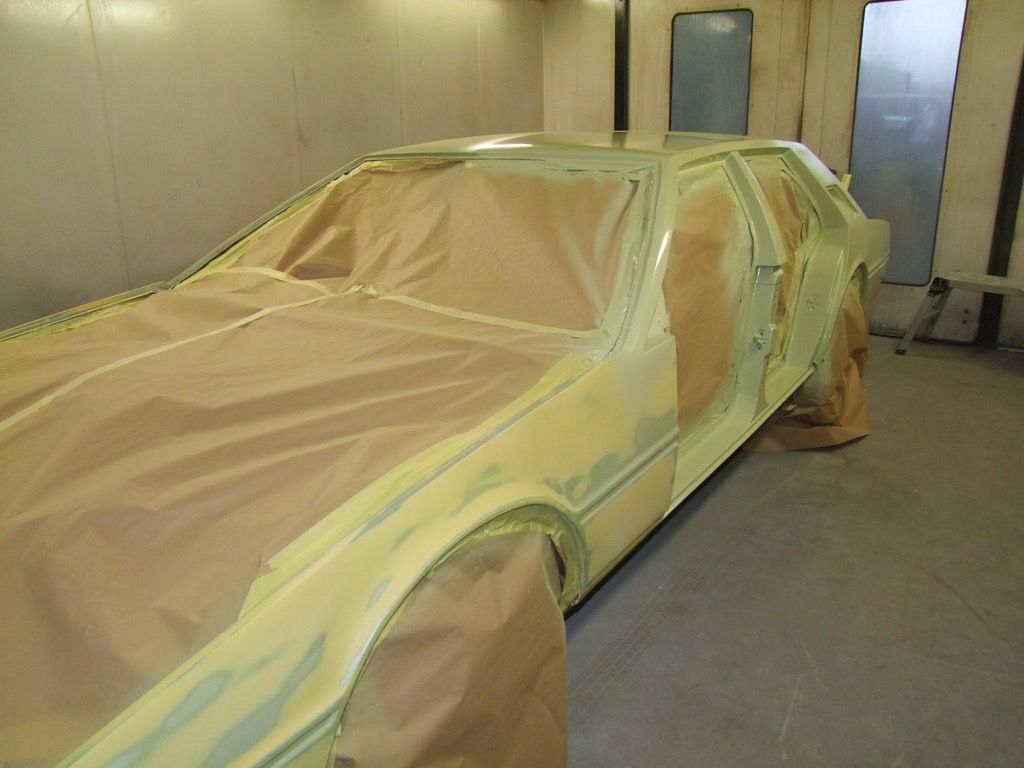
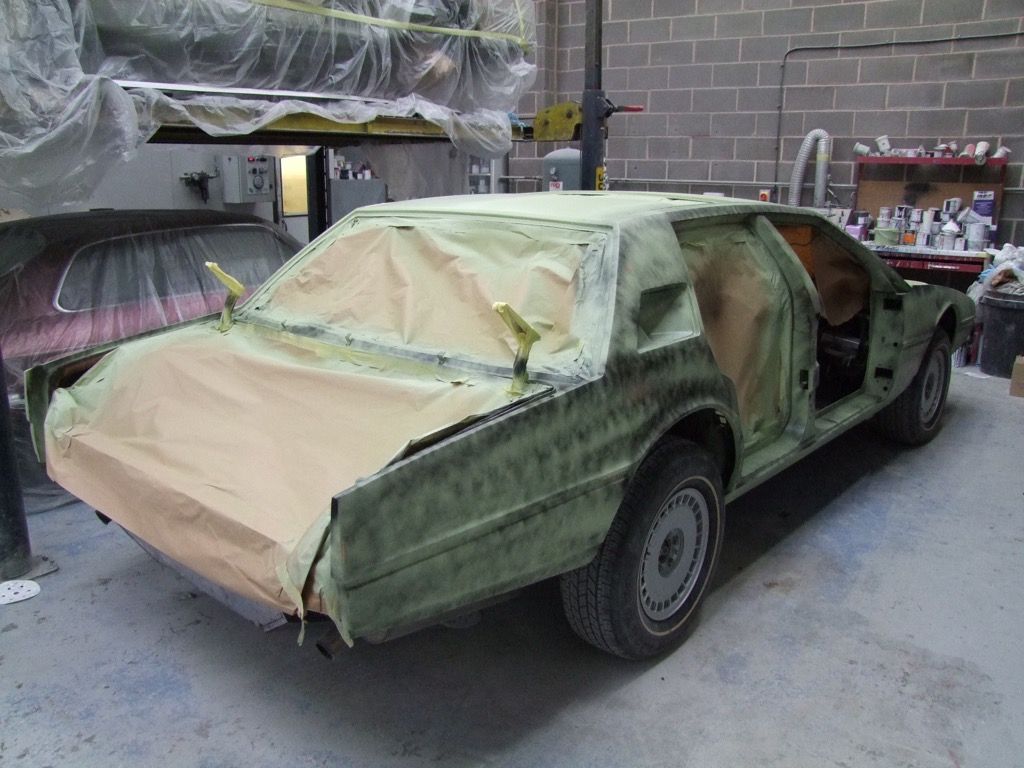
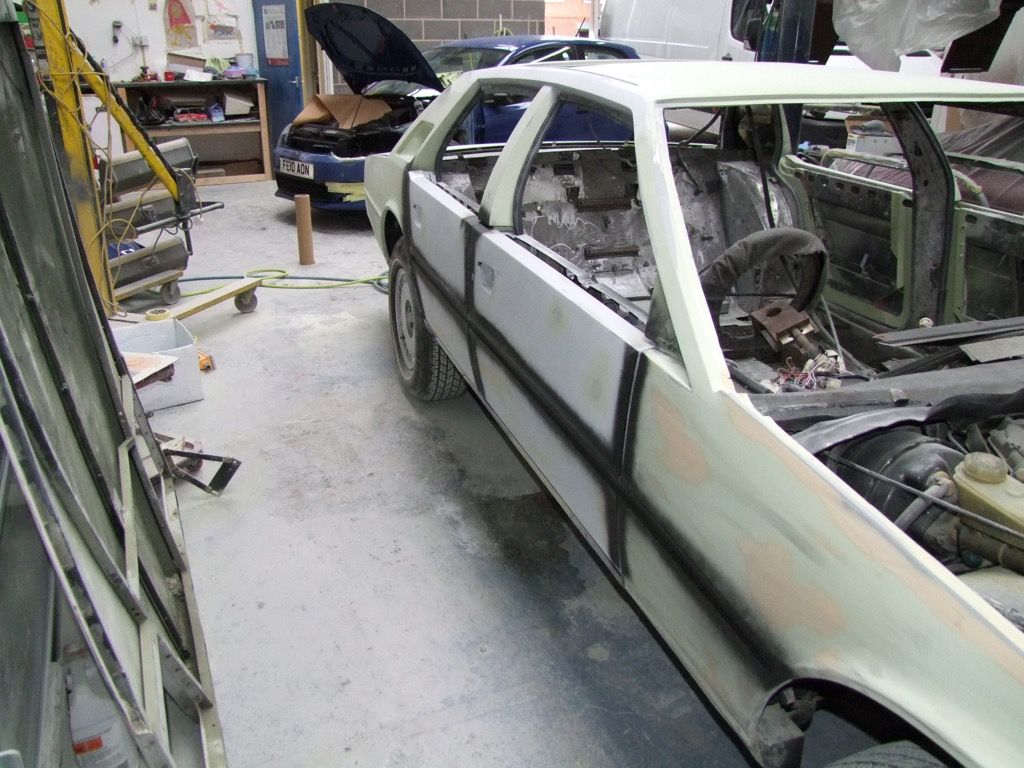
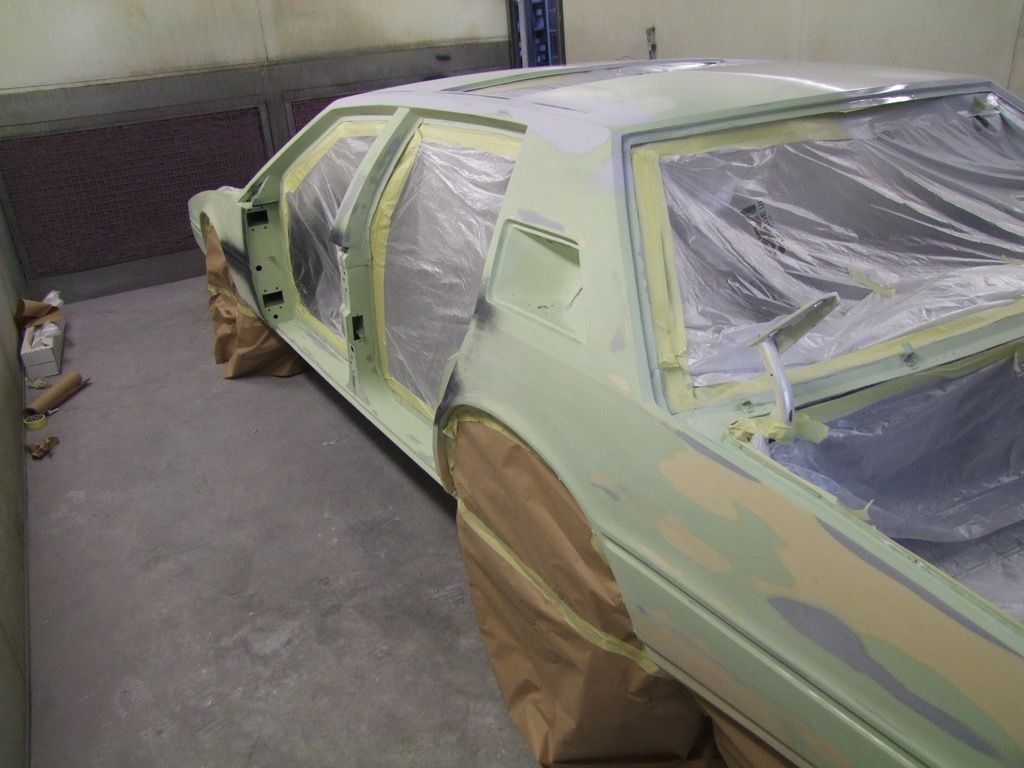
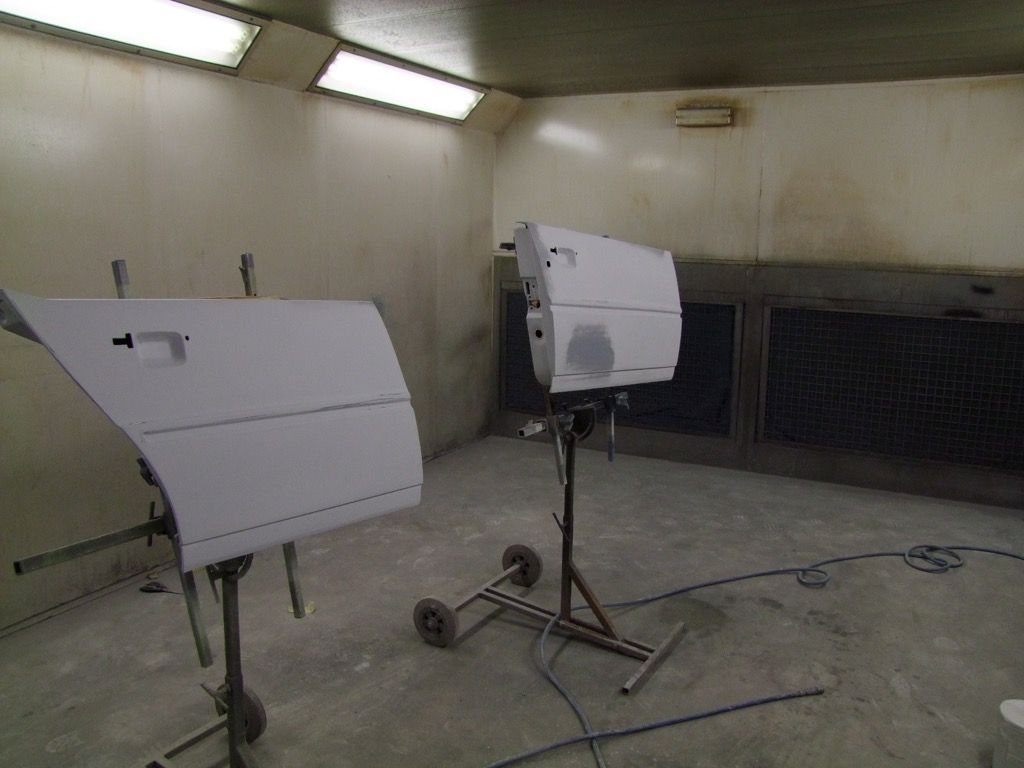
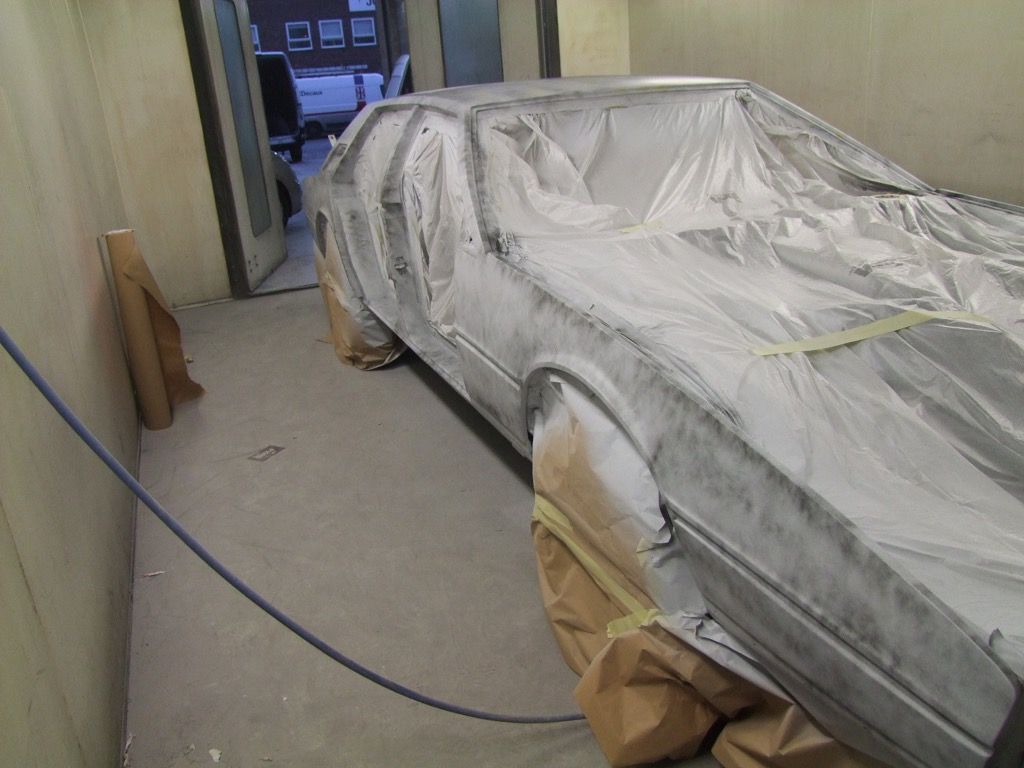
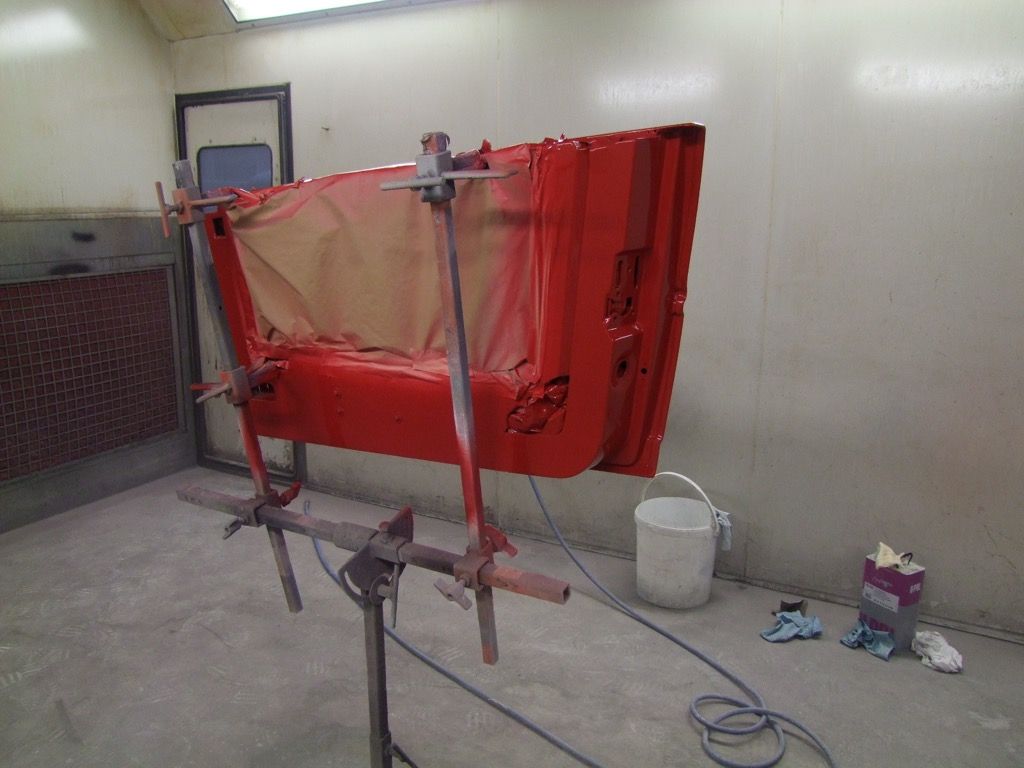
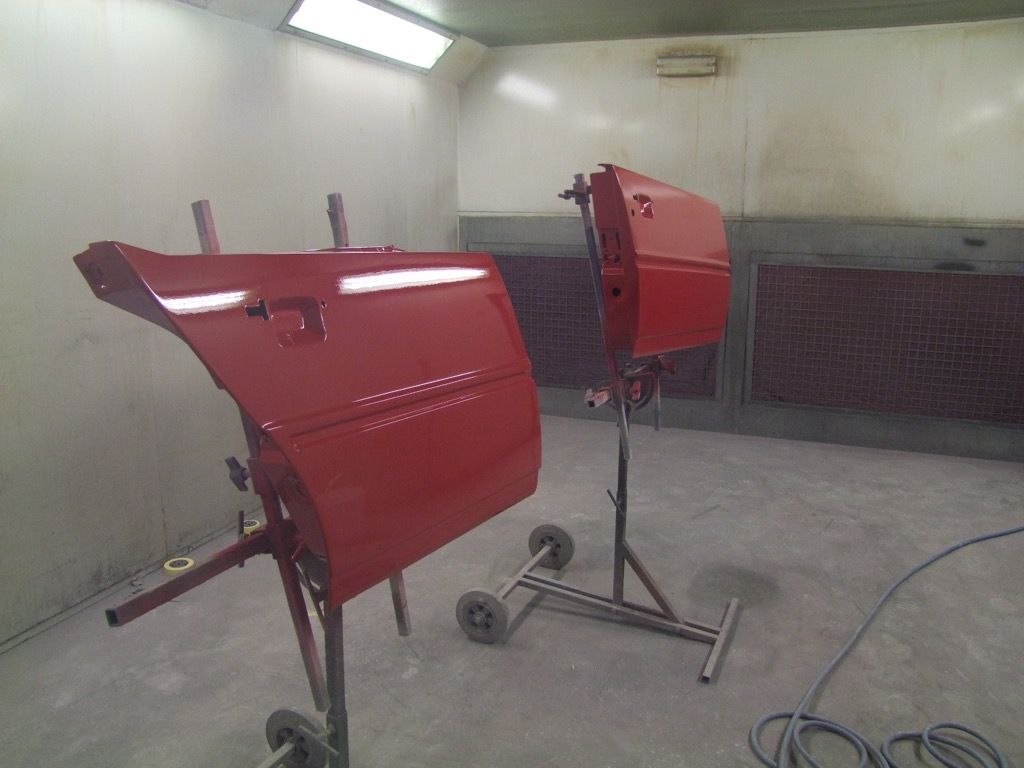
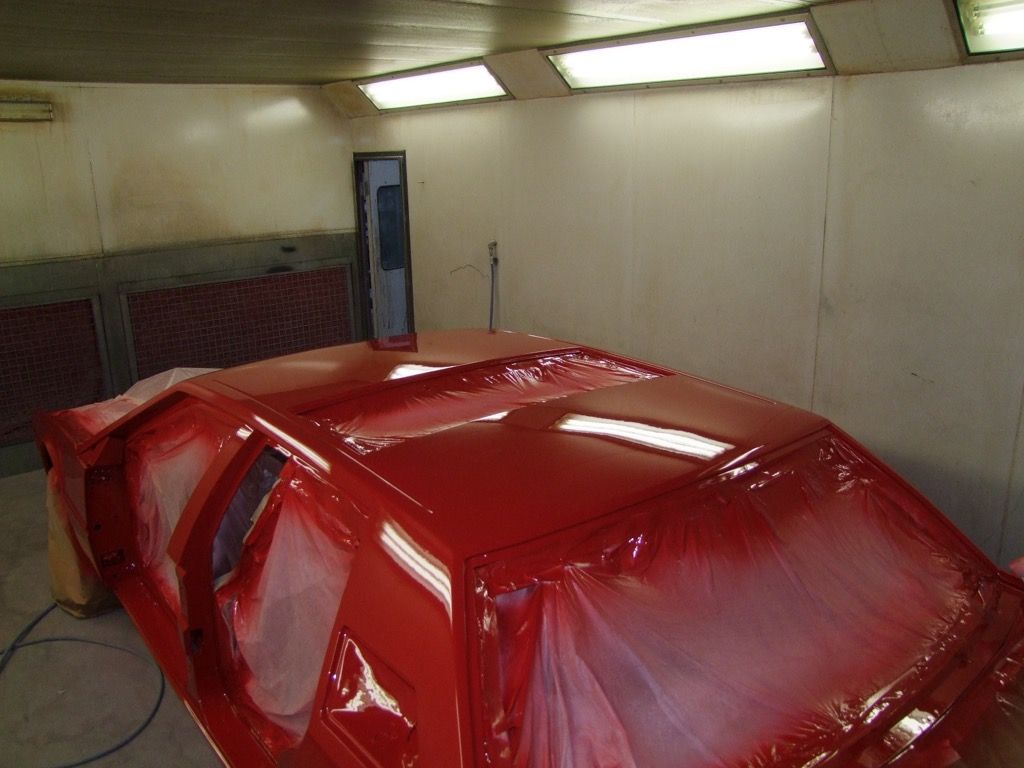
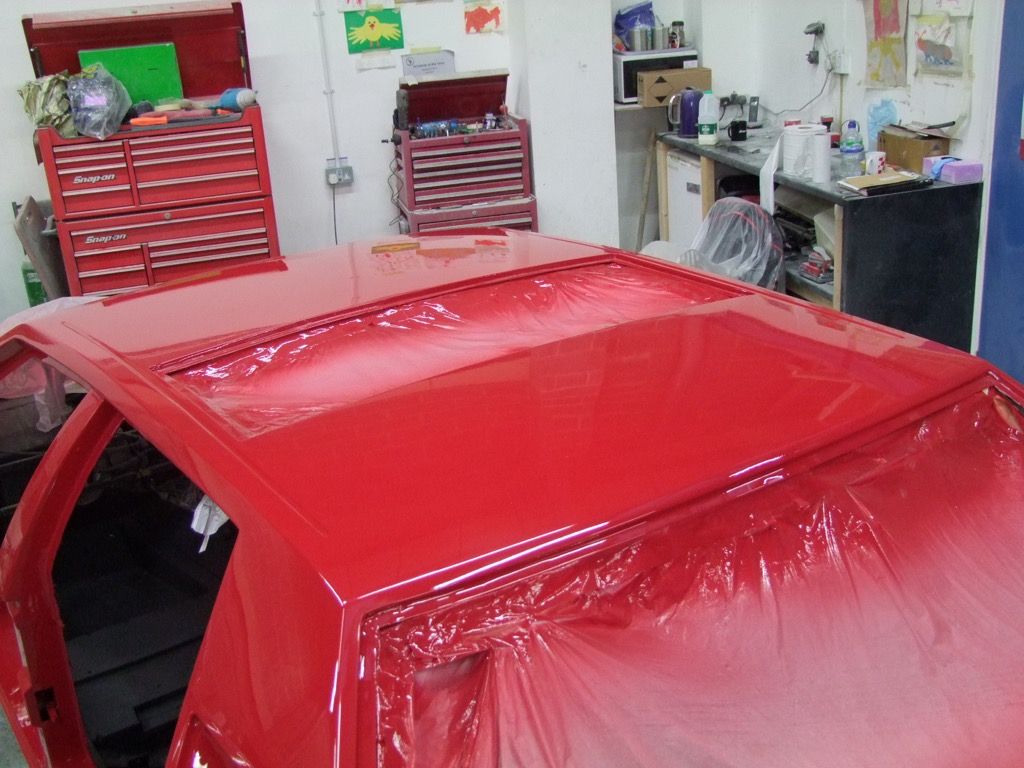
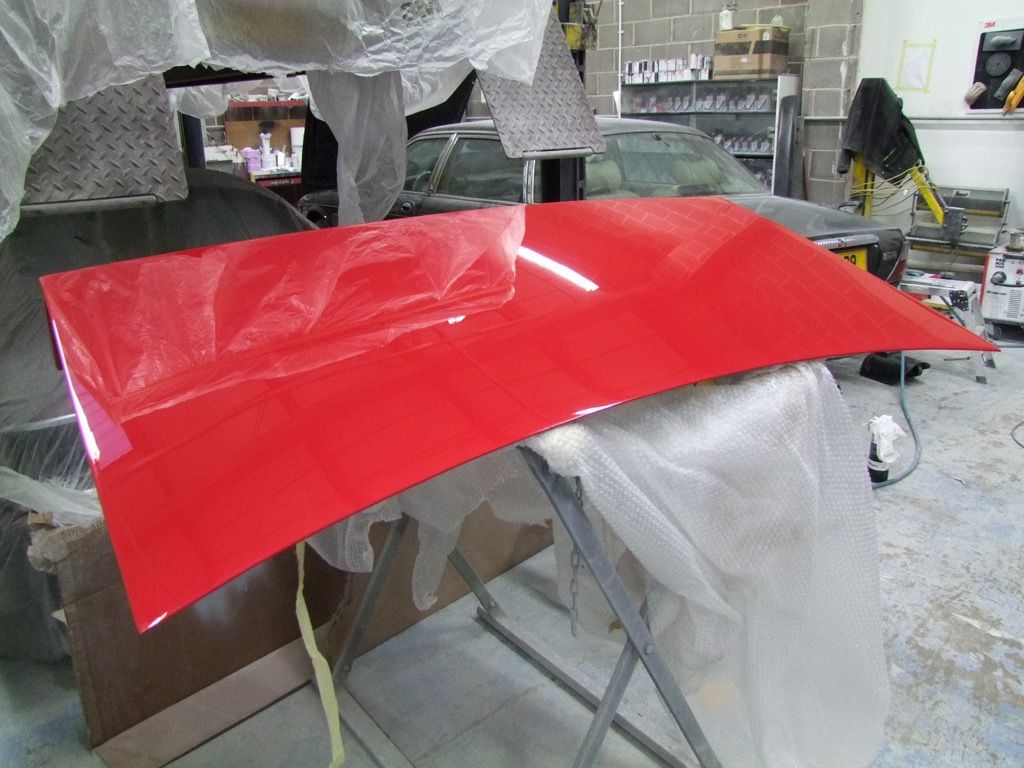
So, onwards with the paint, doors first:
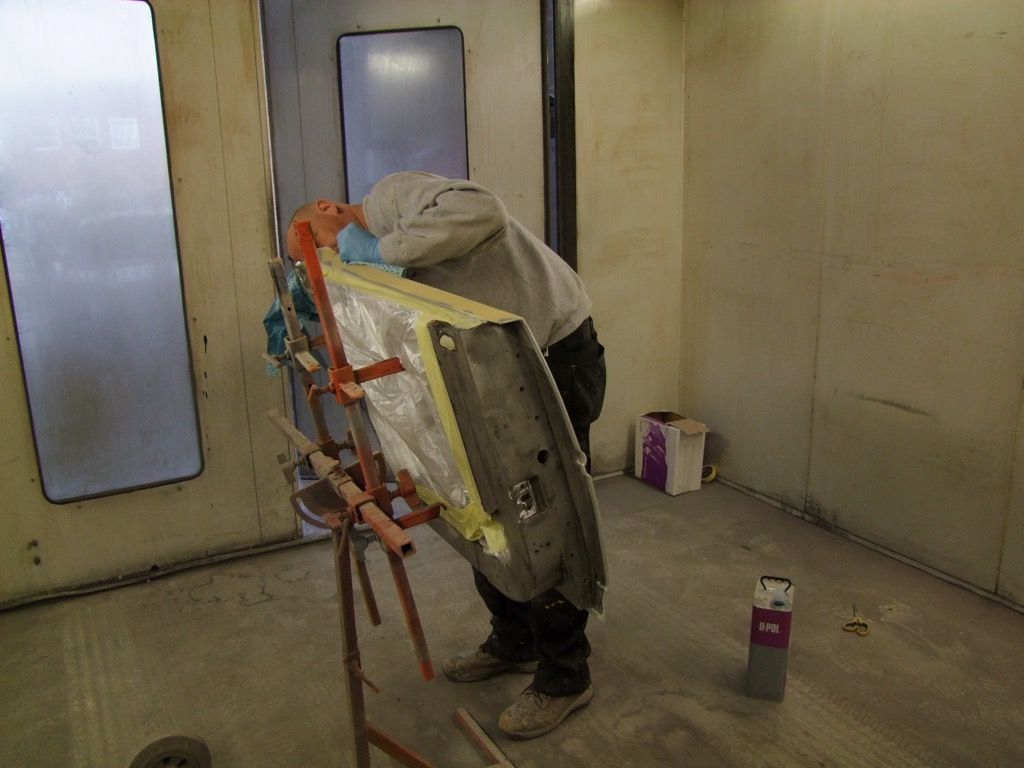
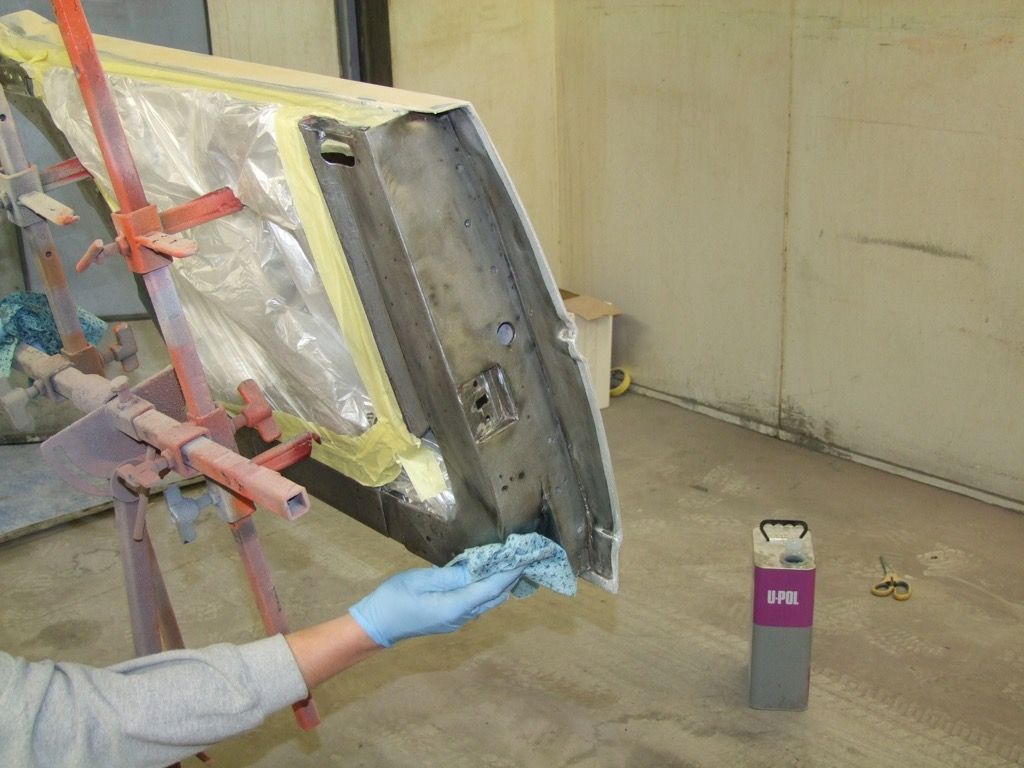
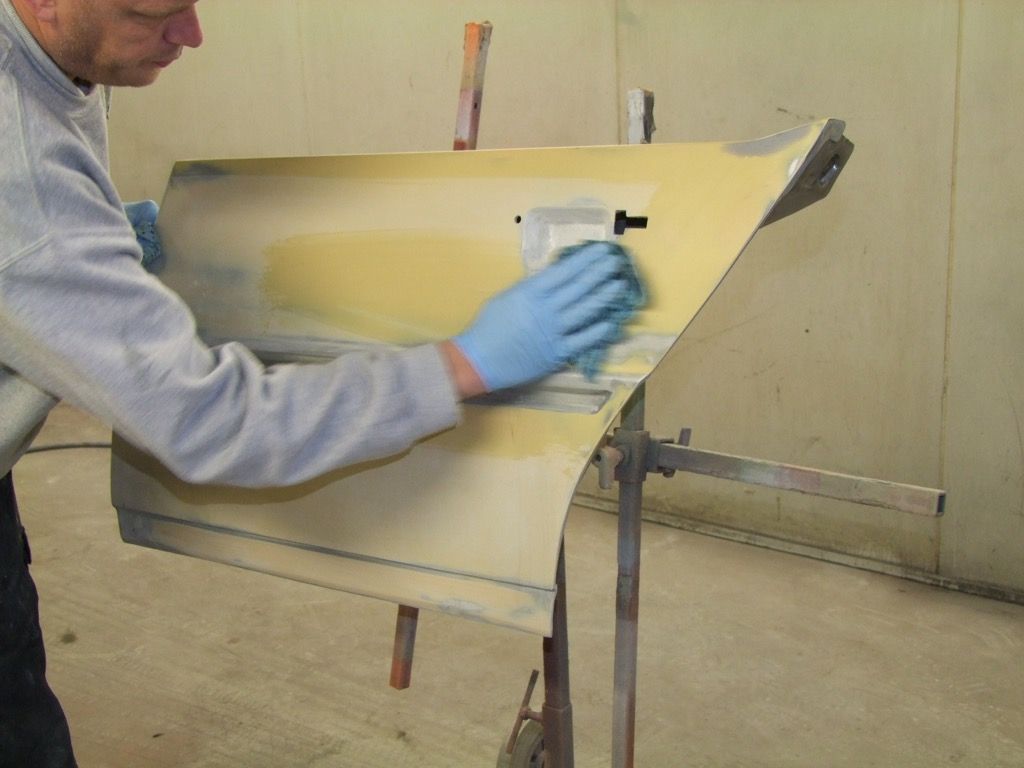
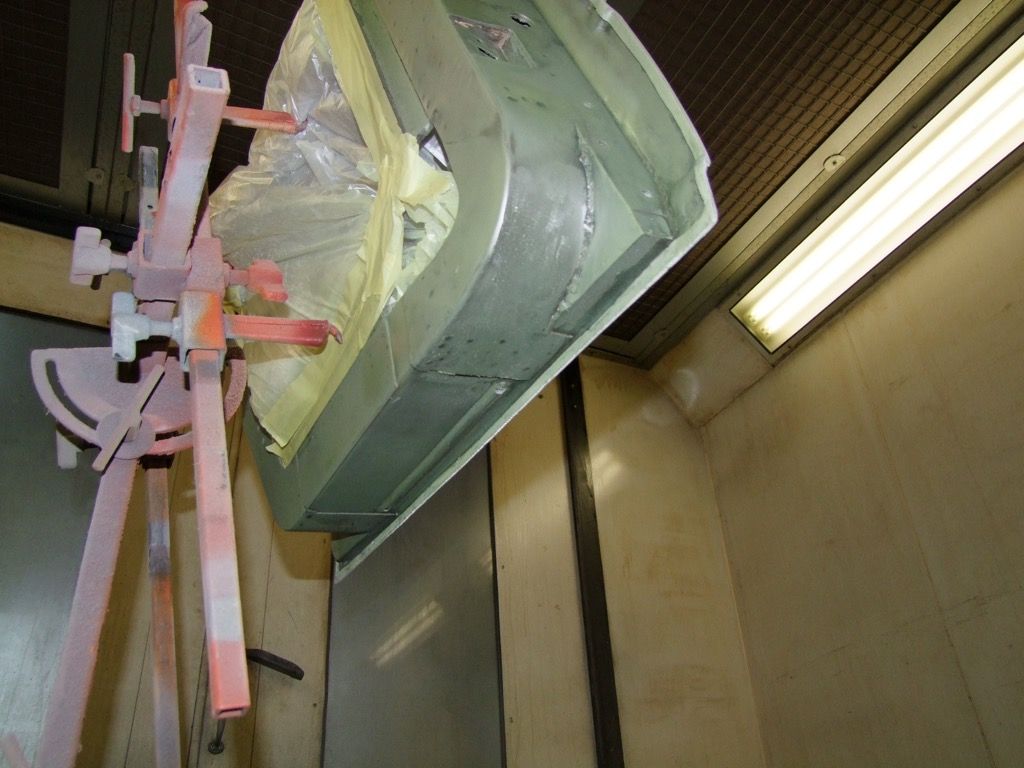
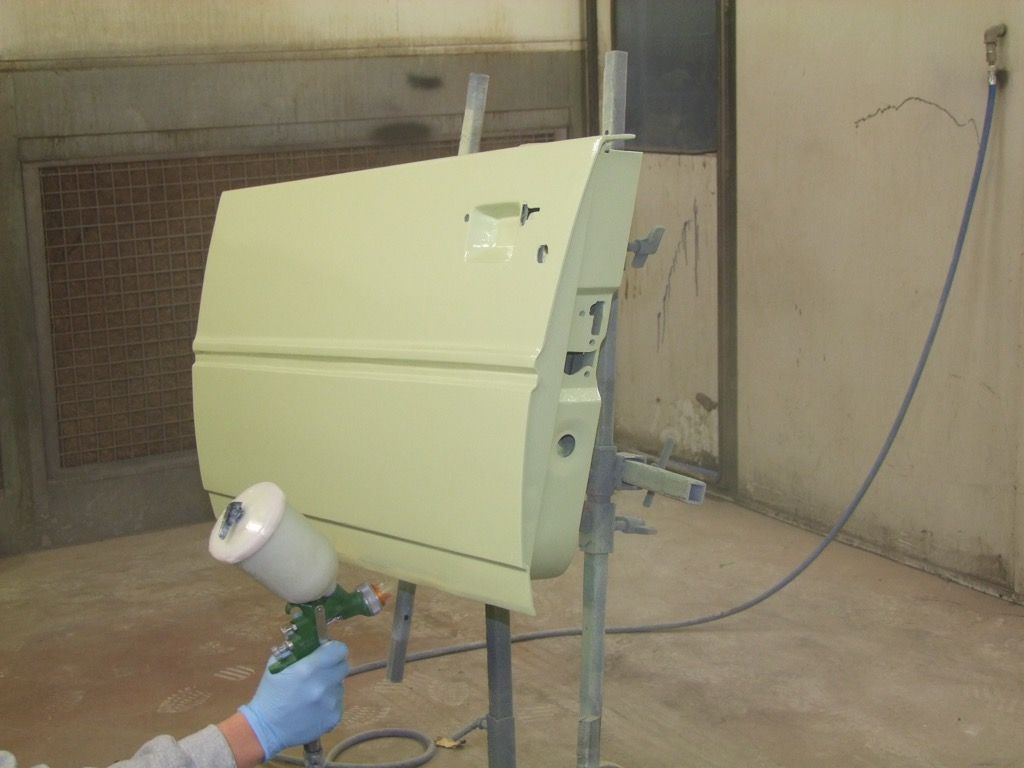
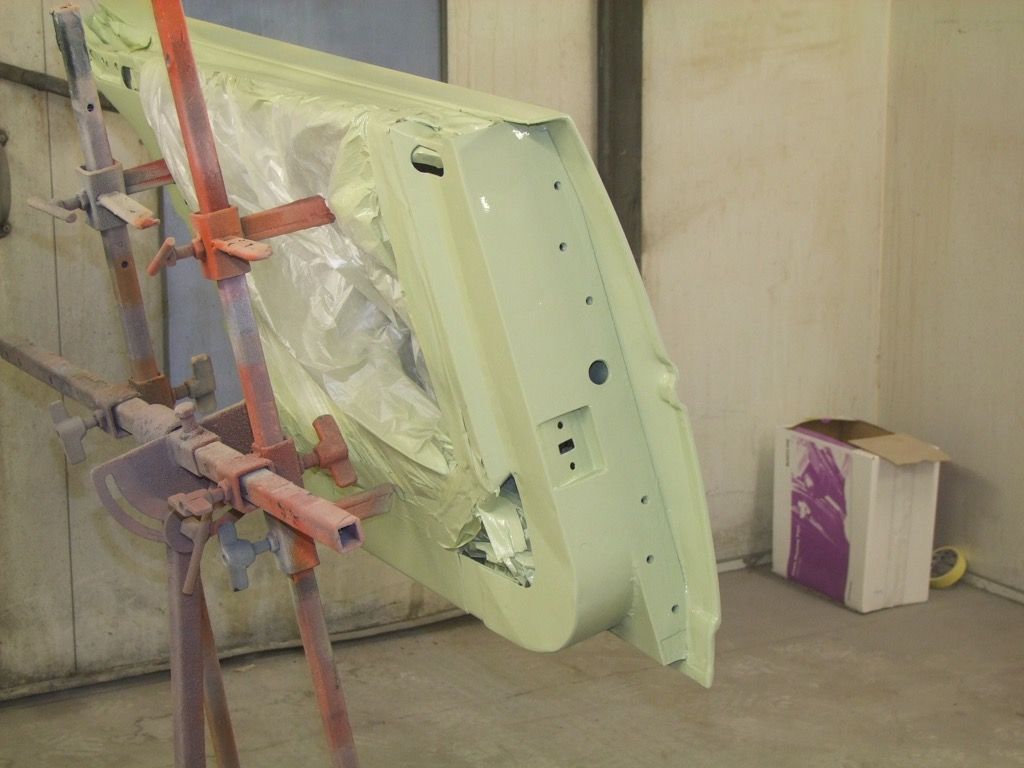
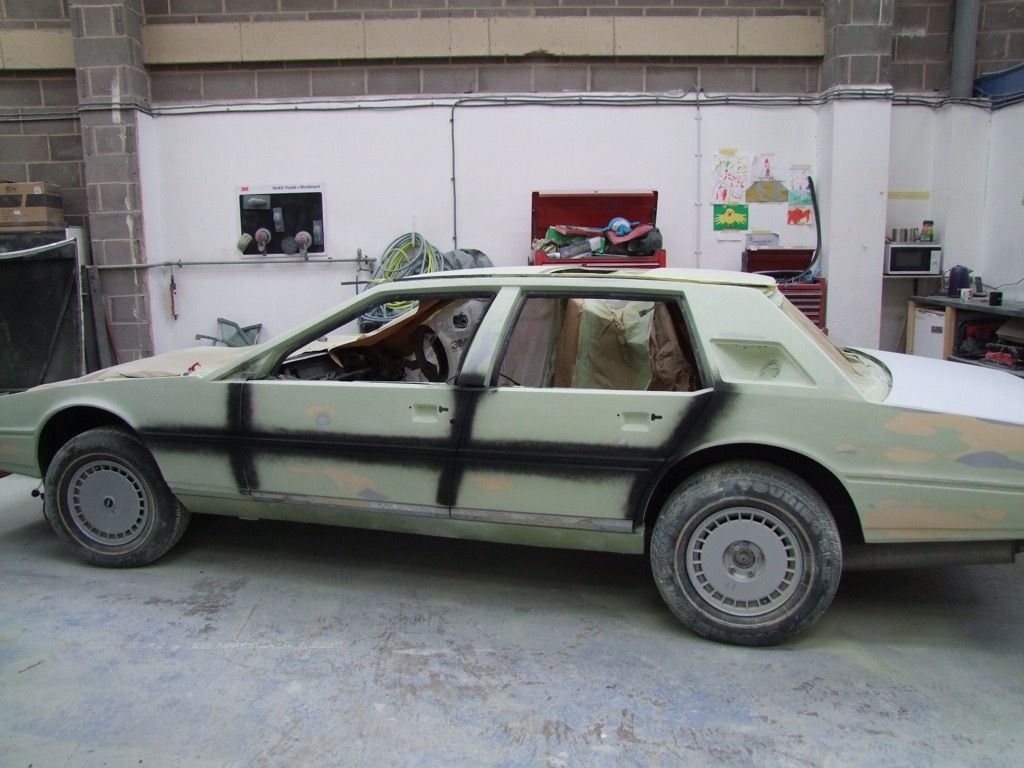
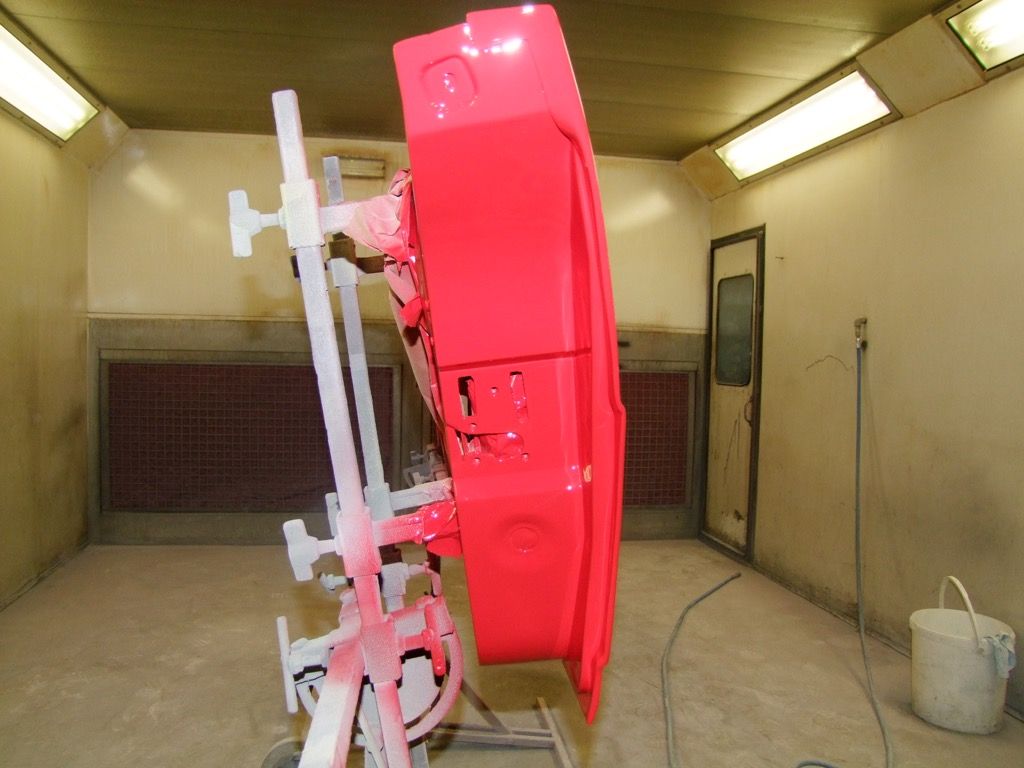
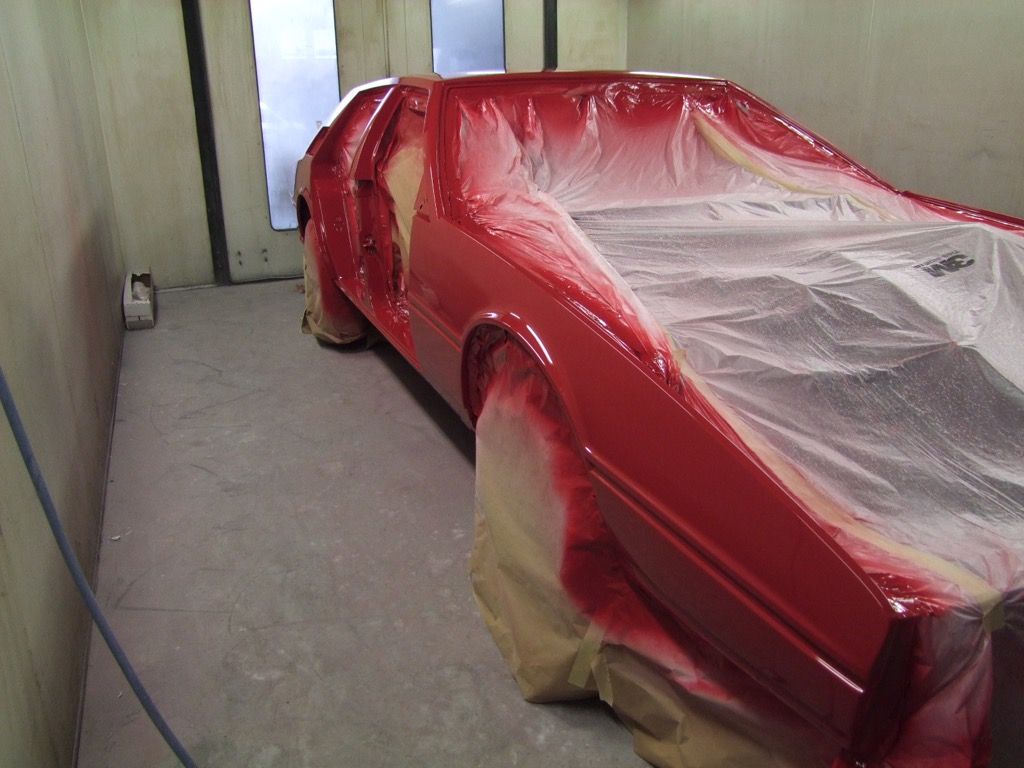
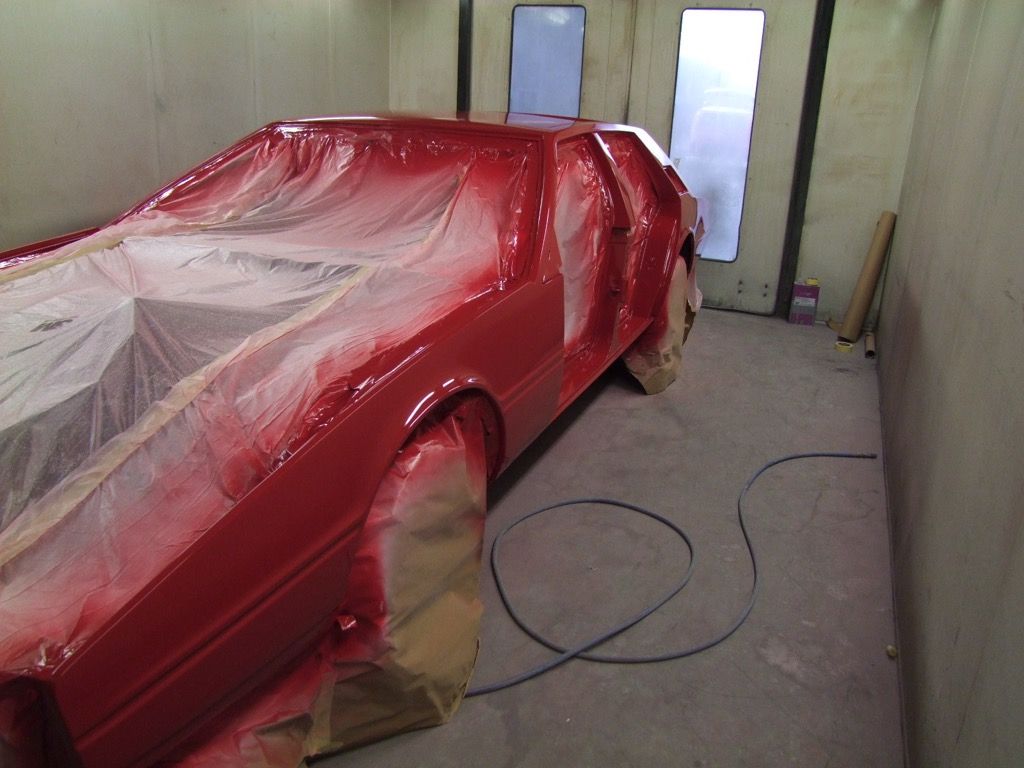
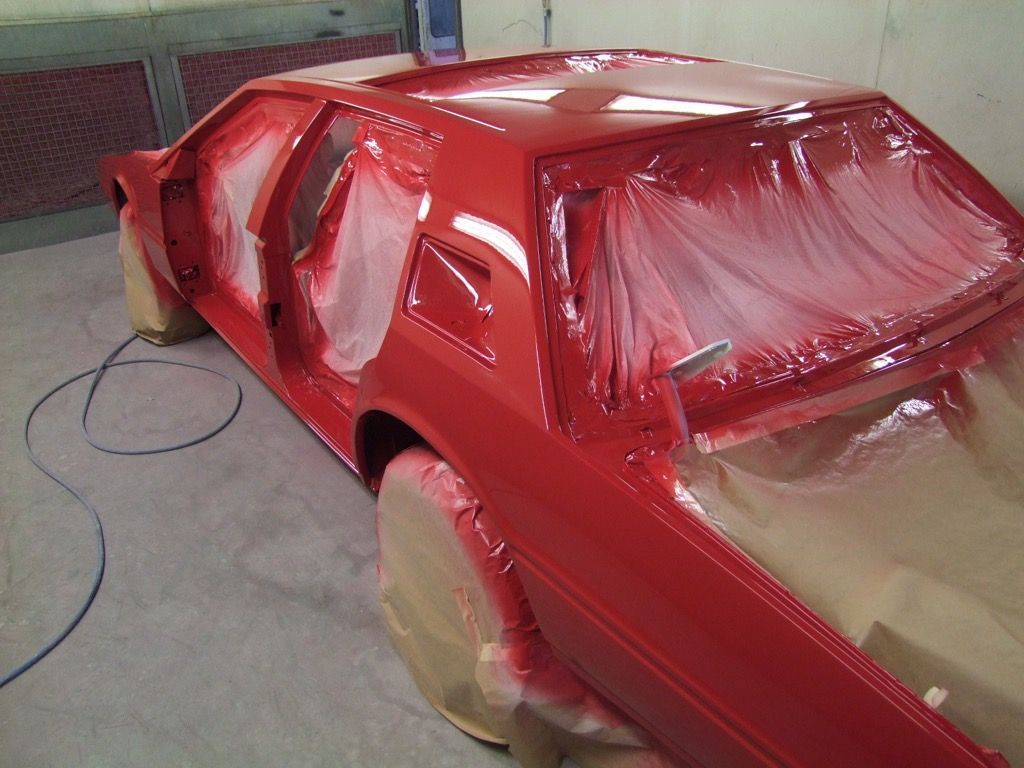
And now the body:
 |
|
| Back to top |
|
|
jonc
Joined: 21 Sep 2010
Posts: 584
Location: Cheshire, UK
|
| Posted: Thu Feb 04, 2016 3:06 pm Post subject: |
|
|
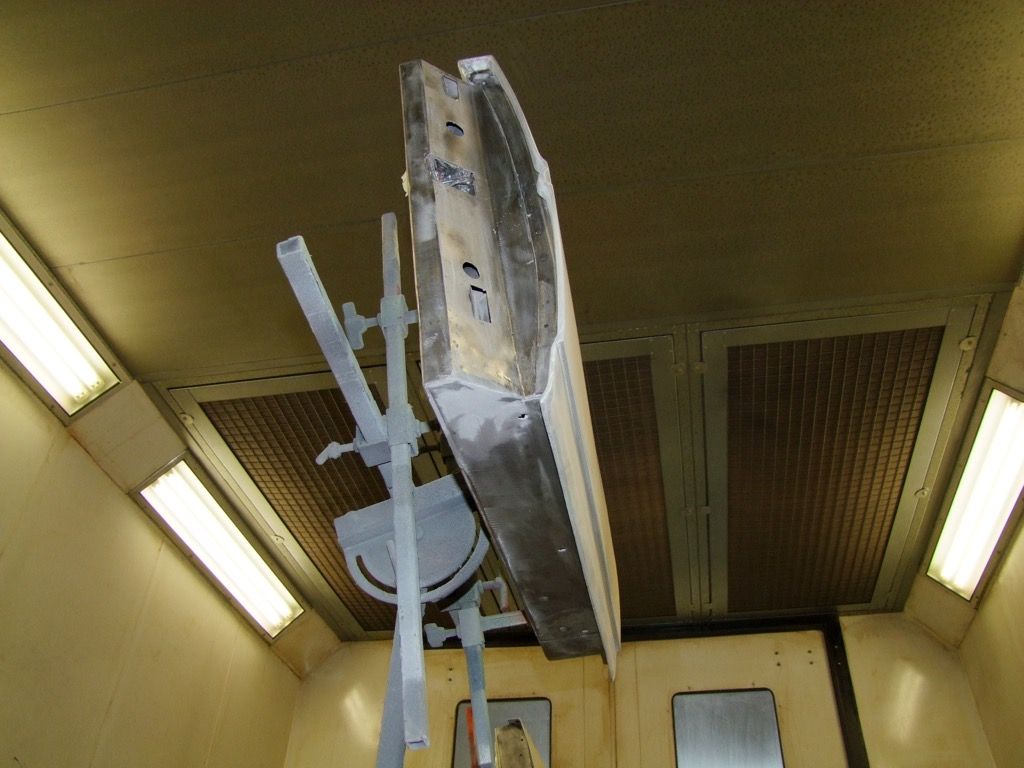
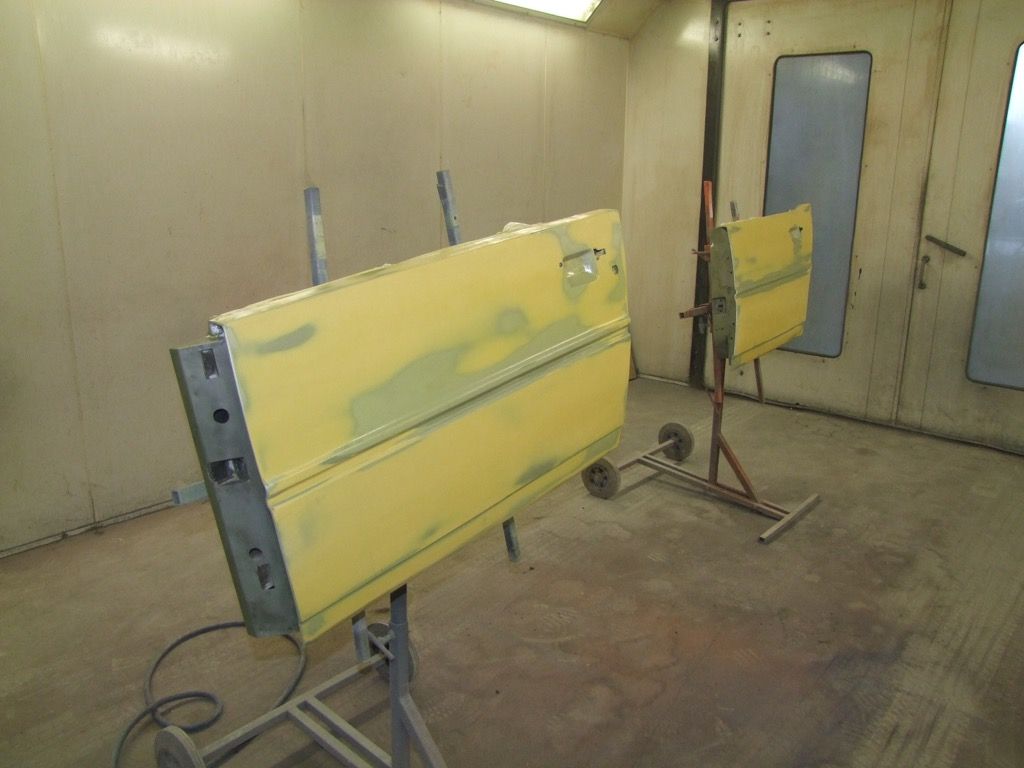
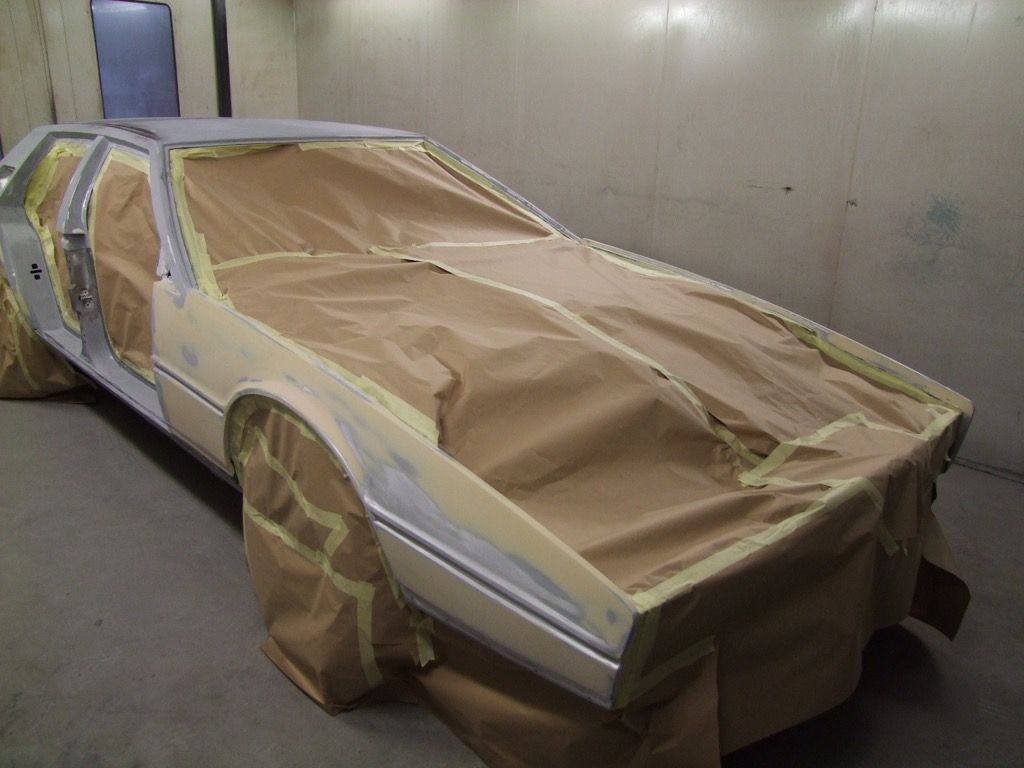
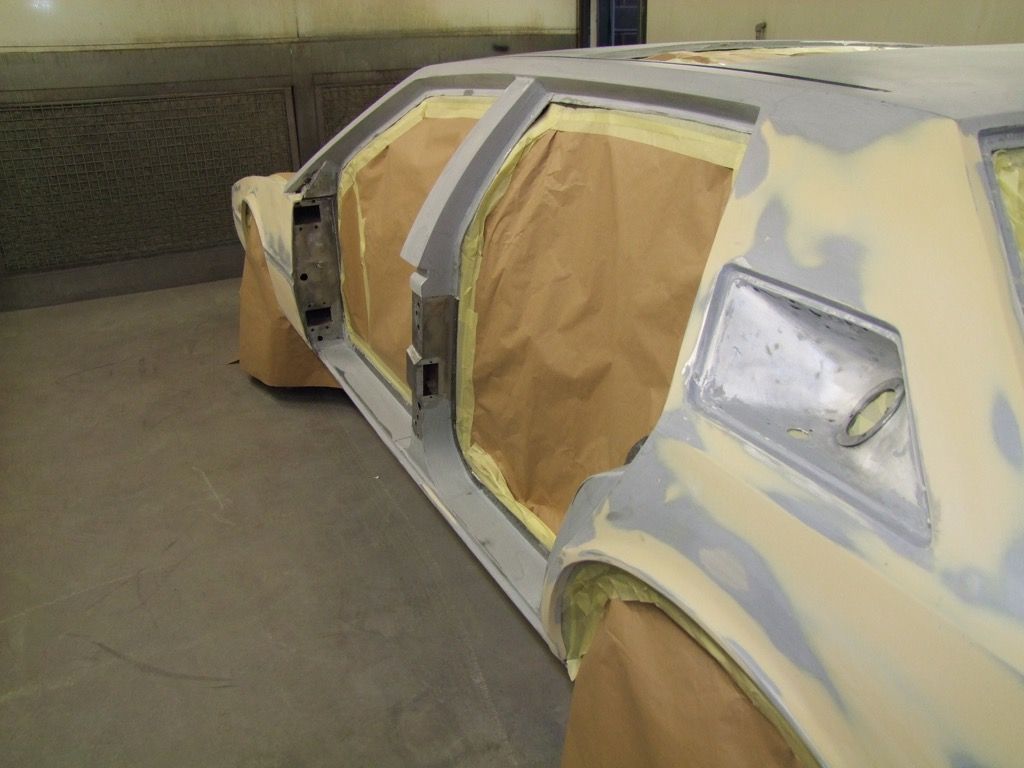
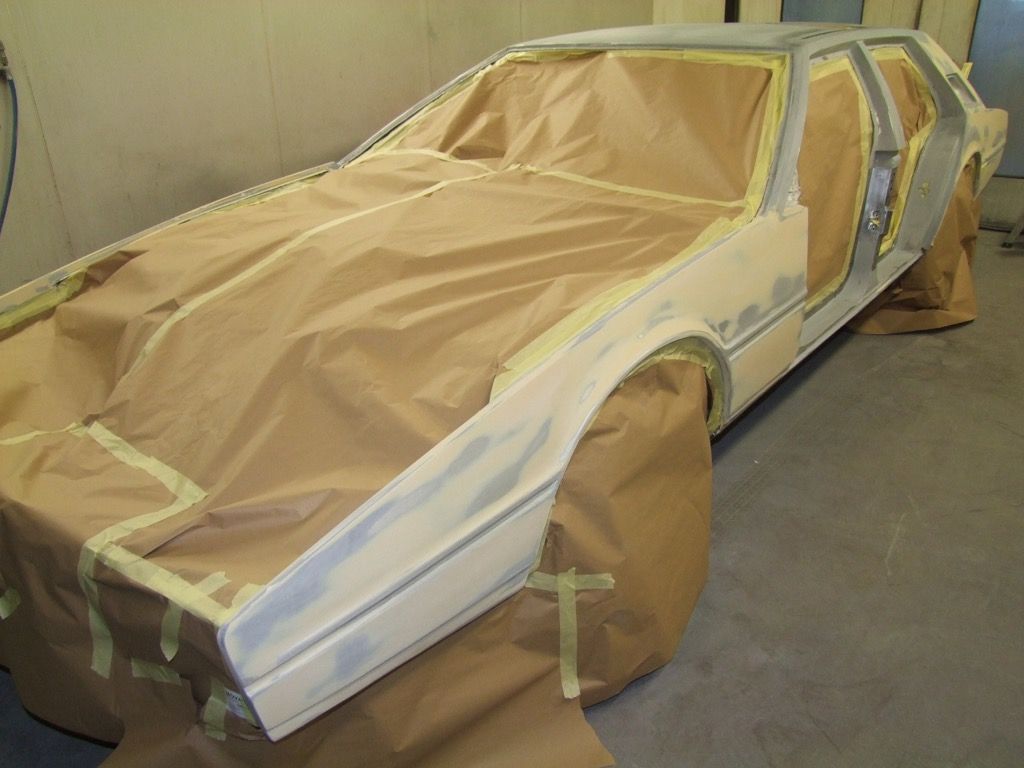
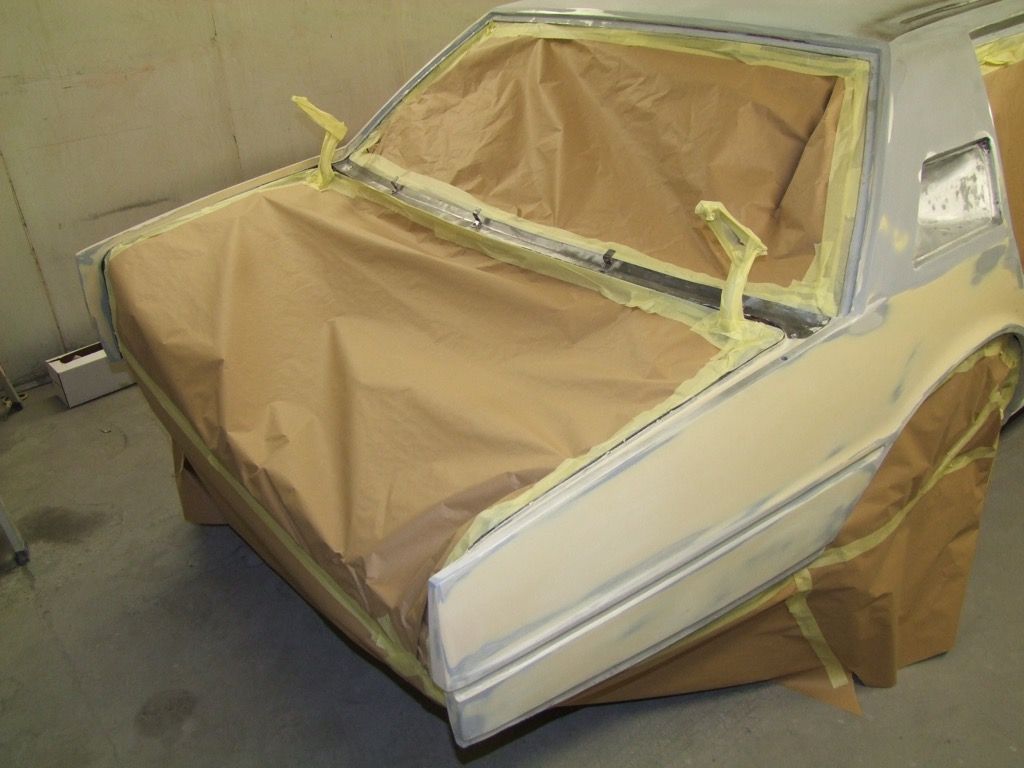
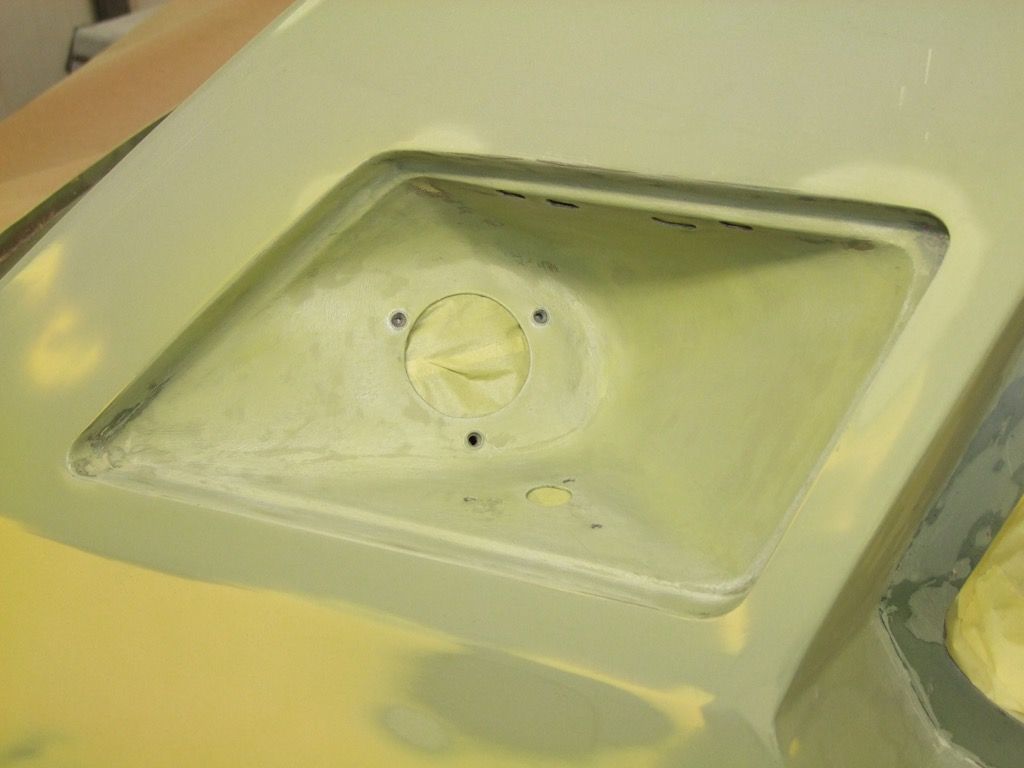
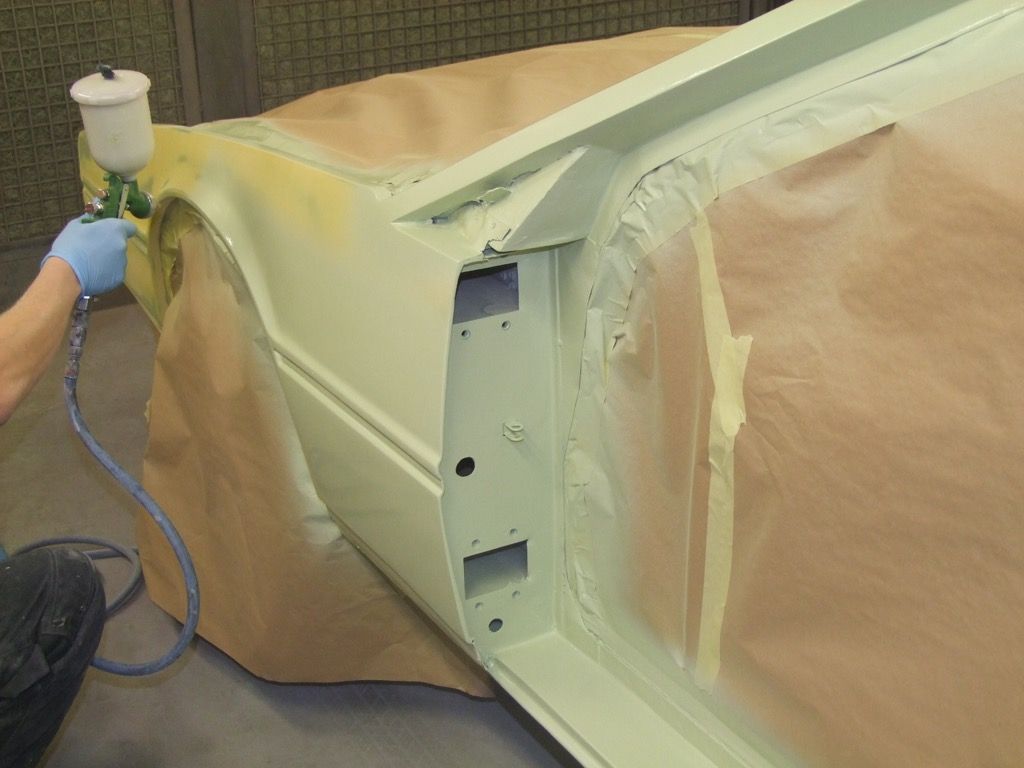
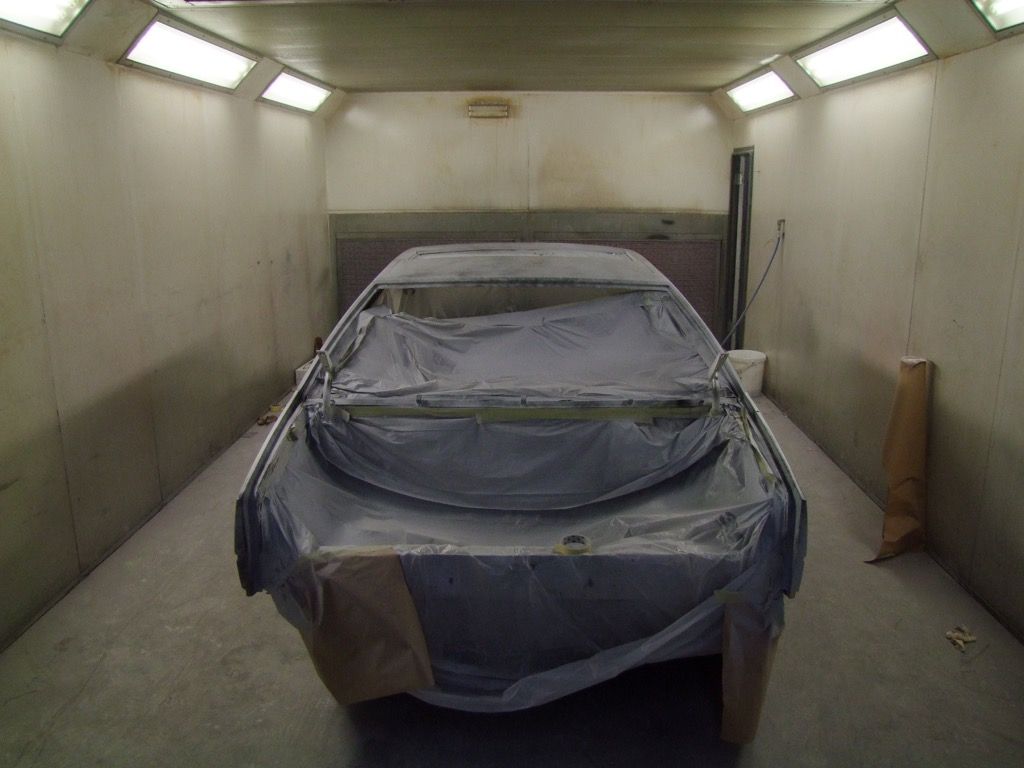
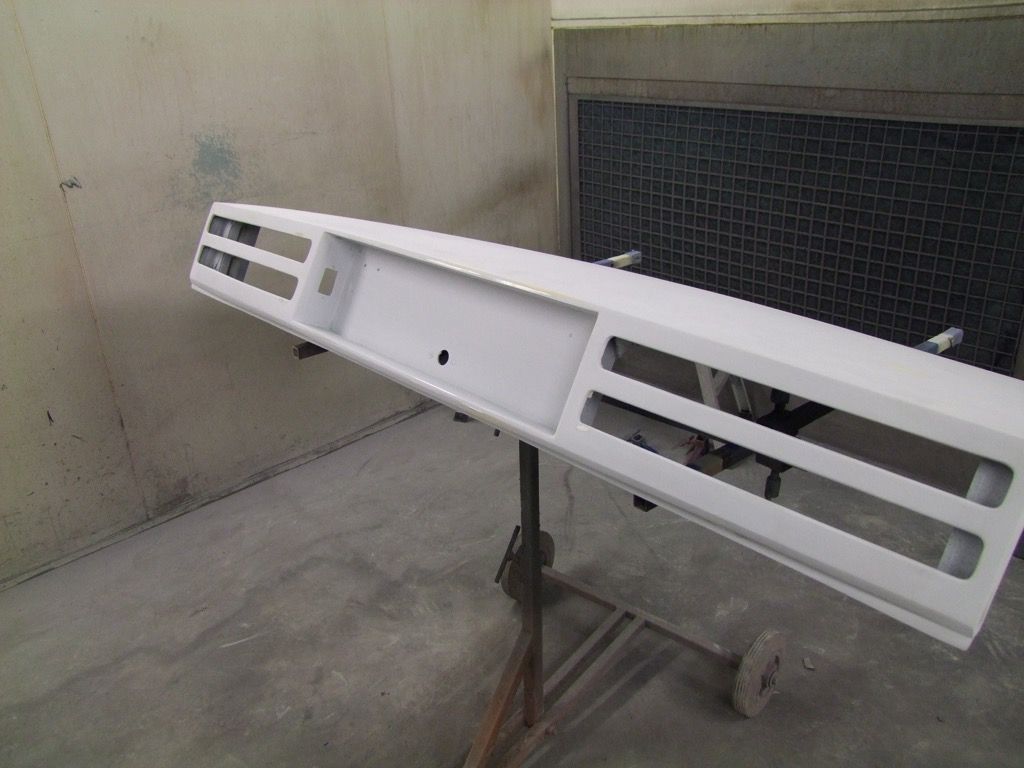
Next the paint gets a guide coat which is then block-sanded off to reveal any low spots.
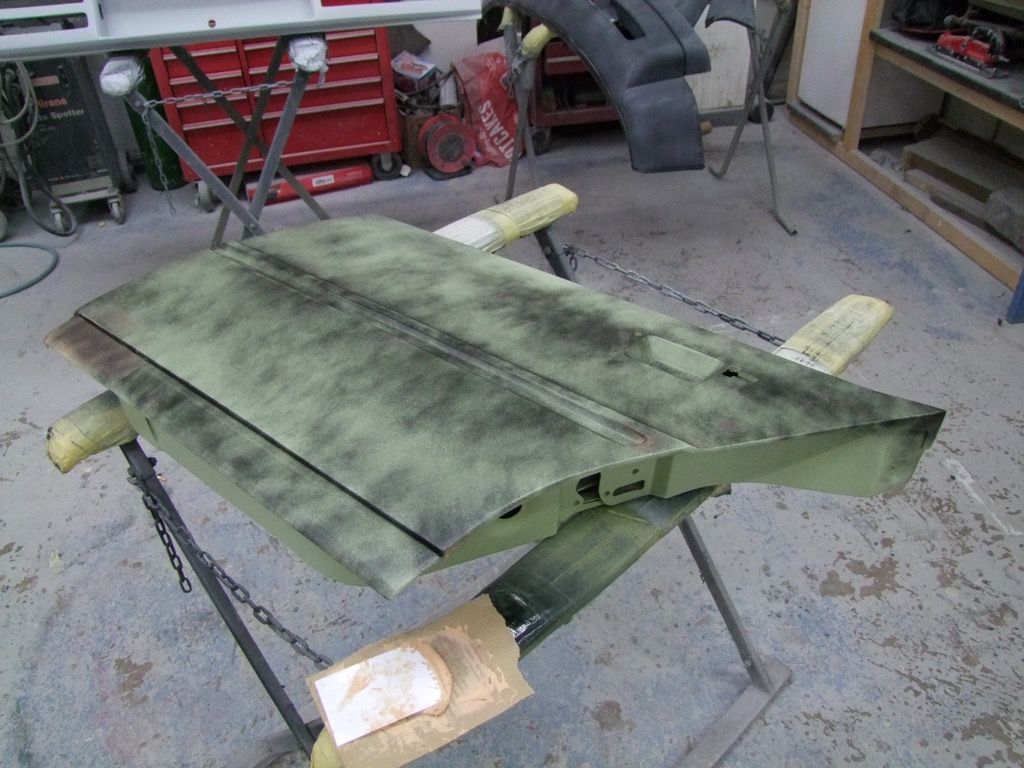
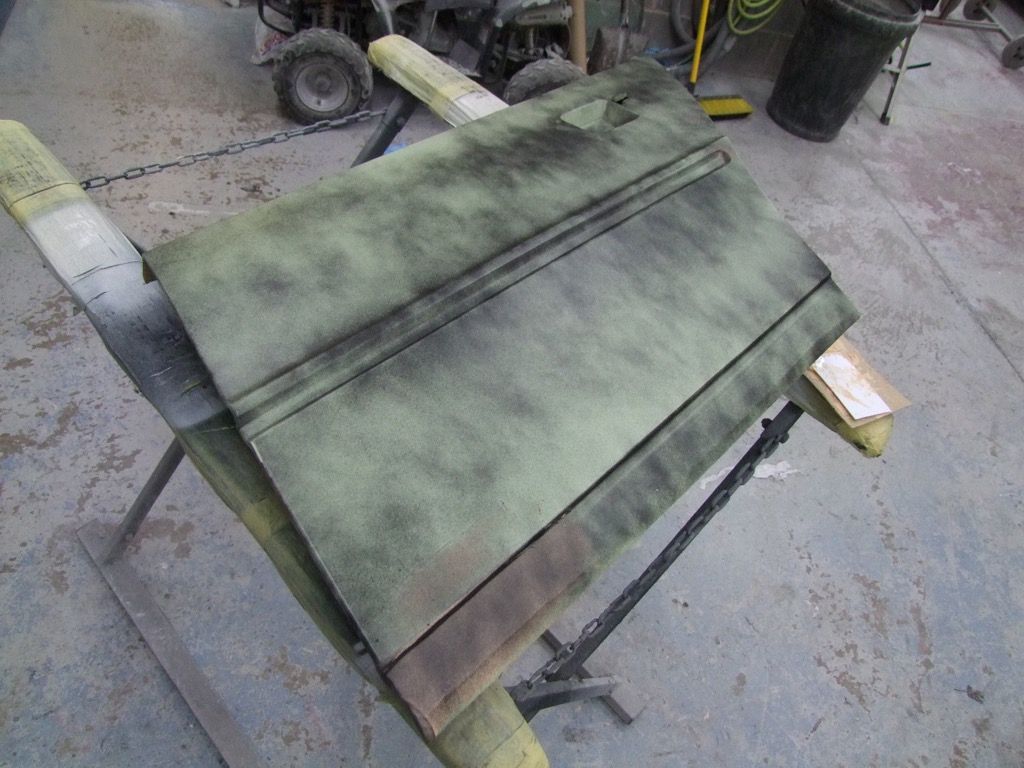


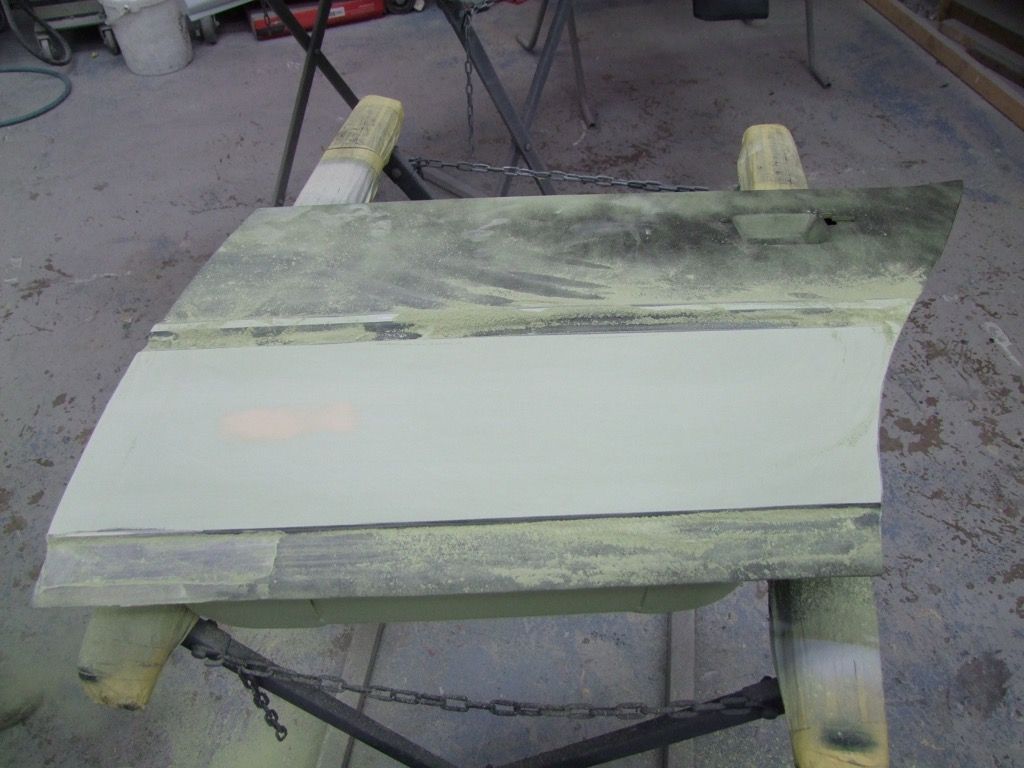
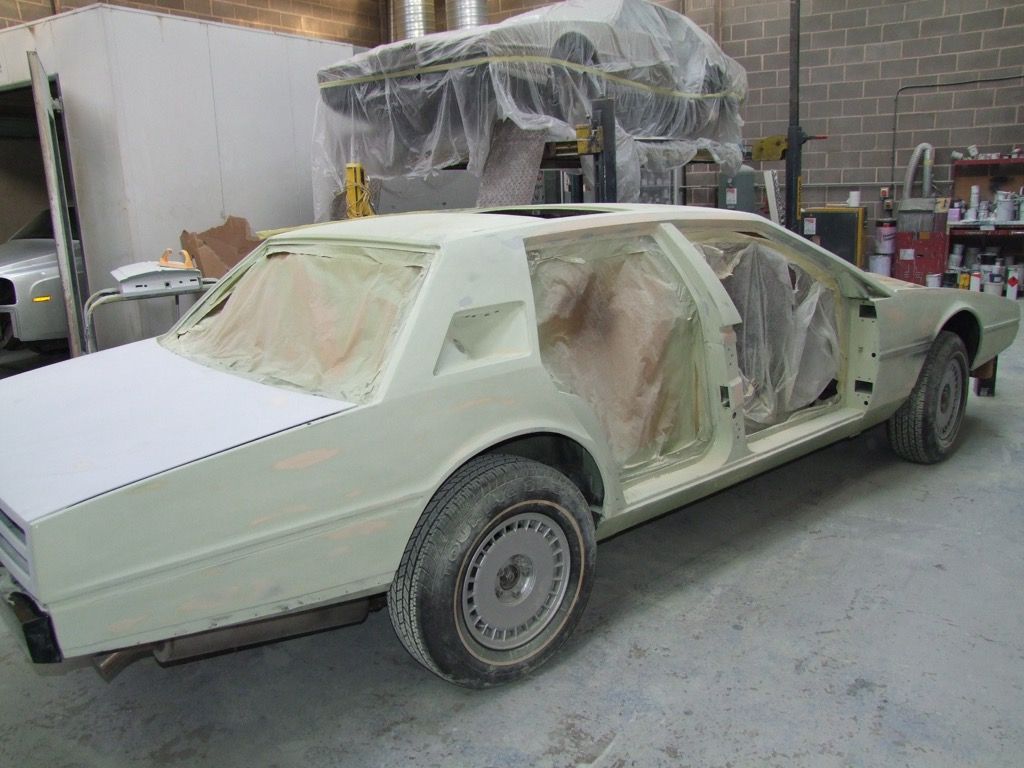
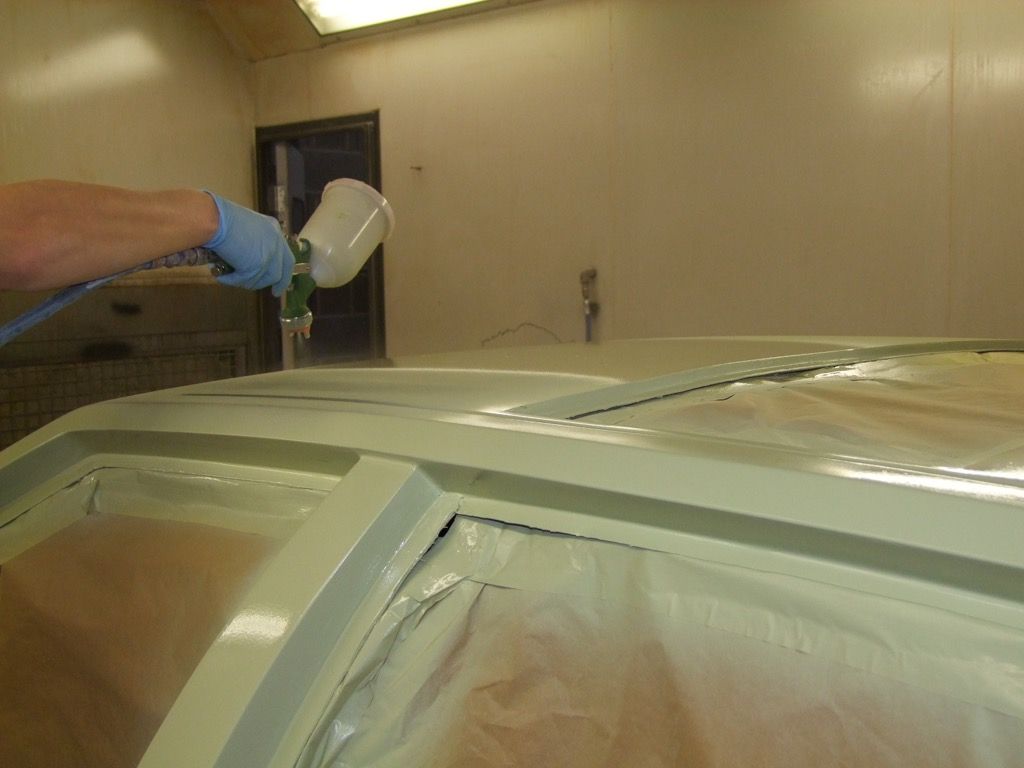
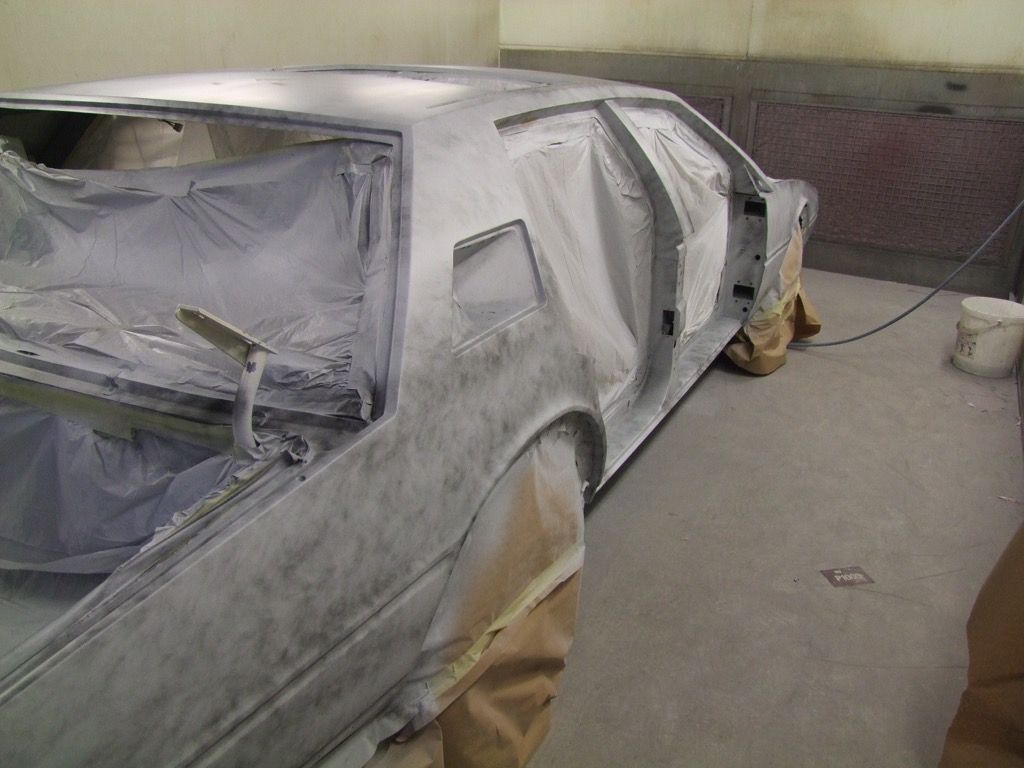
And then the swage lines and shut edges get separate attention:
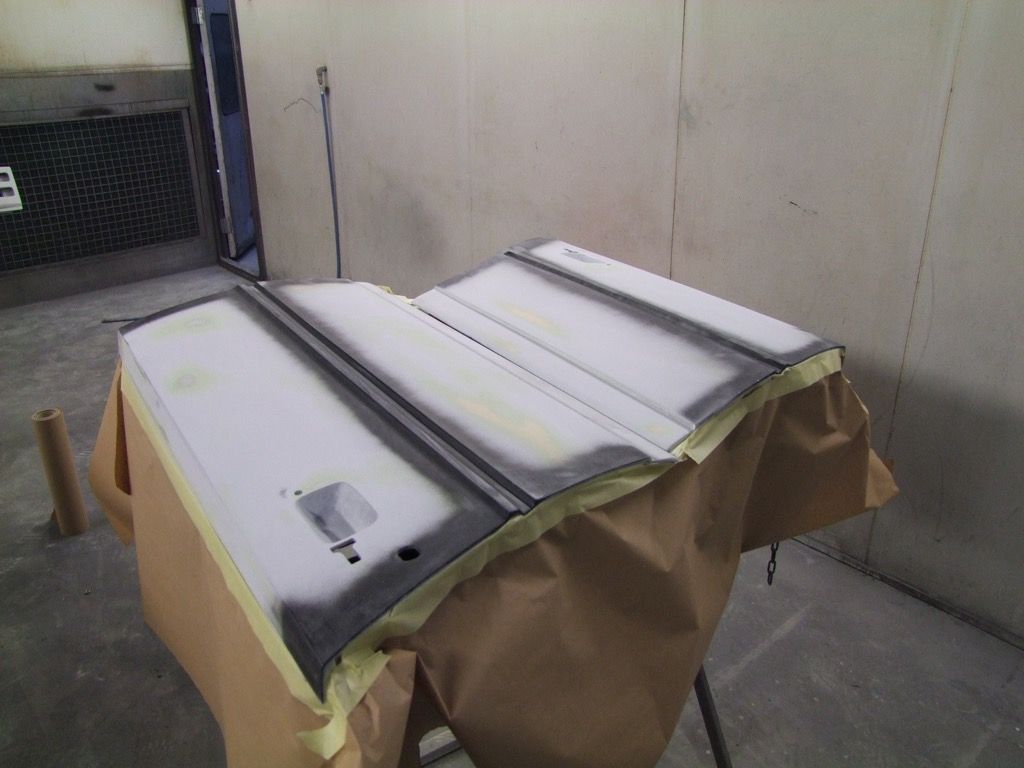
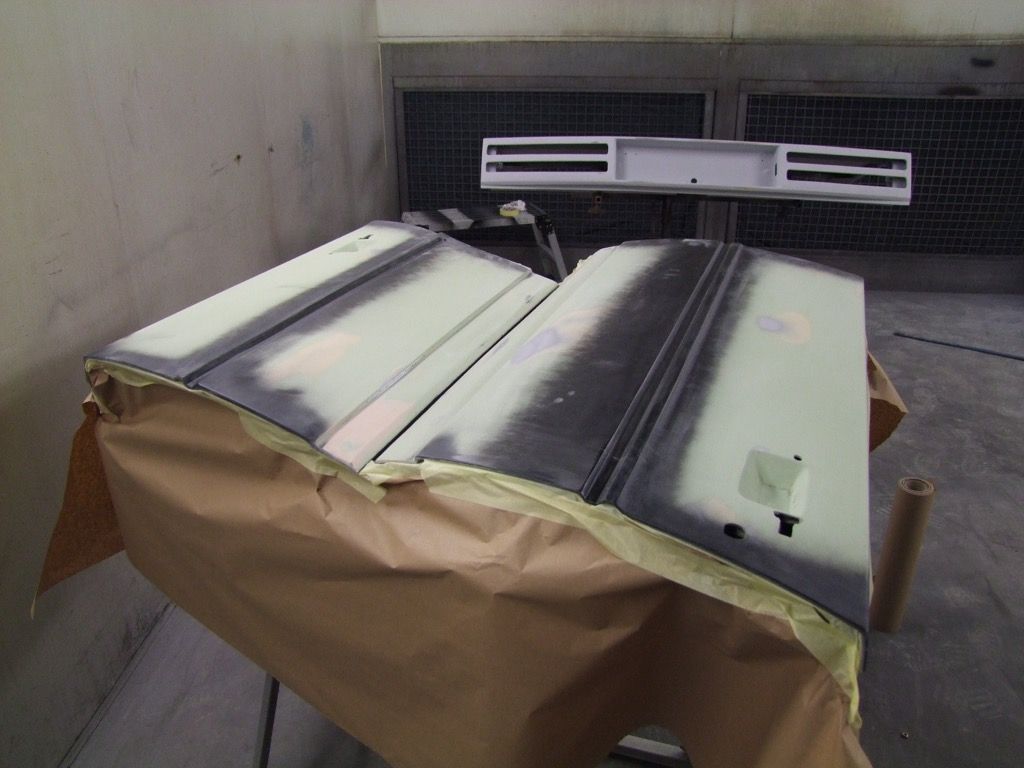
As we get closer to the red, we move to the lighter primer:
 |
|
| Back to top |
|
|
Lagondanet
Administrator

Joined: 03 Jan 2007
Posts: 3108
Location: UK
|
| Posted: Thu Feb 04, 2016 9:50 pm Post subject: |
|
|
| Fantastic! |
|
| Back to top |
|
|
Dimitri
Joined: 13 Sep 2010
Posts: 180
Location: Smarden, Kent, UK
|
| Posted: Sun Feb 07, 2016 7:29 pm Post subject: |
|
|
| It takes my breath away ! |
|
| Back to top |
|
|
jonc
Joined: 21 Sep 2010
Posts: 584
Location: Cheshire, UK
|
| Posted: Thu Feb 11, 2016 9:21 am Post subject: |
|
|
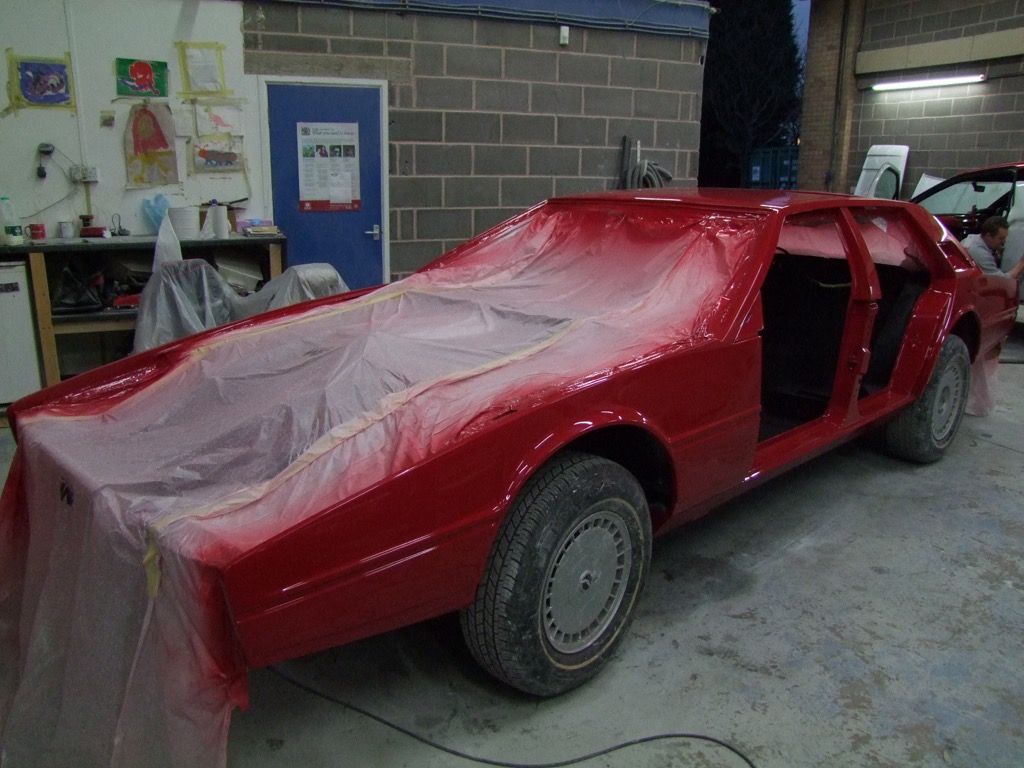
Thanks for the comments.
Onwards:
Interior has been painted too:
Plus the boot area was stripped to bare metal and repainted:
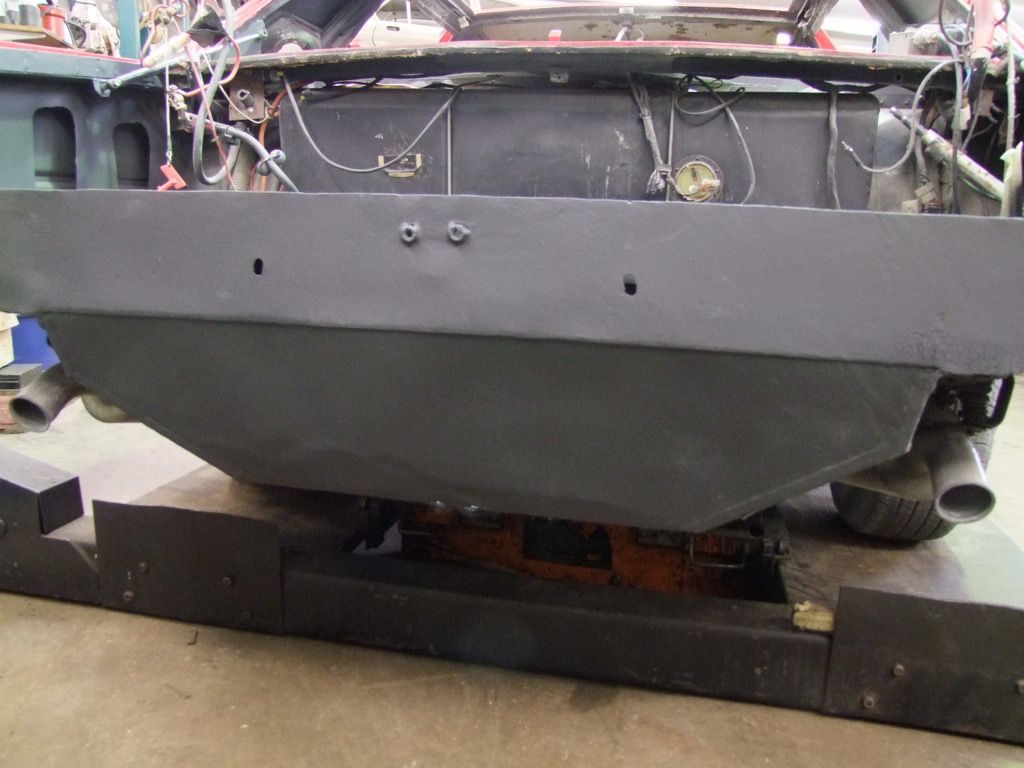
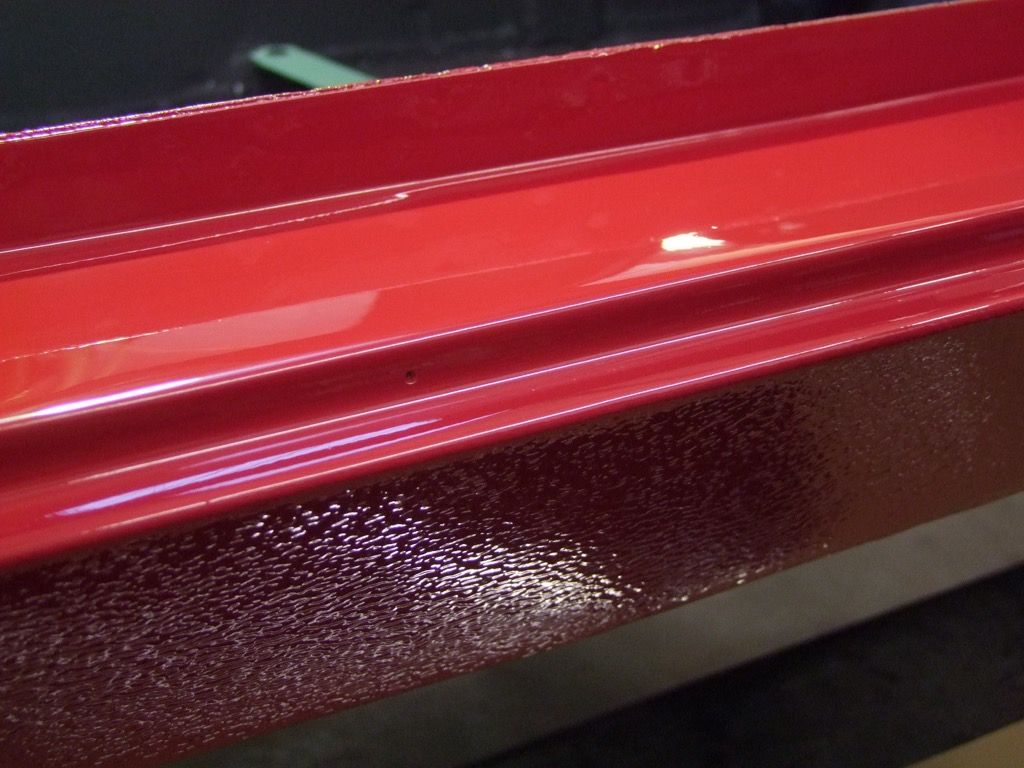
The sills on this car (plus the front and rear valance) were painted body colour. From historic photos I could see the valances were a smooth gloss finish, but we weren't sure about the sills. David did some digging (well, sanding):
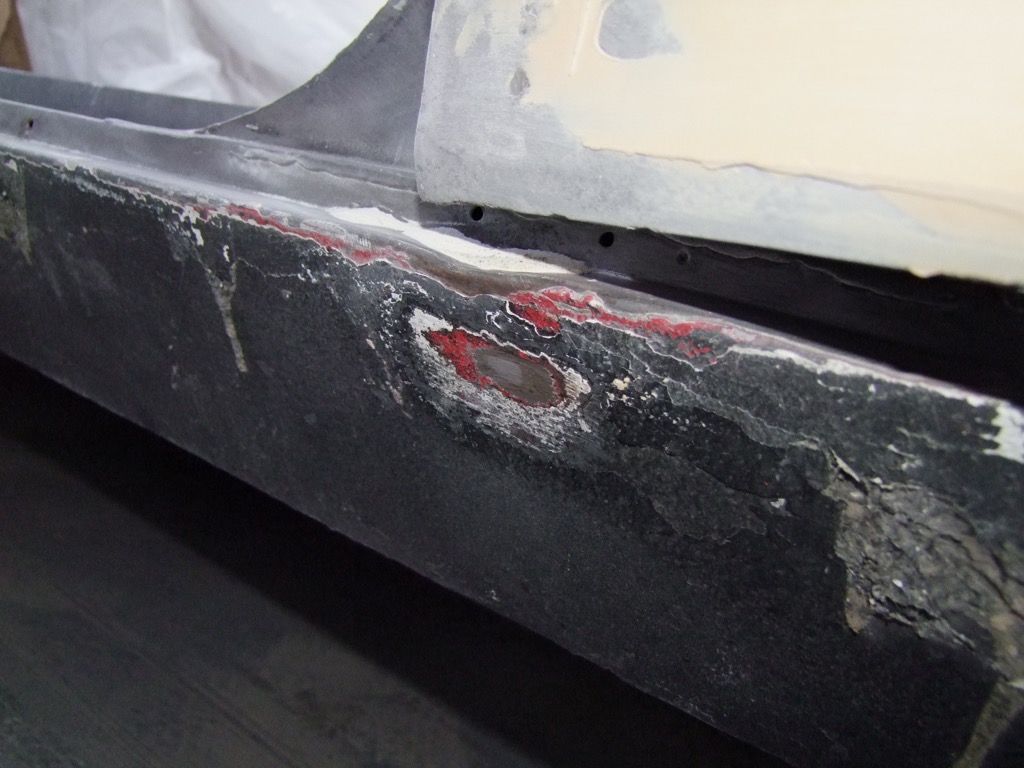
..and the answer is they had a semi-rough finish, so having been taken back to bare metal that is what they have now:
 |
|
| Back to top |
|
|
Dimitri
Joined: 13 Sep 2010
Posts: 180
Location: Smarden, Kent, UK
|
| Posted: Thu Feb 11, 2016 9:30 am Post subject: |
|
|
Great job !
Is the name of the colour Fiesta Red ?
I see the car currently has Centra wheels, if you prefer Pepperpots Jonathan, I've got 2 really nice sets.
I know this example should have neither of these but I thought I'd ask in case you fancy a swap... |
|
| Back to top |
|
|
jonc
Joined: 21 Sep 2010
Posts: 584
Location: Cheshire, UK
|
| Posted: Fri Feb 12, 2016 9:19 am Post subject: |
|
|
Thanks Dimitri.
The colour is Storm Red, which was used on a few cars.
The Centra wheels are being changed to steel wheels with 'moon disc' wheel trims which I already have. This means I will have a set of 5x Centra wheels spare, plus the locking caps with 2x keys, rear hubs and front convertor plates with bolts if anyone is interested. |
|
| Back to top |
|
|
Lagondanet
Administrator
Joined: 03 Jan 2007
Posts: 3108
Location: UK
|
| Posted: Fri Feb 12, 2016 10:37 am Post subject: |
|
|
| Gorgeous red. |
|
| Back to top |
|
|
|